A cyclist pedals through a humid August morning, right into several hours of torrential rain.
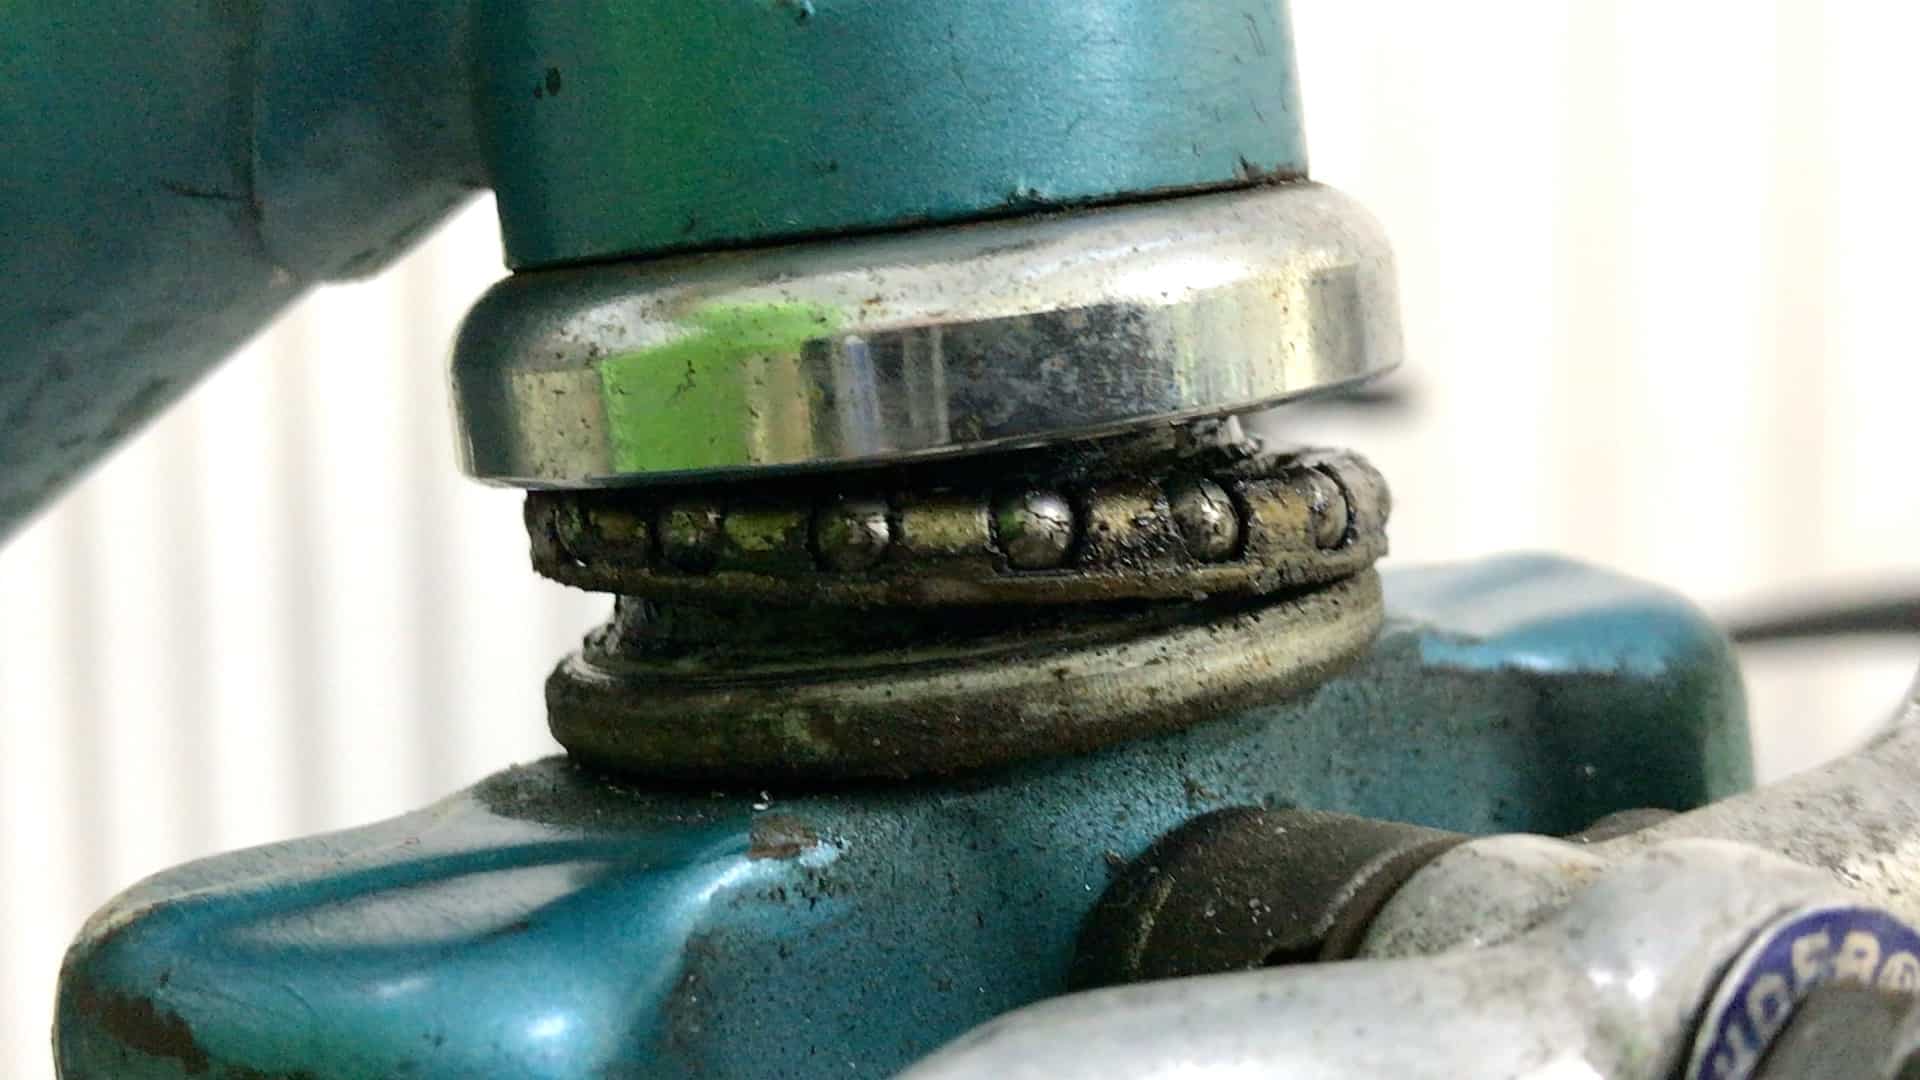
Muddy slush shoots up from the tires, soaking the handlebars, stem, and headset . . . grit gets in under dust covers (designed to keep dust at bay and not liquid gravel) then into his road bike’s headset bearings.
During the ride turning the handlebars becomes rough as the bearings stiffen up on account of the grit—there’ll be some work to do when he gets back.
This is an older threaded headset with caged bearings sitting in pressed-in cups. Apart from a standard application of grease, the unit has little defense against this sort of sustained attack.
Even if he was to avoid such an extreme weather event, an accumulation of dust over the years along with no cleaning or re-greasing in combination with light rain events on clean roads will produce a similar effect eventually.
How to prevent this . . . or at least deal with the problem when it arises ?
Let’s take a sustained look at road bike headsets, considering which types might be “better” . . . “better” since the answer depends on how much DIY maintenance you are planning to do—older designs require more TLC than newer designs.
(And while the information here directly concerns road bikes, most of it is also applicable to mountain bike headsets.)
Contents
3 TYPES OF BEARING
Ball bearings mediate the rotation of two disks (‘races’) in close proximity.
That’s a bearing defined in a nutshell.
The evolution of bearings amounts to a rationalization, if you like, of the relationship between the balls and those disks.
Races and balls have become integrated into compact packages (from less compact packages, shall we say) over the decades, which has given us more efficient and more easily maintained bearings.
Loose
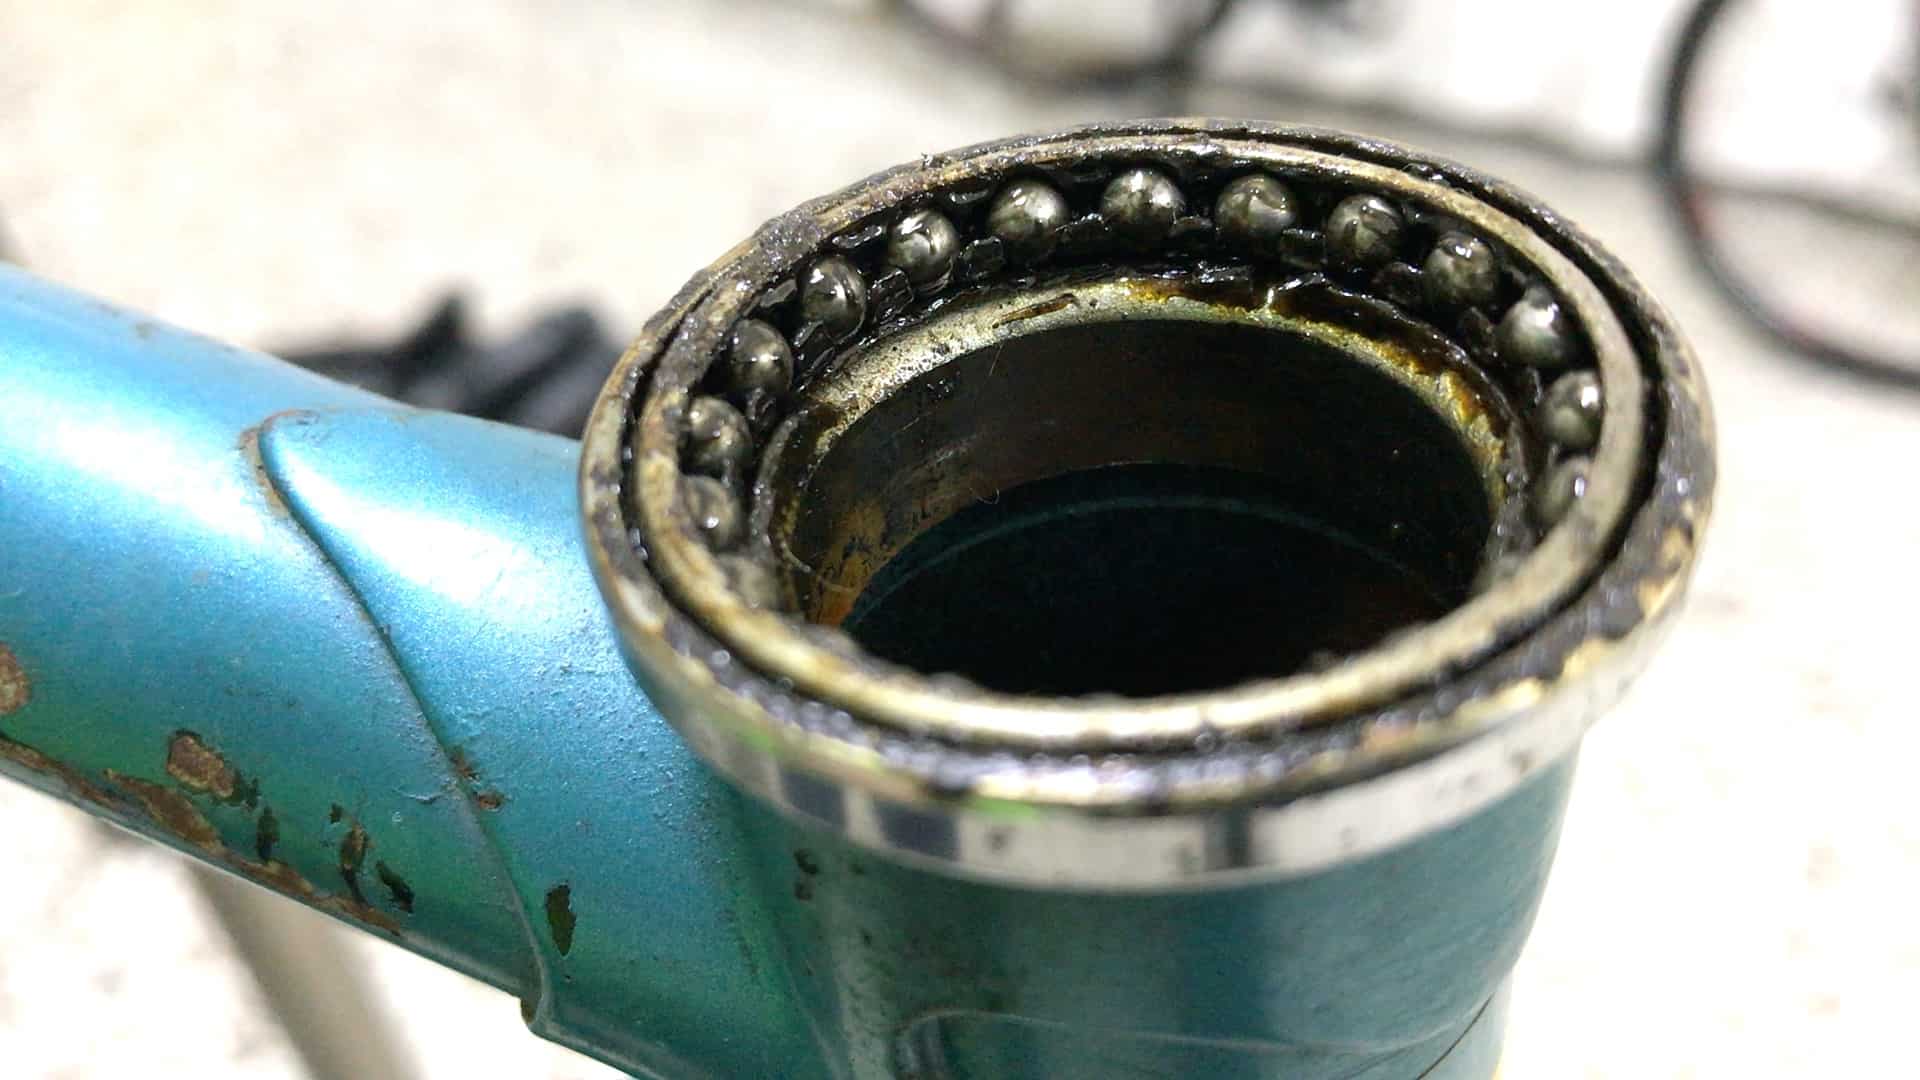
Loose ball bearings are contained between the inner and outer races, in direct contact with those races.
The outer race is a cup fixed into the head tube; the inner race holds the steerer and rotates right or left.
The ingenuity of these headset designs centers on the methods by which they secure the steerer to the inner race at the top and bottom of the head tube.
Headsets containing loose balls hold them in tension between the races which can be tightened into each other (more on that in the section on headset types below).
These need to be tightened to the right degree to avoid steerer play (movement back and forth) and yet not so tight that the handlebars are too stiff to turn.
Caged
A bearing’s balls are fitted into slots on a circular rack which constitutes the cage; they rotate against the rack and one or both the races.
The advantage is when you want to clean the ball bearings out and apply new grease, just lift the cage clear of the race or drop it out when you remove the fork. No need to worry about balls on the loose.
Sealed
Headset bearing evolution has arguably peaked with the advent of sealed bearings.
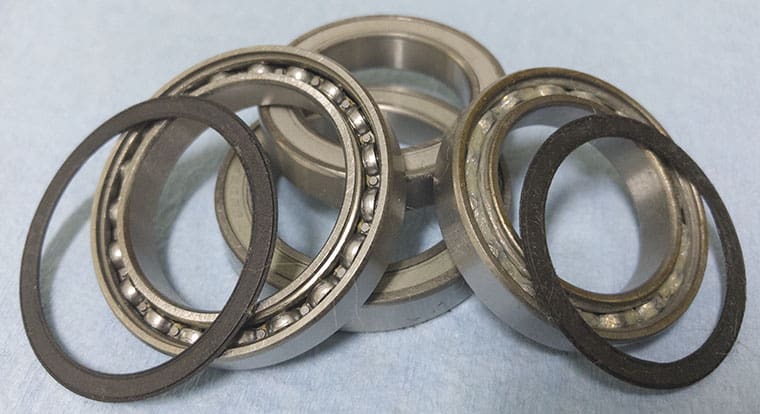
The caged balls in a sealed bearing rotate with great efficiency in a sealed bearing’s precisely machined races, and the seal on one side helps keep the dirt out.
These days, questions of installing, changing, and maintaining headset bearings on a road bike largely center on the health of the sealed bearing.
HEADSET TYPES
The type of headset installed in a bike is not classified according to the type of bearing that it contains.
Headset types have evolved independent of the parallel progression from loose, to caged to sealed bearings.
The main types of headset are Threaded, Threadless, Integrated, Semi-Integrated, Tapered and most recently Internal and Semi Internal Cable Housing headsets, all of which have come into being more or less in that order.
Threaded and Threadless
In threaded headsets, a nut and lock ring tighten down on loose, caged, or sealed bearings on a threaded 1” fork steerer.
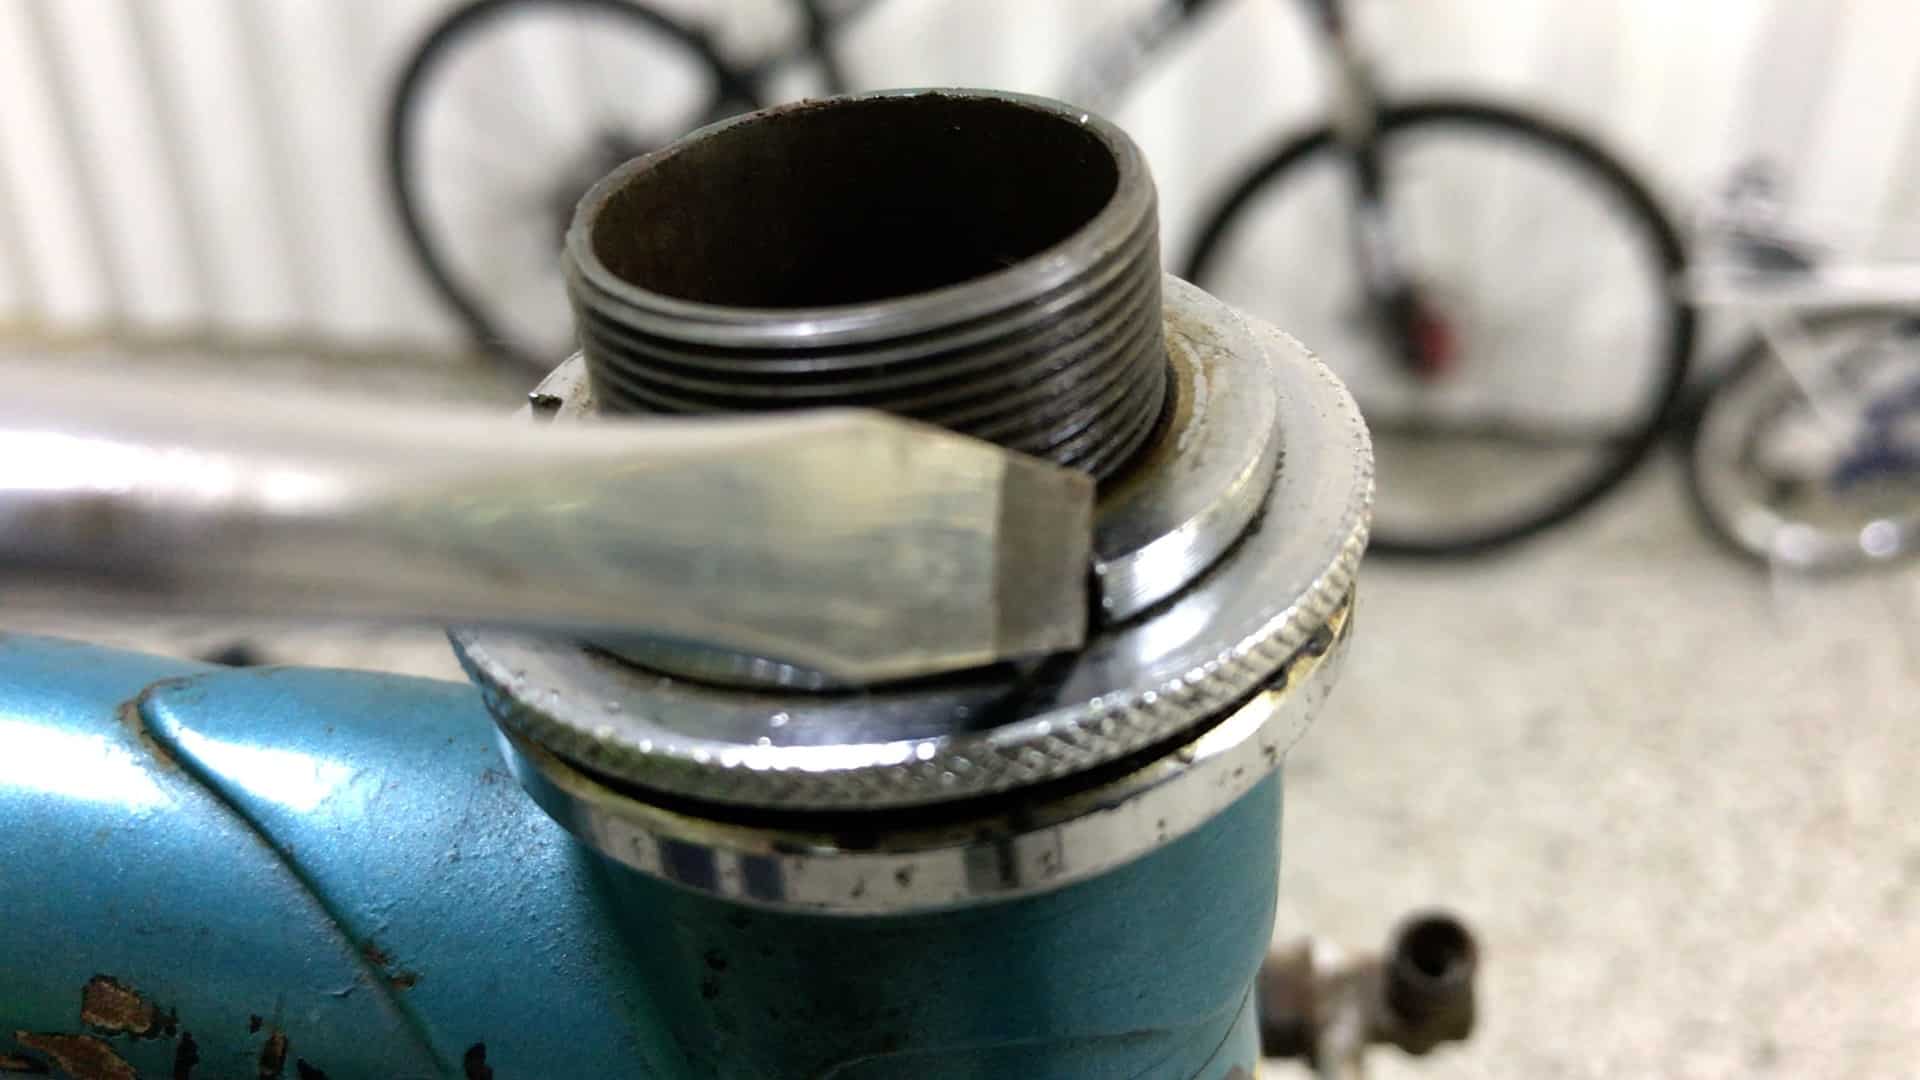
Screw the nut down down onto the bearing, lock it down with the lock ring, then slide the quill stem into the steerer, locking it to the steerer with the expansion bolt.
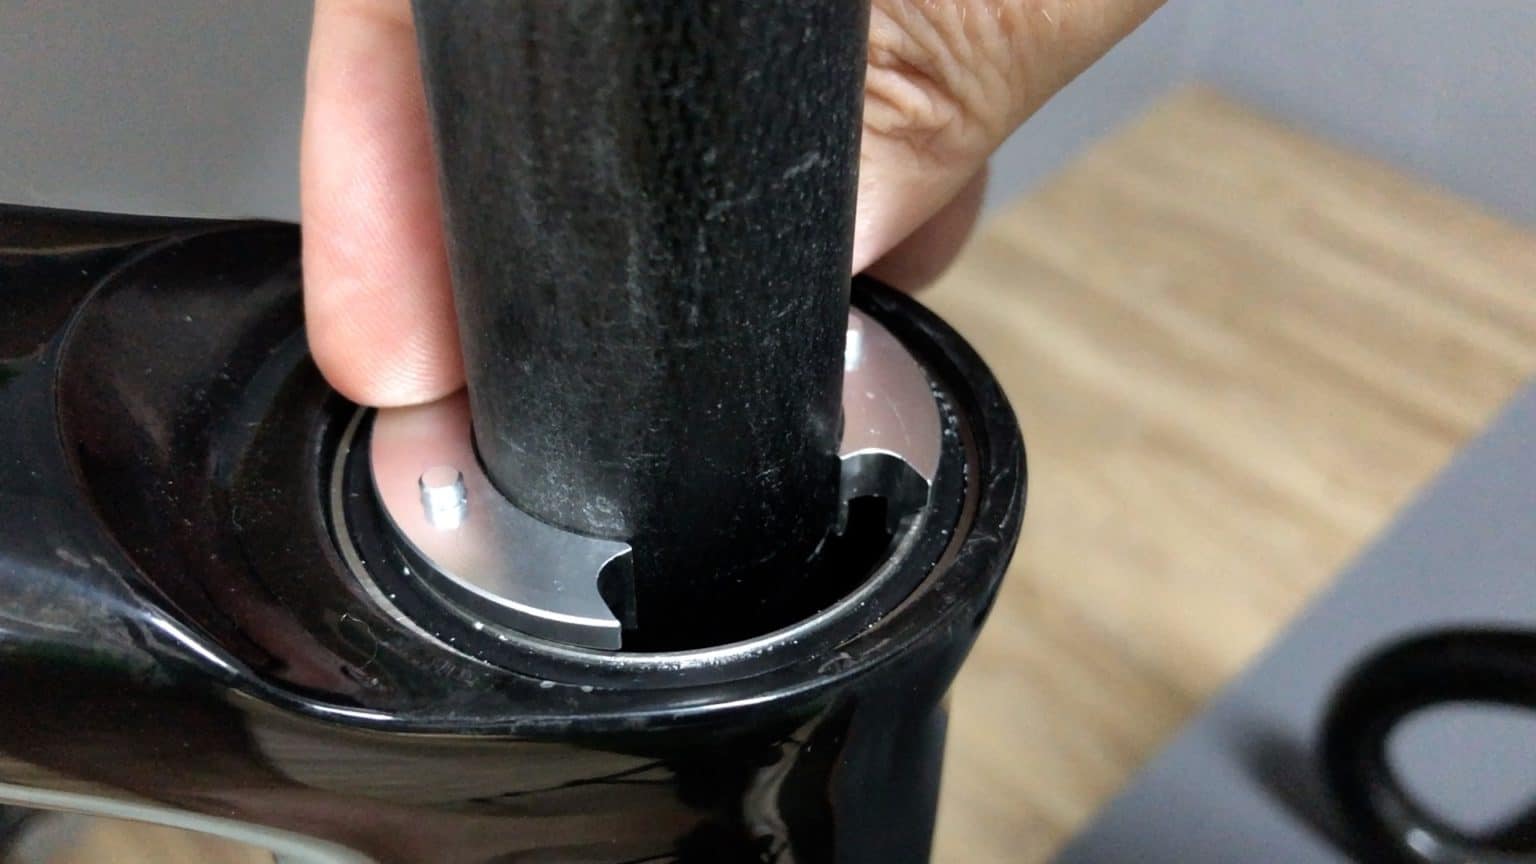
Threadless headsets—which can also take loose, caged, or sealed bearings—do away with the threads and the quill stem.
The threadless fork is cut to length; the stem slides over the top. Tightening the stem bolts fixes it to the steerer.
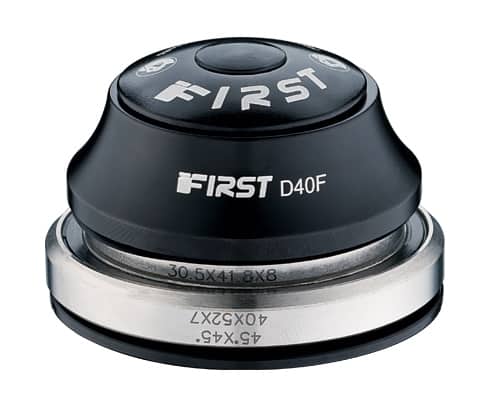
Integrated
Sealed bearings sit into lips molded into the top and bottom of the head tube which replace the cups that previously had to be pressed into the top and bottom of a head tube.
Tapered
Tapered headsets, a variation on the integrated headset theme, are designed to fit overdrive or tapered head tubes.
Head tubes originally evolved from 1” to 1 1/8”. With the advent of overdrive head tubes the dimensions are 1 1/8”on top and 1 1/2” at the fork crown.
That’s where the taper comes from: they’re wider at the bottom than the top. And they take a sealed bearing both top and bottom of course.
Internal and Semi Internal Cable Housing
The move to integrated cable housing has resulted in redesigned headsets in order that cable housings can be threaded from the stem into the head tube and then into the down tube.
Making space to allow cable housings to pass through head sets is both tricky to design and then make work on the bike—every mechanic will tell you that bike assembly has become much more complicated with the move to internal cable routing.
Be that as it may, the bearing setup is simple: sealed bearings all the way.
Now that we’ve got a clear view of bearings and headset types, we can look at how to maintain or replace them.
MAINTAINING ROAD BIKE HEADSET BEARINGS
The maintenance regime depends on the type of bearing setup installed. Older designs require a little more TLC than newer designs which contain sealed bearings.
Loose Bearing Maintenance
Loose balls require the most care when disassembling a headset.
Being loose, they can get away from you, particularly if the grease has thinned out to the point of non-existence . . . or maybe the original assembly went light on the grease.
At any rate, the less grease, the less the balls stick to the race and each other.
Disassembling the headset should be done methodically: lay out each piece in reverse order so you don’t have to think about which piece goes where (mechanics who have done this 1000x have internalized the process and rely on motor memory).
Each brand does this a little differently, some quite a bit differently. Therefore getting to know your particular headset well and being methodical, especially in disassembly matters a lot.
Wipe the cups free of old grease and the dirt it contains . . . kerosene or a similar degreaser gets surfaces spotless.
Wash the balls in degreaser. Again, kerosene does a really good job—cleans and then evaporates quickly.
Re-grease and re-install in the reverse order of disassembly.
Caged (or “retainer”) Bearing Maintenance
Everything mentioned in relation to loose ball bearing maintenance applies here.
The difference is the balls are installed in a cage which you remove in one piece.
Clean the cups. Clean the cage by soaking the cage in kerosene (or your favorite degreaser).
Re-grease then reinstall.
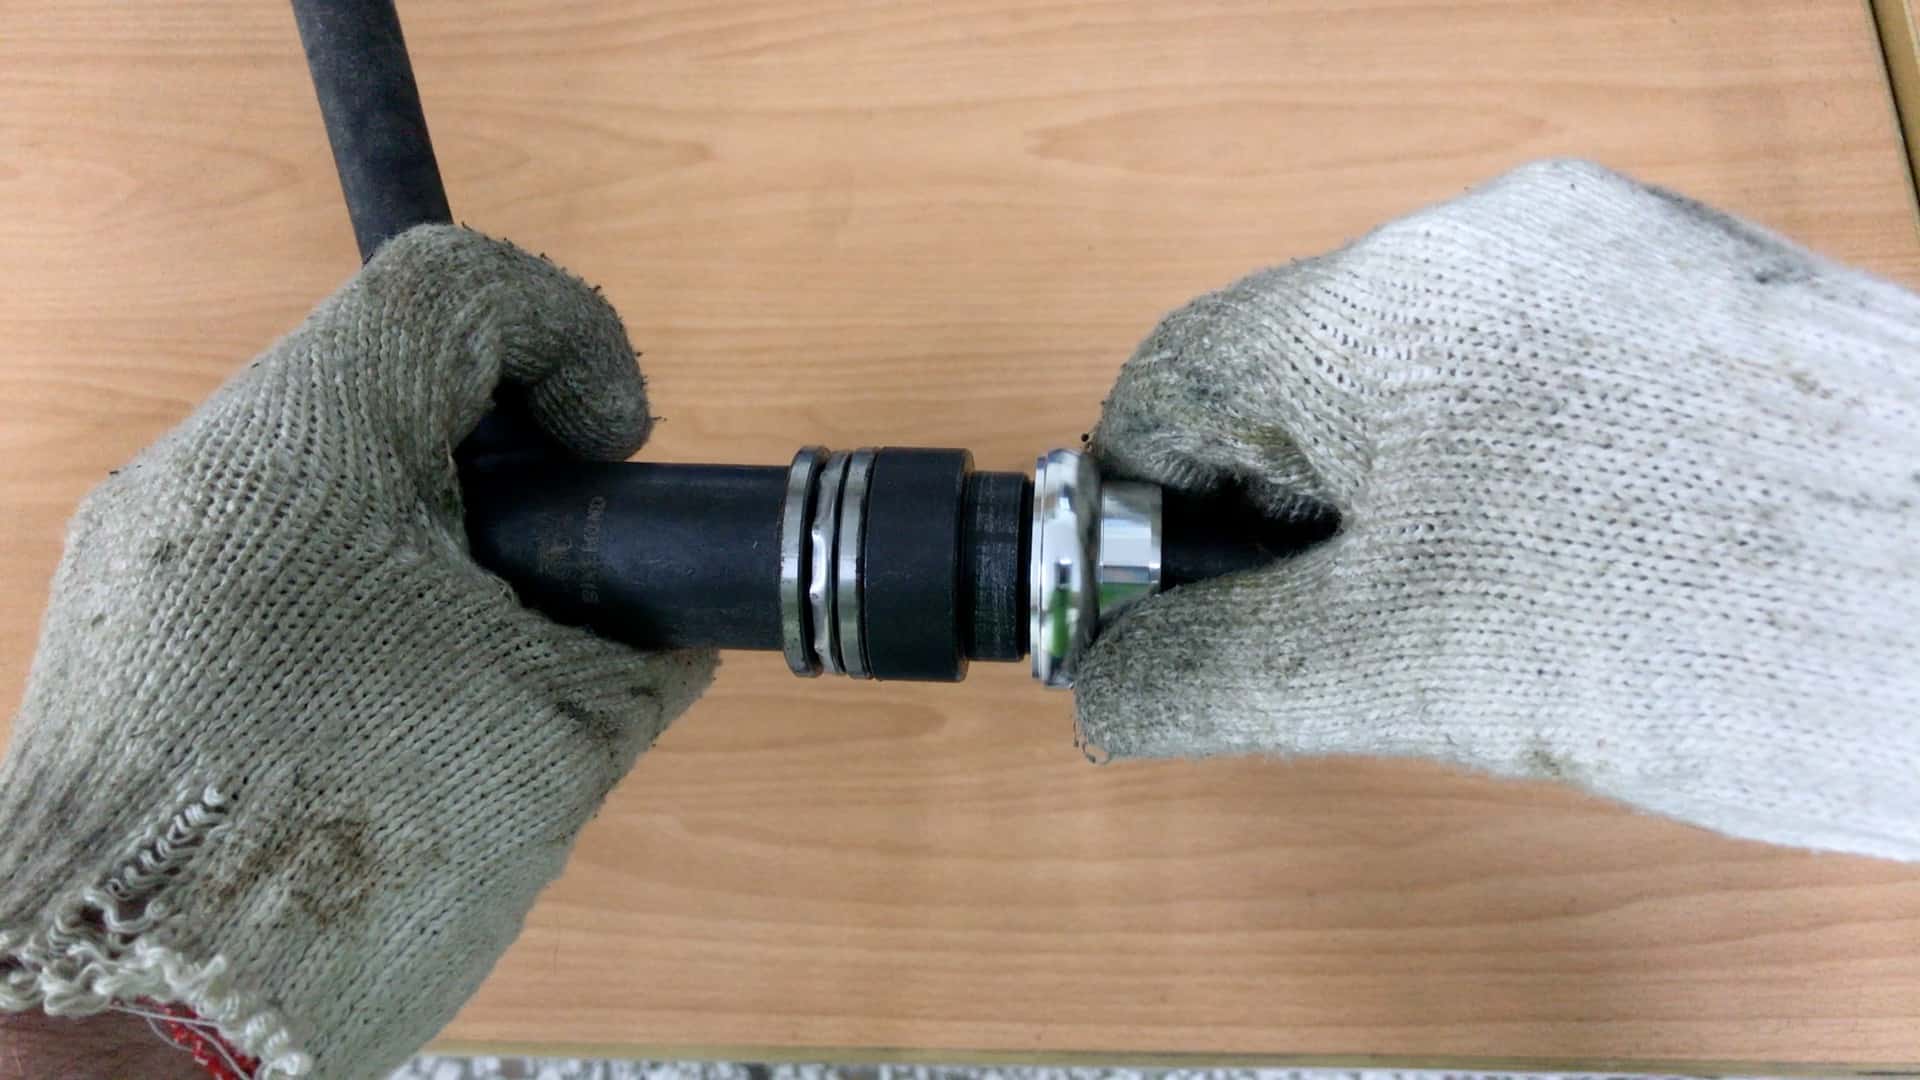
Sealed Bearing Maintenance
The easiest of the lot.
A sealed bearing can be used in a number of threadless headset designs and is universal in integrated headsets.
The question is: do you clean and re-used a sealed bearing? Or replace it.
A sealed bearing can be serviced—pry the seal out with an awl. Soak the unit as a whole in degreaser. Wait for the degreaser to evaporate then re-grease.
Or replace them—they lift out and drop into place easily. And they’re cheap . . . in relation to their durability anyway.
Check out the post on sealed bearings.
PROCESS for REMOVING and INSTALLING HEADSET BEARINGS
If the headset in question not an integrated headset design, then it has cups.
If cups are involved, a cup remover and a headset press is required.
A flanged tool similar to this is the best way to remove cups.
Slip it into the head tube. Draw it through, waiting for the flanges to snap out into position against the inside of the head tube and the cup’s inner edge. Then hammer it out.
Crude. But straight forward . . . which is how the cups will fly too by the way. Don’t have people, pets, or valuables in front of the head tube should a cup suddenly release and turn into a dangerous projectile.

Installing new cups requires being able to get a headset press tool to work which is mainly about setting the cups squarely from the getgo.
The tool can deal with a little skewness to start off with . . . a lot actually. But straighter is better.
Selecting the right section of the cup mount is key.
Give the post dedicated to the headset press tool a close read—it will tell you all you need to know about what it is and how to use it.
SEMI INTERNAL CABLE ROUTING HEADSETS
In finishing off, the biggest innovation in headset design since the advent of threadless headsets has been in response to the shift to internal cable routing on road bikes.
Semi-internal cable routing—where instead of an integrated cockpit, a standard handlebar routes cables into the frame through the headset—makes it easier for water and grit to get to the bearings.
On the bright side, as the most recent edition to the pantheon of headset designs, fully internal and semi-internal cable routing headsets rely on sealed bearings which are designed to resist such intrusions. So just take note of everything said here about sealed bearings.
The main bugbear with these headsets is the initial installation of the cable housing with potentially more difficulties.
This also adds time to maintenance tasks (which is why so many bike mechanics rue the day internal cable routing went mainstream).