The task of bottom bracket replacement is easy . . . when you know how.
To do it successfully you need to
- have access to the appropriate tools
- know how to use them
This post provides a list of the essential points to note for the main types of bottom bracket.
We’ve covered this ground in great detail for each BB type in a number of in-depth posts elsewhere on the blog. So this post is a summary of the main points for each and includes a link to the relevant post where the topic is dealt with in much greater detail.
Note that if you’ve never carried any particular replacement before, you need to proceed very slowly and with caution.
Without experience you usually won’t know you’re running into a problem until the damage is done.
We highly recommend having an old frame on hand to practice on, or a friendly bike shop happy to let you observe and even get the hands-on experience you need to avoid making a hash of any bottom bracket replacement you attempt.
CONTENTS
IMPORTANT POINT
Bottom brackets tell you when they’re in trouble.
They develop a persistent clicking or creaking that often gets louder over time.
Rarely do they fail outright though: cyclists don’t often find themselves stranded half way through a ride because the cranks seized.
BUT, be aware that a persistent clicking or creaking coming from the bottom bracket may well not be due to the movement of the cups in the shell (we’ll cover that in a moment).
Check the following:
- that the pedals are tightened to torque tolerance in the crank
- a washer has been used
A groove is inscribed around the threaded pedal axle opening in mid to high end cranks, and fitting a pedal without a washer may result in slight movement against the crank which causes the clicking.
Or maybe the pedal’s sealed bearings have loosened so that there is play between the pedal axle and pedal body. As the crank rotates the increase in pressure alternating with the release in pressure can manifest as a constant click or even rapid double click.
BB squeaks, crank clicks, pedal creaks, or general frame noises can be devilishly hard to distinguish from each other—the sound can be coming from anywhere.
The important point is to make an effort to eliminate these possible sources of noise before going into full on bottom bracket replacement mode.
THREADED
The bugbear in threaded bottom bracket replacement is cross threading a bearing cup or cartridge into the BB shell threads.
Slight variations in manufacturing tolerances can result in the occasional bearing cup or cartridge feeling very tight on the installation.
The trick is knowing whether tightness is a result of variable tolerances or whether you are cross threading.
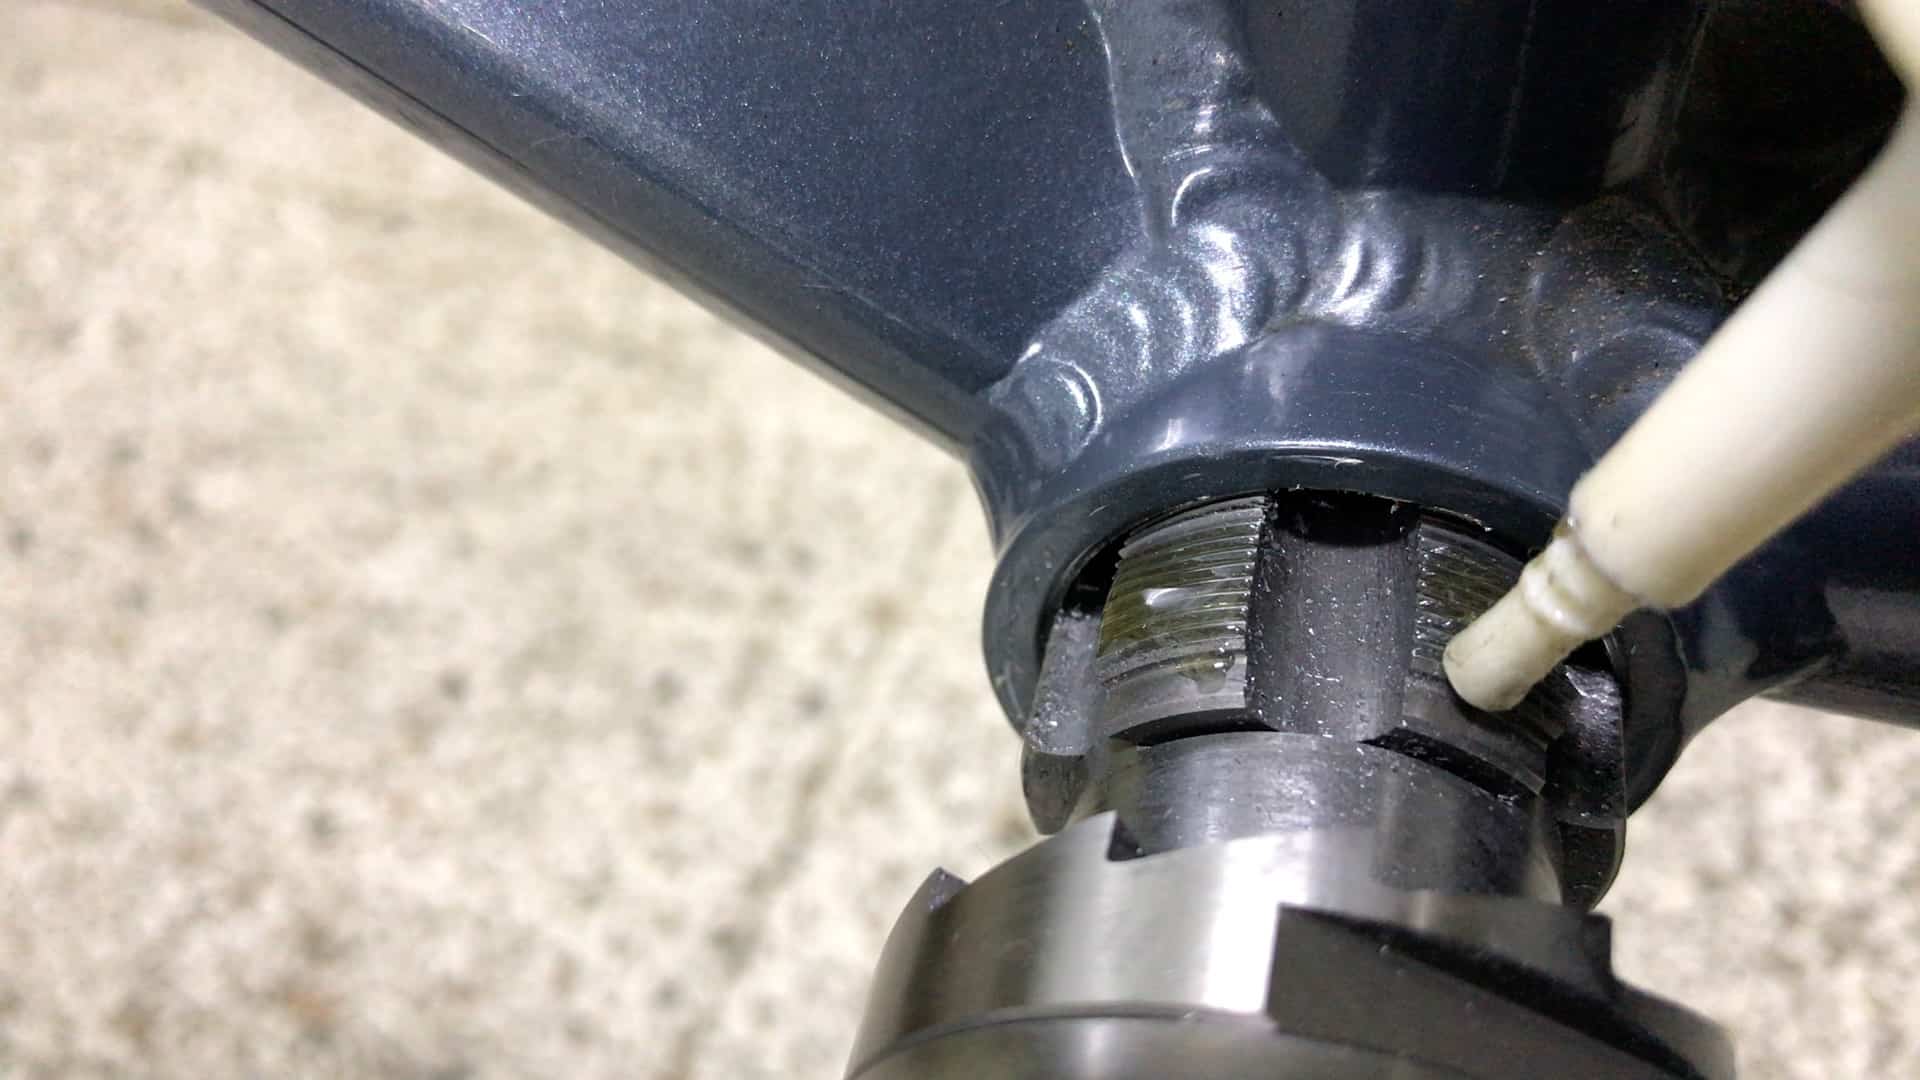
Thus putting a tap into the threads before every reinstallation—and for installs into new frames—ensures the threads are cut perfectly which in turn helps ensure a smooth installation.
Tapping the Threads
In the context of a bottom bracket replacement procedure, running a tap through the threads ensures they are perfectly cut and there are no anomalies.
Although a bike’s bottom bracket shell threads are cut by specialists in a specialized factory, threads still should be tapped prior to the initial installation.
If a bottom bracket is especially hard to remove, it may be that the threads were not tapped prior to the initial install.
So thoroughly clean the grease and any impurities out of the threads and re-tap the BB shell.
You need a tapping tool that threads into one side or both sides at once.
A tool which threads into both sides speeds up the process which only matters if you are processing a large volume of bikes.
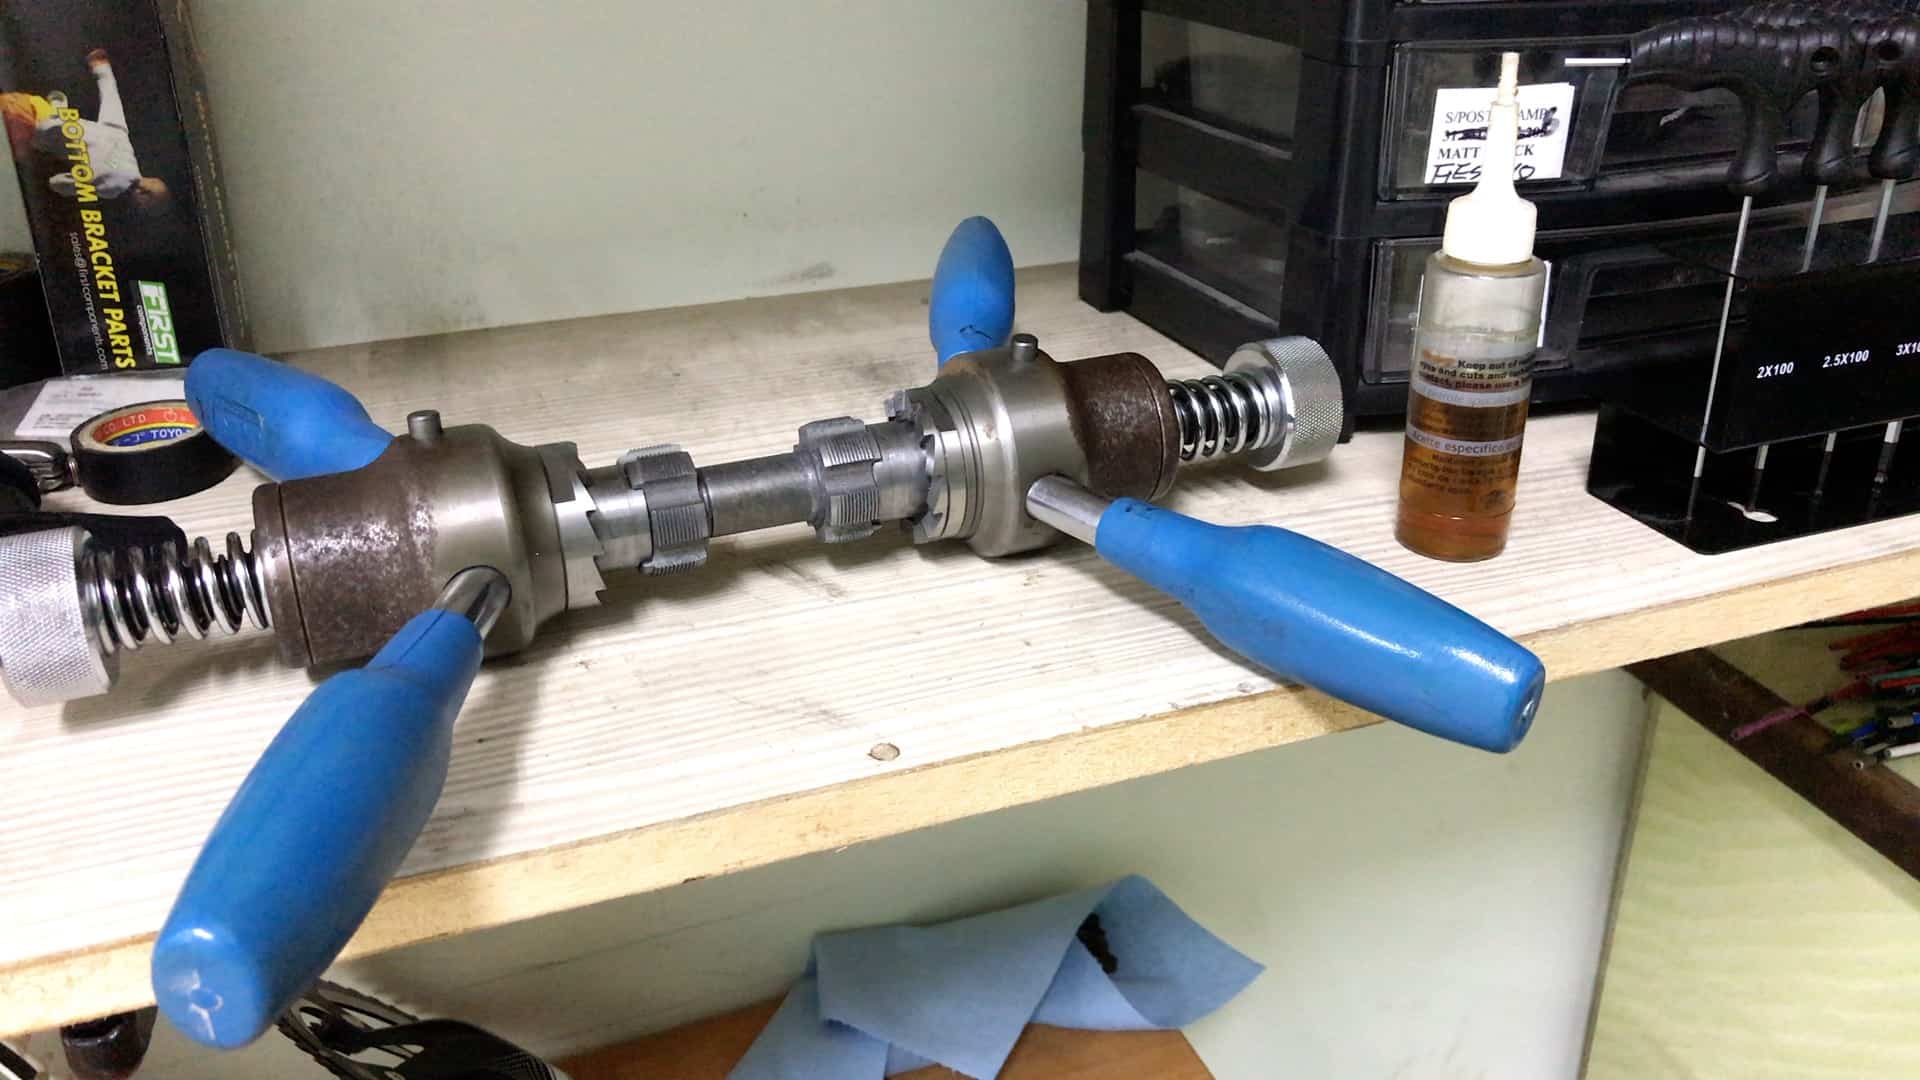
With a tool like this one by Cyclus, you lightly engage both sides in the bottom bracket shell. Then, standing squarely in front of the handles on one side, turn each slowly, 2-3 turns at a time.
A few dabs of cutting fluid on the cutter’s threads reduces wear on the die as well as reducing resistance where resistance is encountered.
After a few turns, reverse direction, back up half a turn, especially if there’s a lot of resistance.
If the tap is hard to turn, it means a good deal of cutting needs to take place. Lots of cutting means lots of detritus which is best cleared from the tap’s threads.
An average cut produces a little to moderate amounts of offcut which you brush out after removing the die.
The complete procedure is detailed here.
Cup and Cone
Arguably the easiest BB assemblage to replace.
This example details the process of replacing a cup and cone one piece crank with a square taper spindle 3-piece set.
The key to everything is how much to tighten the cone onto the cup at the last stage of the installation. Too tight restricts crank rotation; too slack allows play and rapid deterioration of all components. Got to get it just right.
The locknut prevents the cone from unthreading, in this case along the crank.
Otherwise a really old style threaded cup and cone BB threads into a threaded BB and is secured by a cotter pin through the crank.
Loosen and remove the locknut, then the cone.
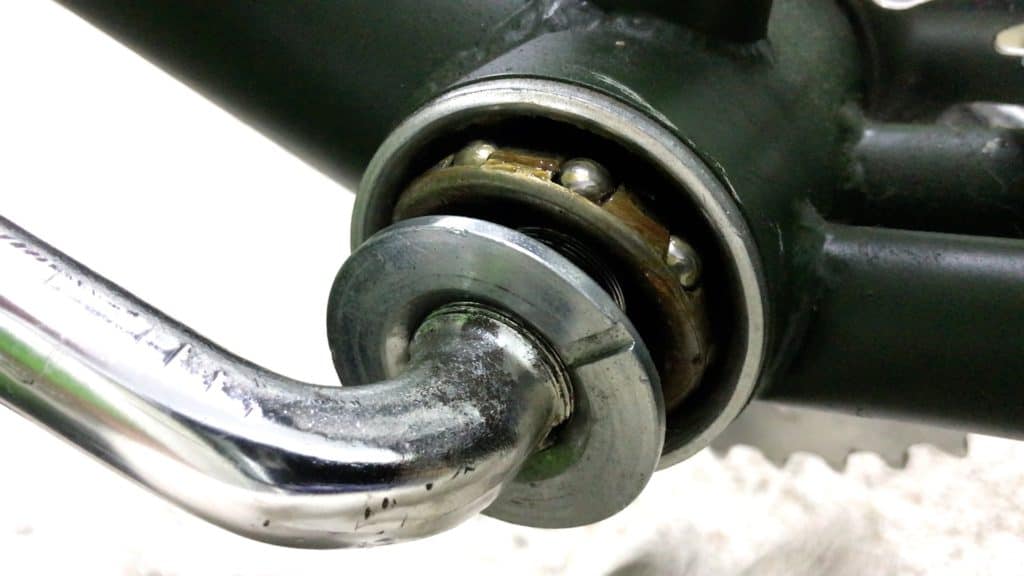
Once the cone is free of the threads, the bearings follow, in this case a caged bearing. Else be ready to collect the loose ball bearings as the emerge from the cup.
Check out the detailed post here.
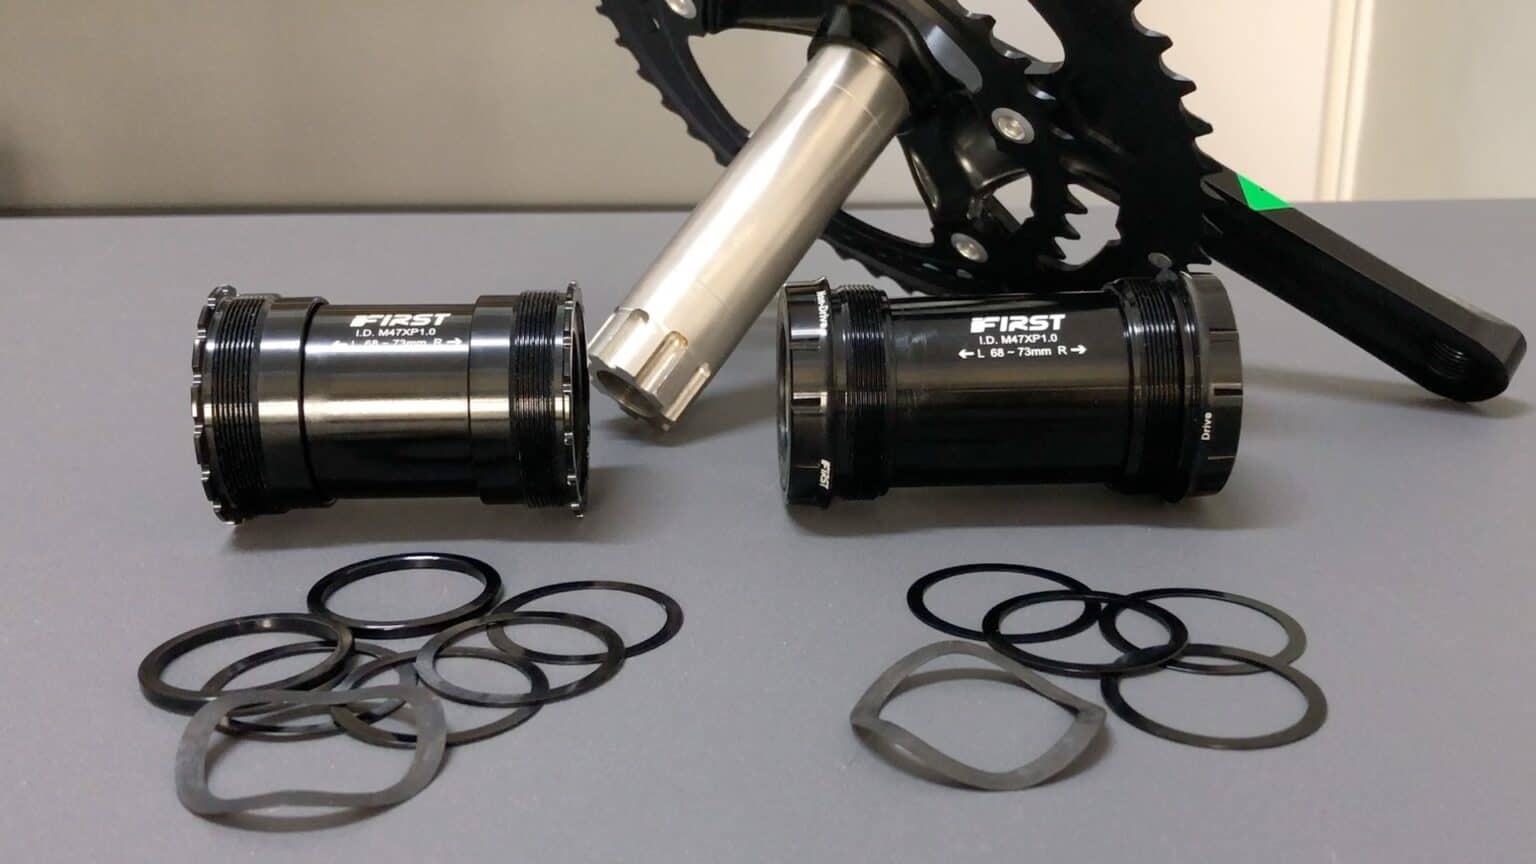
Cartridge BB
Modern cartridge bottom brackets nearly all house square taper spindles contained within the unit by sealed bearings pressed permanently into position.
Replacing the sealed bearings is not an option since they are installed into the cartridge with a hydraulic press. Anyway, cartridges are cheap and easy enough to replace as a whole.
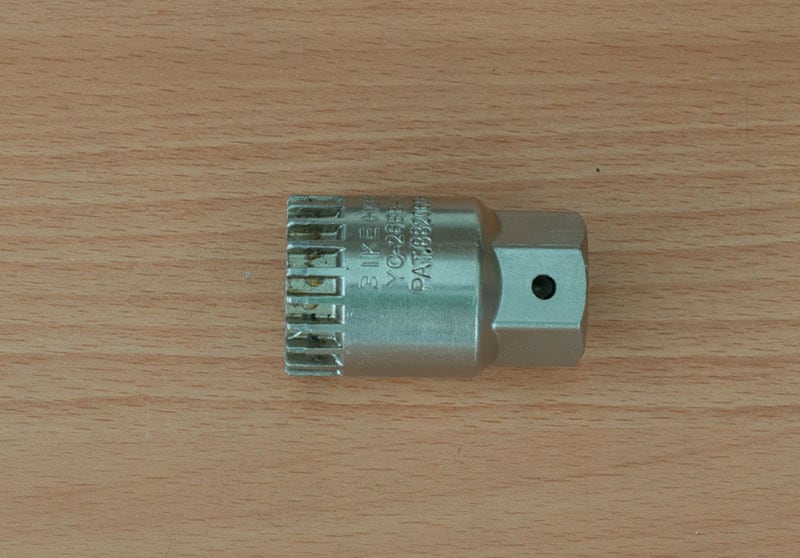
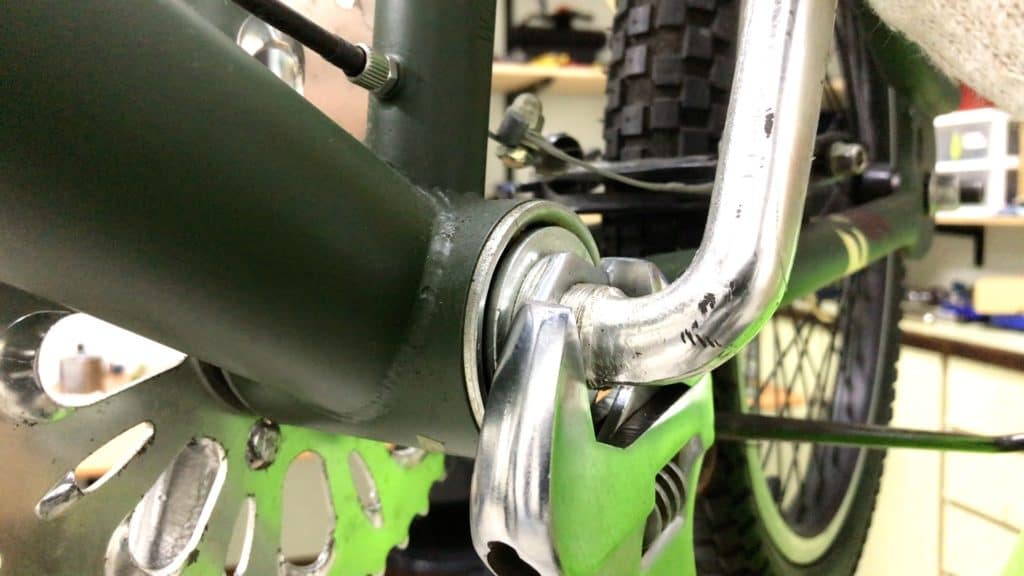
The socket tool fits inside a cartridge’s splines by only a few millimeters and the main skill is to keep the tool square in those splines when tightening and loosening the cartridge.
With most replacement procedures the cartridge gradually tightens as the install progresses so you can start off with a short handled wrench. But as the unit approaches full insertion, it gets tighter, so you need a longer handled wrench to ensure completion and tightening to tolerance.
The shorter handle makes stabilizing the socket in the splines easier unlike the longer handled wrench which takes a lot more.
It’s rare for any damage to result from the tool slipping out of the splines, which cannot be said for the much more delicate cups when carrying out external bottom bracket replacement procedures.
A comprehensive coverage of cartridge BBs is here.
External BB
There are two main considerations when replacing an external BB:
1 ensuring the shell faces are square
2 avoiding damage to external surfaces
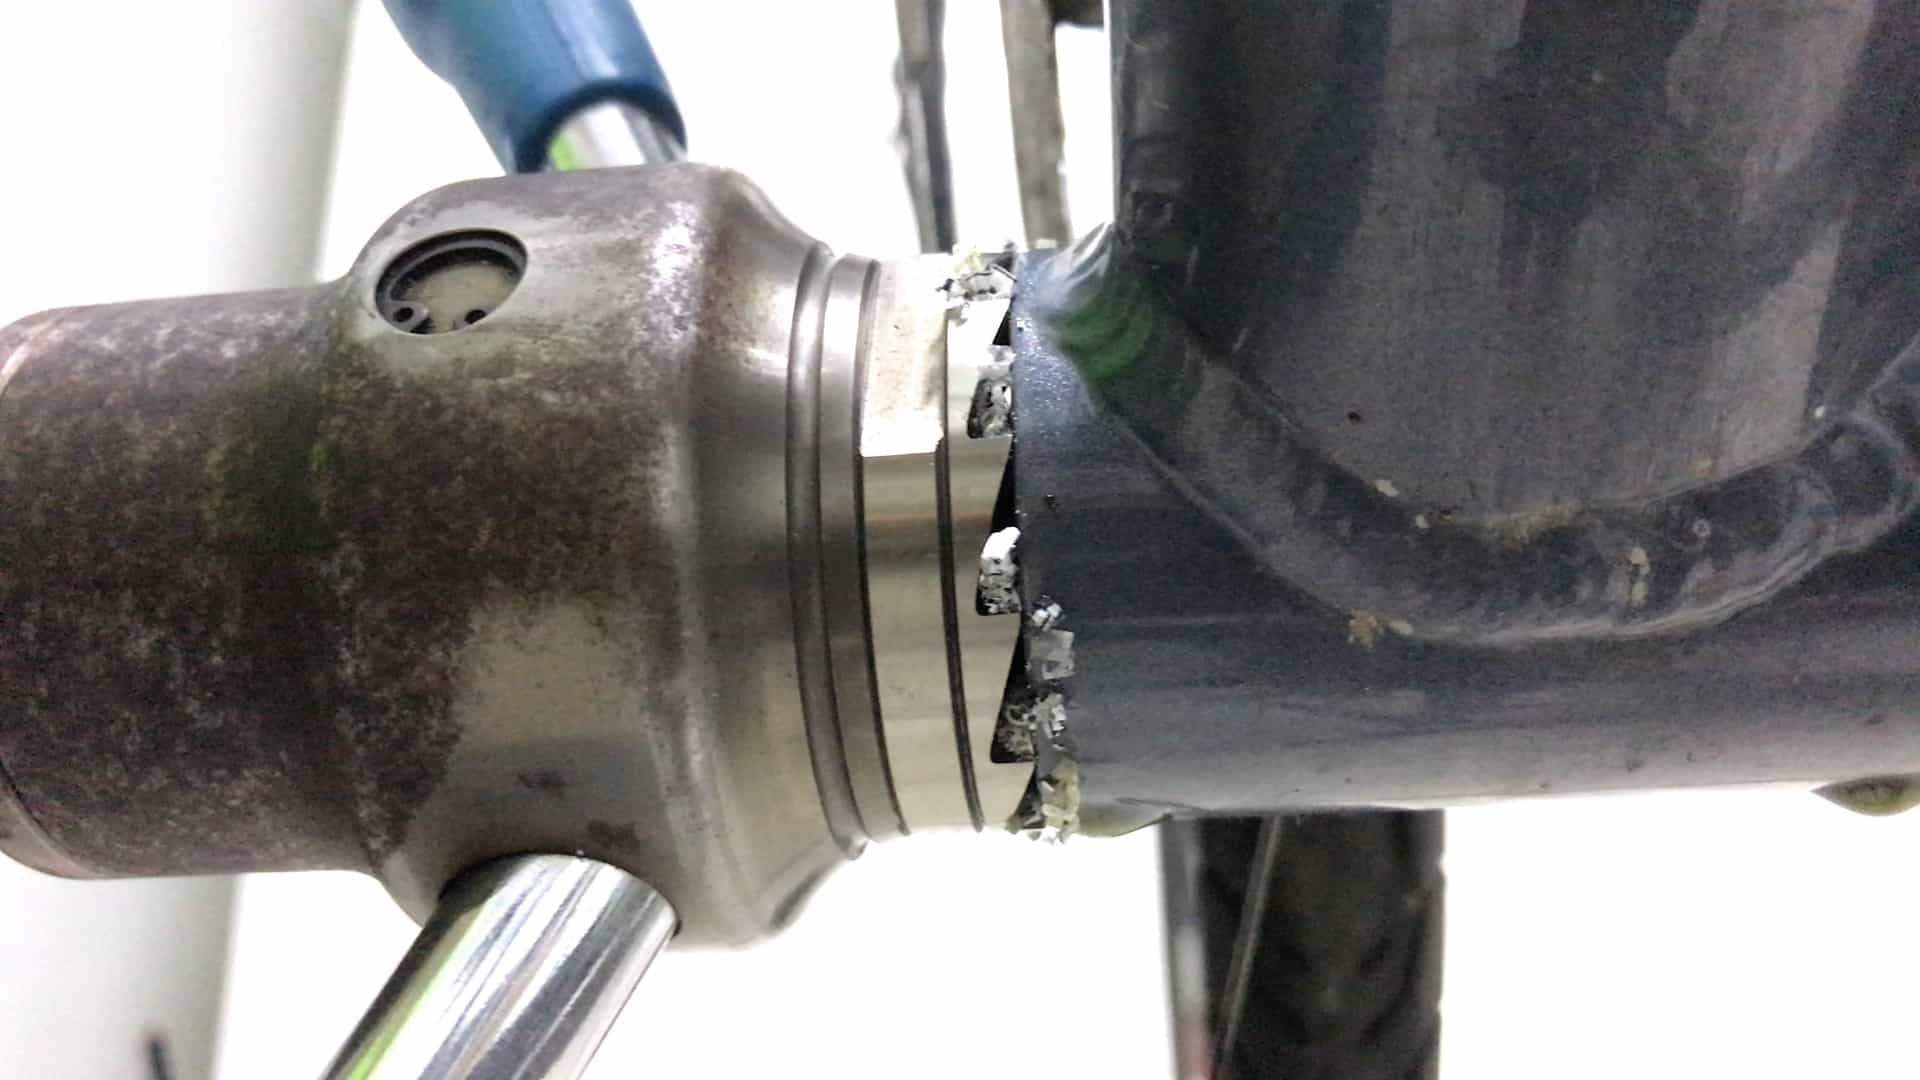
Square Faces
It’s important to ensure the inside faces of both cups sit square to the BB shell’s faces.
By sitting square against the shell they are perfectly aligned to the frame which prolongs the life of the bearings and minimizes the likelihood they’ll move when the bike is in motion.
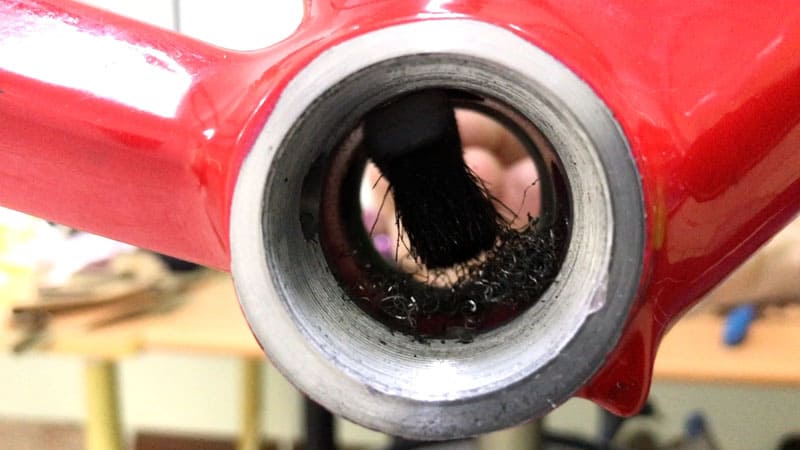
After removing the bearings cups and wiping the BB shell clean, if the edges of the shell are not shiny but covered in overspray from when the frame was painted, it’s a good idea to cut them back to bare metal.
Successfully executing this procedure takes practice although there is one thing to watch out for: leaving ridges on the surface once all the clear coat and paint has been removed.
How to Avoid Messing Up the Cups
Avoiding disfigurement of the softer alloy cups with the much harder steel wrench or socket used to rotate the BB cups into or out of the BB shell is an issue for many bike owners and bike shop technicians.
Anyone who’s performed these removals and installs know just how badly the steel can tear into the cups and turn them into a hideous mess.
By holding the socket in position very carefully and moving slowly you can avoid conspicuously damaging the cups.
Some bike shops tape the area of the cup that comes into contact with the socket which ensures it remains like new.
The extra thickness added by the tape makes it more difficult to keep the wrench or socket on the cup though.
Facing the BB Shell
Because external BB cups contact the shell at both the threads and the shell face, it’s necessary to cut the shell faces perfectly square so they match the perfectly machined cups.
Learning to cut correctly takes practice. The main skill is finishing the cut where you must gradually release the pressure of the cutters on the face to avoid leaving sharp ridges in the newly bared alloy.
The complete procedure is detailed here.
T47
Replacing T47 cups is the same as replacing external threaded BB cups.
What is different, though, is the range of replacement units available to be fitted.
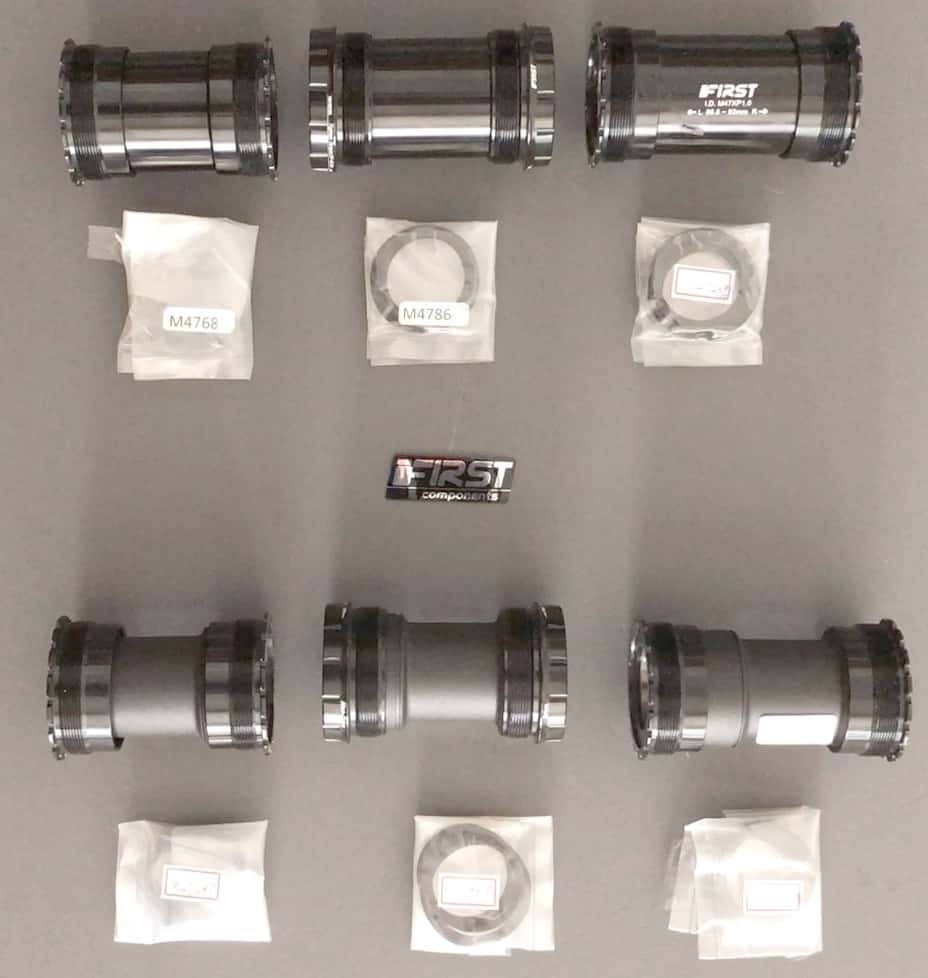
There’s plenty to choose from in relation to T47 bottom bracket replacement. We also provide a variety of spacers allowing users to accommodate a wide range of cranks.
The key difference between standard threaded BB products and T47 is the choice between inboard or outboard models.
Getting one of these out during the replacement procedure is straight forward. Here’s the section in our detailed post on T47 on the installation procedure (includes a video).
PRESS FIT
The problem with press fit—and possibly the reason you are looking to replace one—is the wide variation in tolerances amongst BB shells and bottom brackets.
A BB cup machined to be perfectly round will likely end up fitted into a BB shell that is not perfectly round.
Minimally the shell will be elliptical, or slightly more elliptical than the cup, giving you two surfaces that don’t precisely fit into each other.
No matter the degree of stiffness bicycle manufacturers claim for their frames, every frame flexes during periods of extreme torsion.
These conditions cause those surfaces to move and the tiniest amount of movement is likely to produce creaking over time even if generously greased.
So, be aware that instead of replacing a noisy press fit unit, a reinstallation may be all that’s required—remove, regrease, refit.
BB30
Arguably the most tricky bottom bracket replacement procedure of all since the sealed bearings install directly into the shell.
Shell tolerances must be exceptionally fine to reduce the possibility of movement.
A pair of C-clip or needle nose pliers takes care of the clip installation or removal.
You then need a tool to gently seat the sealed bearings in position.
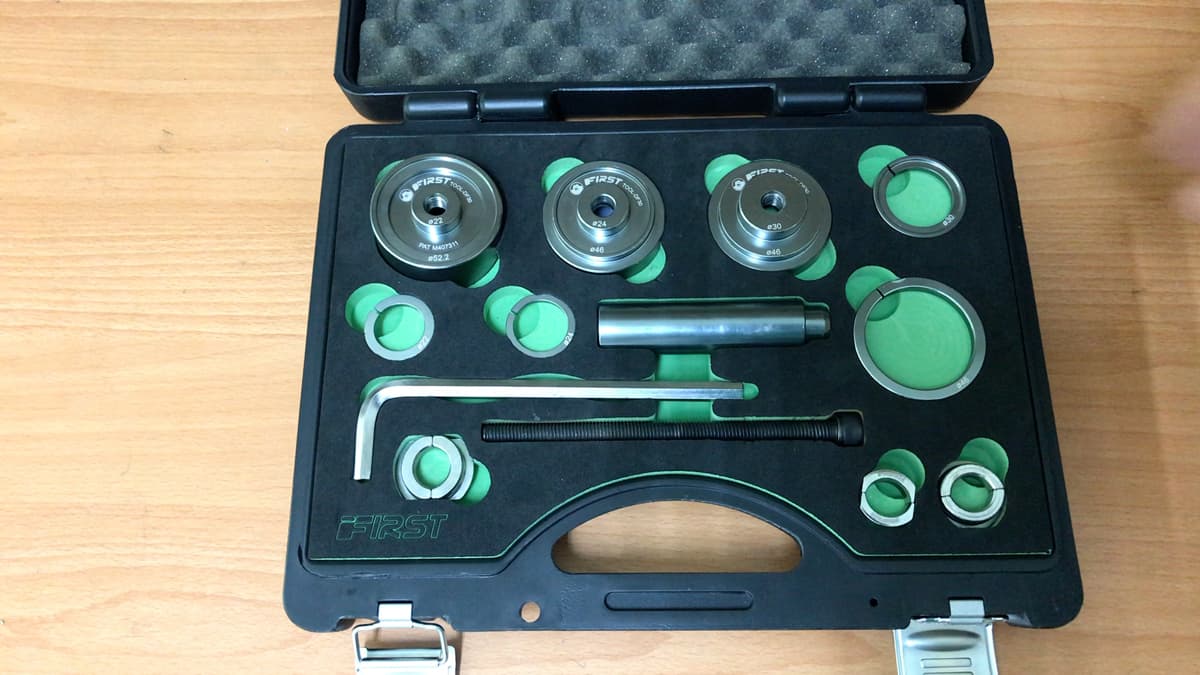
FIRST’s BB2430 tool is designed to install and extract sealed bearings by means of the split steel-hitch component.
We show it in action during a demo PF30 installation and removal covered in the next section.
PF30
The decision to make first up is whether the BB cups need replacing or just servicing.
A noisy BB here could be rectified by simply removing, cleaning, and reinstalling the cupsHow.
FIRST’s TOOL-DF30 makes installing or removing the bearing cups a breeze.
How to use this tool to remove PF30 BBs check out this section.
For using it to install a PF30 BB, this section has all the answers.
THE FINAL WORD
Successful bottom bracket replacement requires the right tools and a critical mass of experience.
How much experience is required for each type of replacement procedure depends on the type of BB being replaced.
But maybe even more important are the circumstances making the replacement necessary in the first place.
Diagnosing a problem to decide if a bottom bracket is actually the cause of noise or a malfunction is a crucial step.
Then it’s a matter of executing a step-by-step removal and replacement process.