In this article we provide the most comprehensive information about BSA Bottom Brackets online.
A continually expanding range of bottom bracket standards, especially in the last 15-20 years has overly complicated the simple task of getting a bike’s cranks rotating.
We make the case that the BSA bottom bracket is the cheapest, most effective bottom bracket design. Ever! Cyclists have relied on it from the very first edition of Starley’s safety bike, and it’s likely to endure for decades to come.
QUICK LINKS to SECTIONS
- BSA is BS, Actually
- The Modern Form of the BSA BB
- How Do You Know if Your Bottom Bracket is Italian or English?
- How Do You Install (& Remove) a BSA Bottom Bracket
WHAT IS A BSA BOTTOM BRACKET?
The story of the modern bicycle began in Germany with Karl Von Drais’s Velocipede. From there, the momentum of innovation soon moved to France and then Britain.
The modern form of the bike, the rear drive safety bike, is a late 19th century British invention. And at the heart of bicycle manufacturing in Britain was the BSA company.
From Guns to Bike Parts
“BSA” is an abbreviation referring to the Birmingham Small Arms (Company), set up in mid 1861 in Birmingham (duh), England by a bunch of gunsmiths.
Their aim was to manufacture arms at scale by mechanized means, thus eliminating the need for skilled craftsmen.
The manufacturing context was the Second Industrial Revolution in which advances in technology and energy use rationalized manufacturing, leading to mass production in the following decades. (The NAHBS movement, for example, represents an emphatic pushback against this juggernaut which still dominates).
Manufacturing accurately machined parts at low cost but high volume was the way to profit from the factory production system. It still is for low-end bicycle manufacturing along with a lot of other stuff even today.
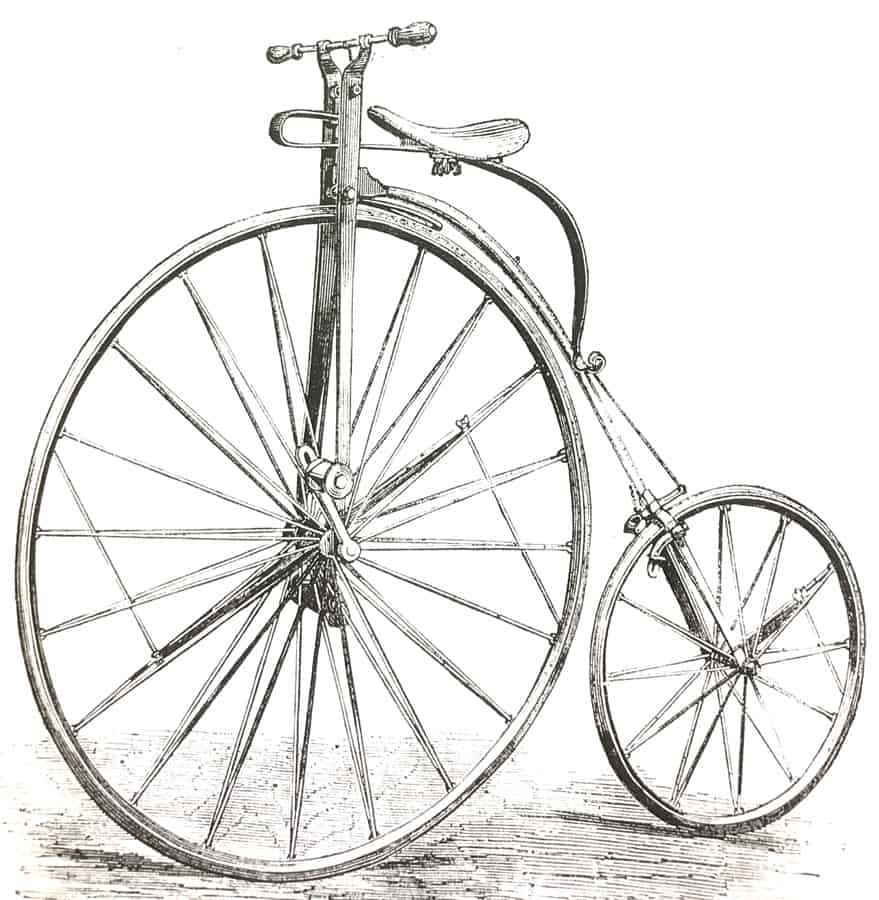
BSA branched out into bicycle parts manufacturing in 1880, the decade in which the modern safety bicycle replaced the popular, but treacherous, Penny Farthing.
Yep, the one where you perched high above a massive front wheel that easily wedged into a rut, sending you melon-first into the pave (called a cropper at the time).
The company went into complete bike manufacturing pretty quickly but was out by 1887—large gun orders turned out to be more lucrative.
BSA resumed making bicycle parts in 1893, significantly hubs. (One created under license formed the basis for Sturmey-Archer). The company stuck with component manufacturing until the companies various divisions were absorbed into other companies.
BSA began manufacturing their own bike brand in 1910, the B.S.A Light Roadster Bicycle, and was a key player until Raleigh bought the bicycle division in 1957. BSA had disappeared by 1973 however.
BSA is BS, Actually
Since this is a no-BS blog, let’s deal with an into-the-weeds issue that causes confusion and frequent, heated arguments: BSA vs BS(C)
In the bike industry, BSA is the handy descriptive term we use to refer to (English) threaded bottom brackets.
Nine out of 10 cyclists these days divide the universe of bottom brackets into BSA or Press Fit with BSA understood to be a threaded bottom bracket. Most of the conversation, of course, centers on press fit models—in all their proliferating glory.
However, in contrast to BSA, the official, technical standard is British Standard Cycle or BSC, often abbreviated to BS.
The Cycle Engineers Institute, formed in 1898 (but broadened focus in 1904 in the form of The Automobile and Cycle Engineers Institute), came up with the BSC standard in 1901.
The dozens upon dozens of companies that were around in those wild days of the first bike boom adjusted their standards to the BSC spec. The Birmingham Small Arms company was one of those companies.
When we’re talking about BSA, then, the standard we’re referring to is BS(C). I’ll nonetheless reiterate that even though “BSA” is technically the wrong term to use, it’s still—by far—the term which conventionally substitutes for English threaded.
When your suppliers or customers cease to understand when you mention BSA bottom brackets, then it’s time to use whatever has become widely adopted by that time.
The Modern Form of the BSA Bottom Bracket
The spec you’ll always see associated with the BSA BB standard is 1.37” (1.375in or 34.92mm to be exact) x 24.
The (outer) diameter of a BSA bottom bracket’s threaded section is 1.37” which corresponds to the bottom bracket shell’s internal diameter.
“24” refers to the 24 threads per inch (tpi) in the threaded section of a cup, measuring around 8mm on the drive side, a little less for the non-drive side (measured on a BSA BB for an integrated crank).
The drive side bearing cup threat is left handed, installed by turning left, not right. The non-drive side cup uses a standard right handed thread.
CARTRIDGES
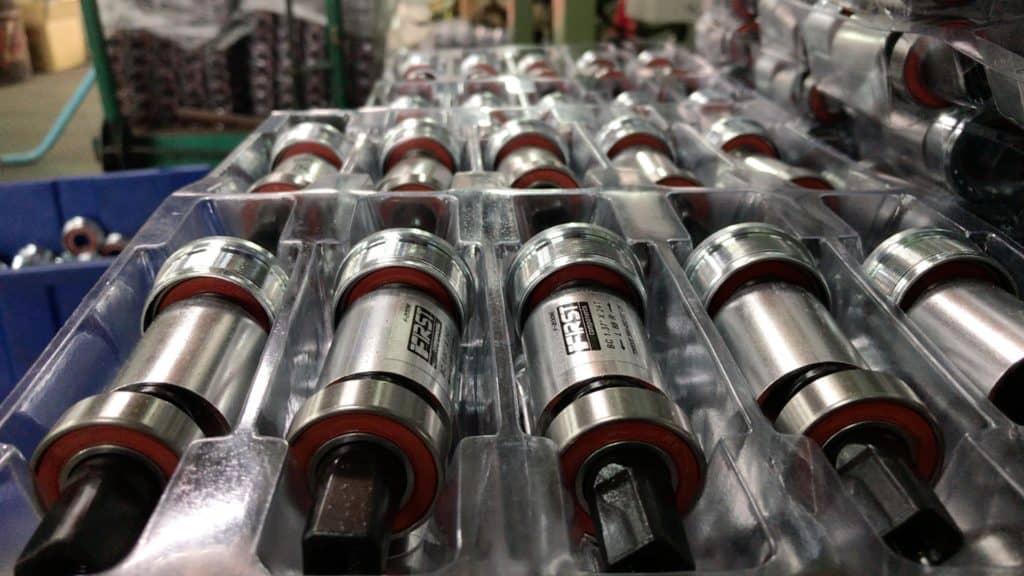
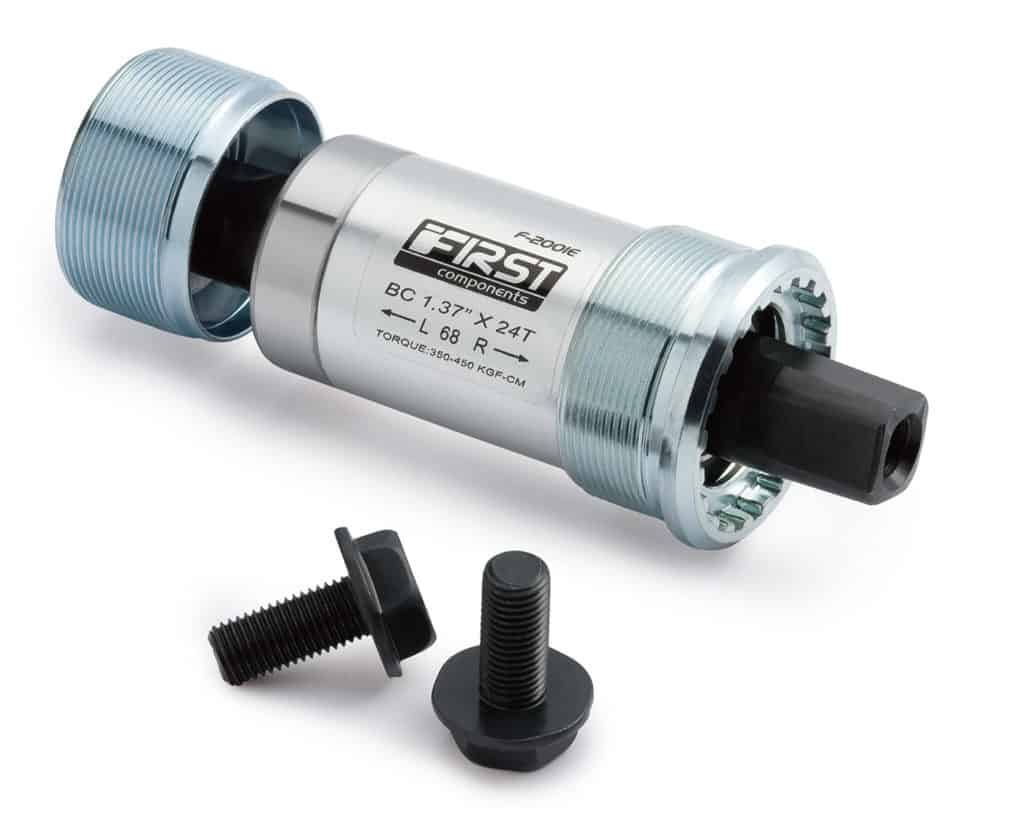
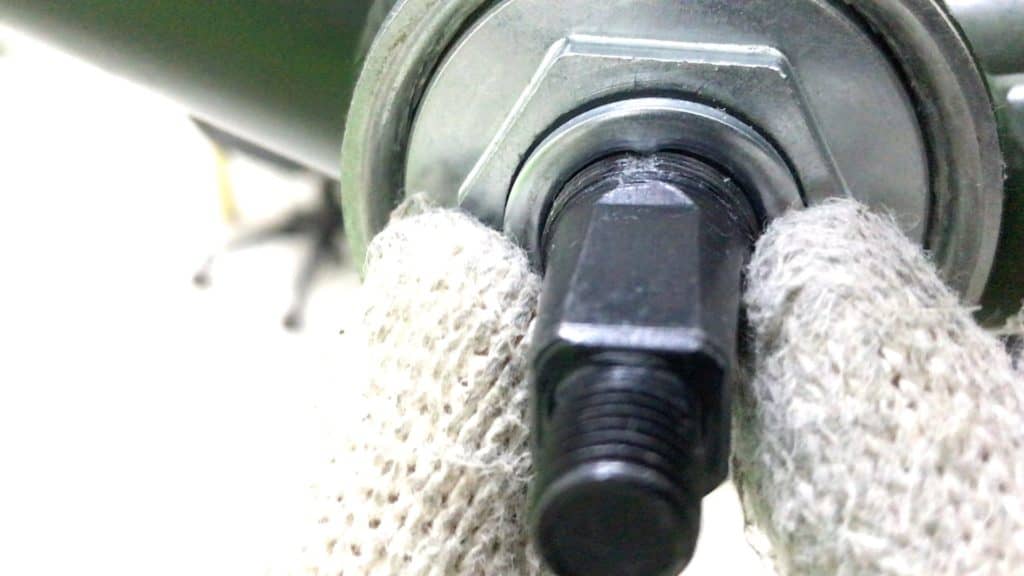
99.99% of modern English threaded BBs come in the form of cartridge bottom brackets with a square tapered spindle.
The square taper spindle radically altered bottom brackets designed around a cotter pin, substituting the vertical cotter pin with two horizontal bolts, each fixing a crank arm onto the spindle.

Square taper spindle designs outside of a BSA format also exist, as with this BMX square tapered spindle which replaces a single piece crank.
This type of BB is American and specifically for BMX. Nevertheless, modern BSA BBs are overwhelmingly sealed bearings housed in a cartridge with a square taper spindle.
A cartridge has several advantages compared to a cup and cone assembly. The key change is the use of sealed bearings.
The difference between the cartridge approach and the old style BB is the incorporation of the bearing cup into the sealed bearing (so to speak), where the balls are mounted into a cage wedged between an outer race and an inner race.
Sealed bearings are pressed into the body of the BB and fit snugly around the spindle. Rigorously precise manufacturing processes ensure a perfect fit between the cage-restrained bearings and the inner/outer races.
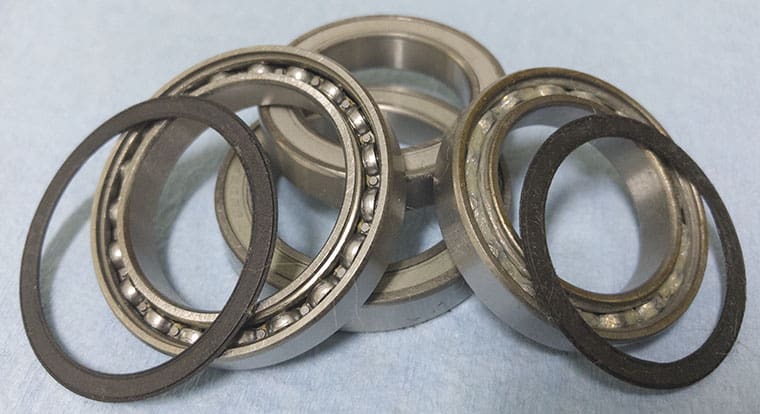
The dust cover also slots snugly into the gap between the inner race’s inner surface and the outer race’s inner surface, creating a very effective seal against the entry of mud and water, except in the case of full immersion.
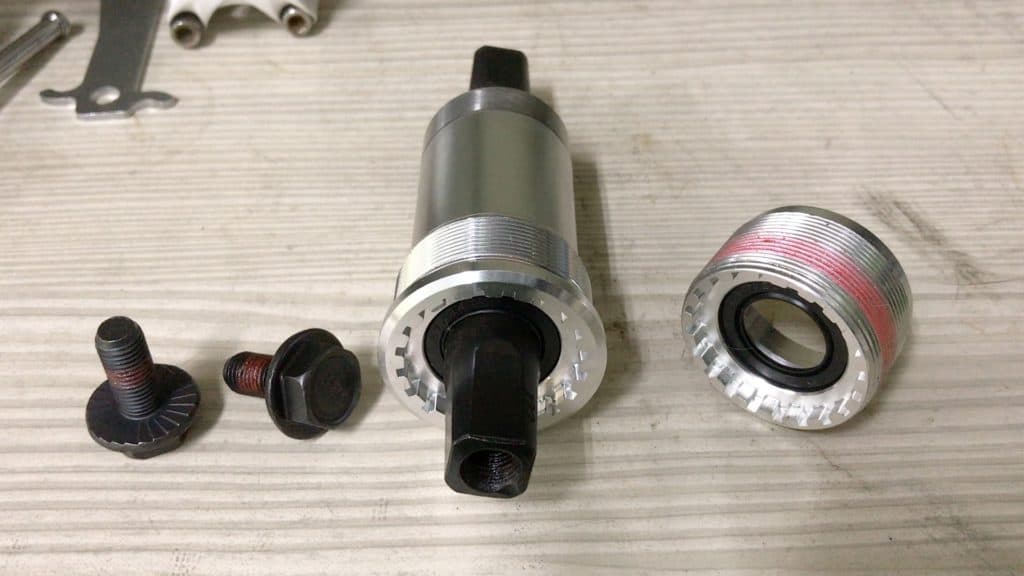
With a cartridge you only have two pieces to deal with: the cartridge as a whole which installs into the drive side, and the lockring which installs into the non-drive side.
A disadvantage with this design is when the bearings wear out. Removing the cartridge from the bottom bracket is easy; removing the bearings from the cartridge is not. It can be done and replacement sealed bearings are available online. It’s just not easy.
HOW DO YOU KNOW IF YOUR BOTTOM BRACKET IS ITALIAN OR ENGLISH?
You’ll know going by the spec. English BB spec is 1.37” x 24 tpi; the drive side has a left handed thread.
Both use 24tpi, but Italian BBs are 36mm in diameter. Moreover both Italian BB bearing cups use right handed thread. Italian BB shells are 70mm wide compared to the 73 or 68mm BSA BB shells.
A disadvantage of Italian BBs is precession, where the force exerted on the drive side can result in it loosening. BSA drive side BBs tighten in the direction of that force, overcoming the problem.
HOW DO YOU INSTALL (& REMOVE) a BSA BOTTOM BRACKET?
Installing a BSA BB is simple at a glance. Be warned, though: those threads demand careful attention. It’s easy to misinterpret cross threading as merely a bit of resistance.
Removing a BSA Bottom Bracket
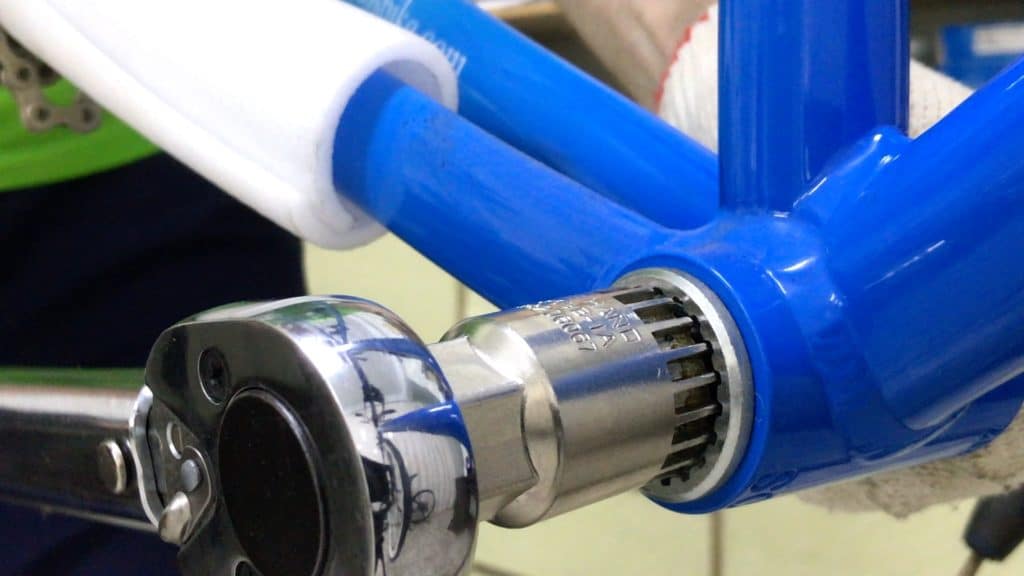
Use a splined tool along with a breaker bar, or at least some sort of long handled wrench to loosen the BB cups in the shell. The longer the wrench handle, the better, especially when you’re breaking the drive side free of the bottom bracket shell, which is usually tighter than the non-drive side.
Loosen the non-drive side first. Cartridge bottom brackets are secured in position with a lockring, so releasing this several turns is recommended; working on the drive side becomes easier.
Installing a BSA Bottom Bracket
There are two parts to the installation process: preparation followed by the actual installation.
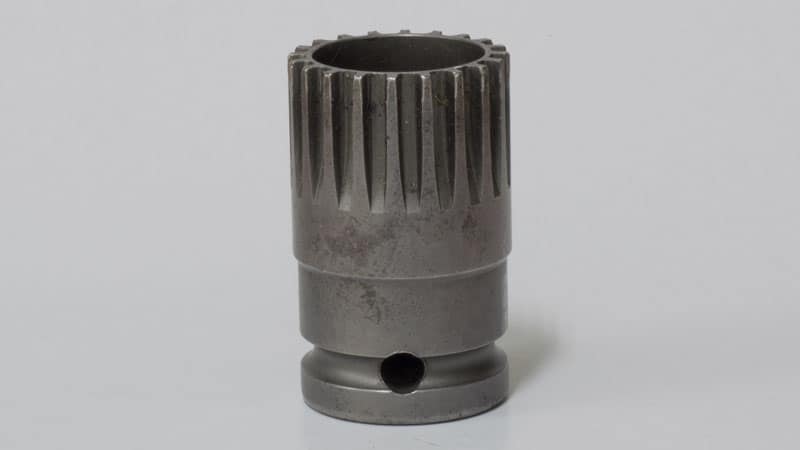
You’ll see reference to “BSA bottom bracket tools” online and in other places. Most modern BSA bottom brackets come in the form of a cartridge with splines lining the internal circumference.
Preparation
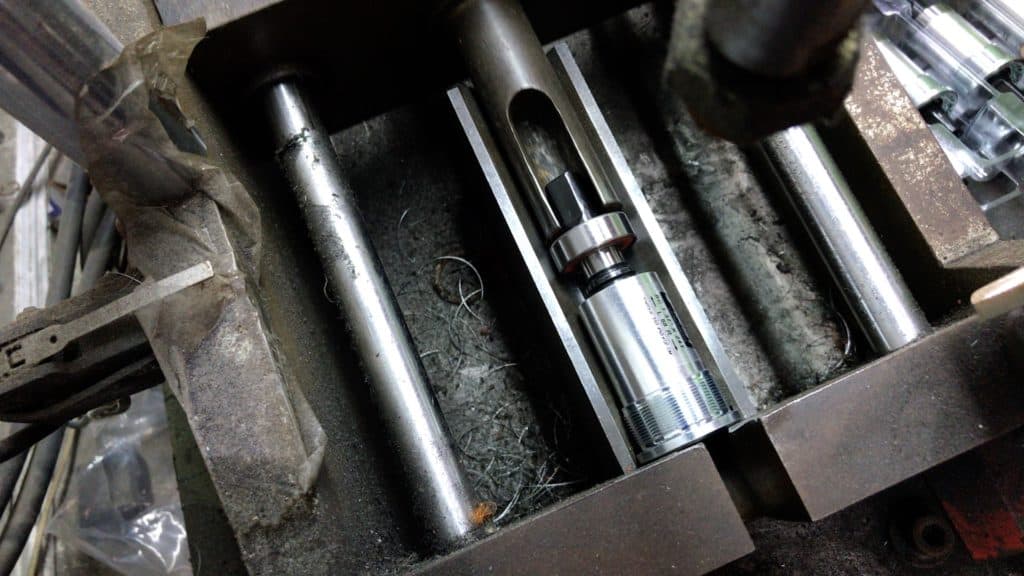
A frame-making factory usually sends a batch of welded frames out to other specialized workshops for processes such as T4 (weld hardening), T6 (frame hardening), and BB shell thread cutting.
Tapping the bottom bracket shell is always recommended if you are installing a BSA BB into a new frame.
Factory machined threads are good but inherit small imperfections from the initial machining; the bottom bracket will not install as smoothly without refining the threads with a tapping tool.
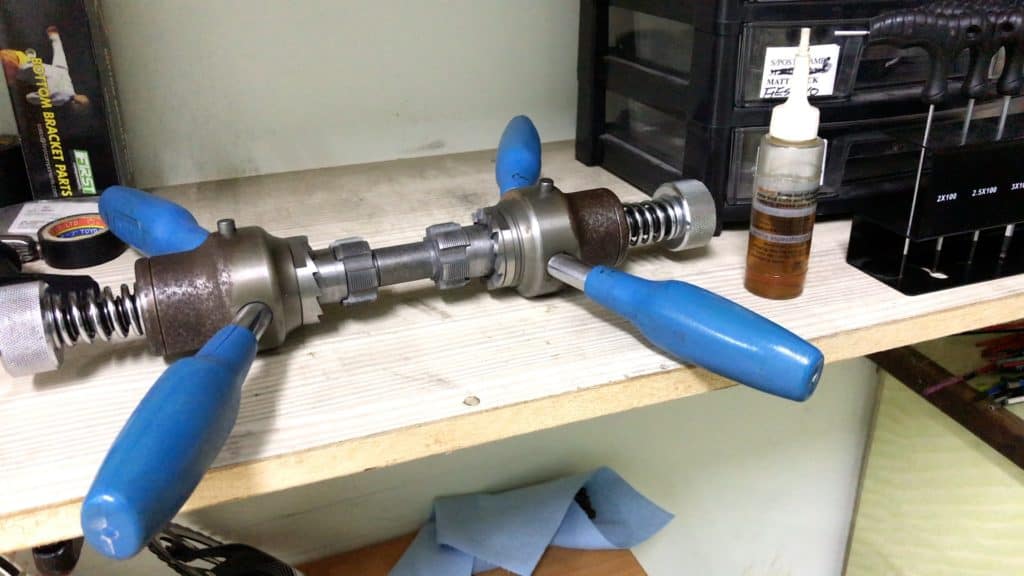
Tapping (and facing) tools are highly specialized and usually pricey, especially good ones such as this Cyclus pictured above. The investment is worthwhile since you should service your bottom bracket once a year, which includes removing, cleaning, and re-tapping the BB shell threads.

Learning to use the tool correctly takes practice, though. You should practice on an old frame first. The trickiest part of the process is installing the tool into the BB shell to start off. At any rate, your local bike shop likely has a tapping tool and you should avail yourself of that service if you can.
Applying cutting fluid (pictured) is part of the basic procedure you should follow. The die cuts more smoothly, and the cutting edge is preserved.
Where you are working on an existing bike, clean the old grease out then recut the threads.
If you don’t recut the threads, thoroughly clean away any old grease. Kerosene is an excellent solvent since it evaporates quickly without leaving a residue.
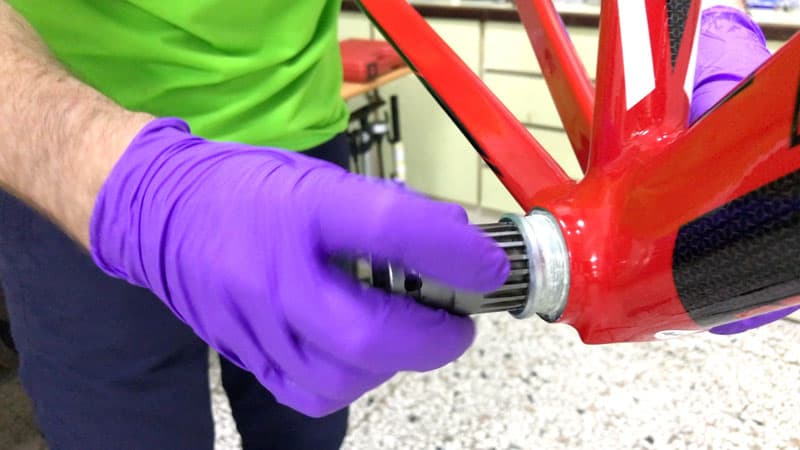
Installation
Smear a good coat of grease on the drive side and non-drive side bottom bracket shell threads. Do the same for the threaded sections of the bottom bracket.

Firstly install the drive side unit. The following technique will ensure you avoid cross-threading the BB with the shell during the install.
The trick is to rest the drive side unit’s threads against the BB shell threads. Turn to the left very slightly. If you continue there is a 50/50 chance of cross threading the unit without noticing; it will just seem a little stiff.
Getting both sets of threads together in a precision fit is made easier by now turning the left hand threaded unit to the right. You’ll know you are successful as soon as you hear a “click”. That’s the sound of both sets of threads aligning with each other. You’ll also feel the alignment as well.
Now resume turning the BB unit to the left. It should rotate with little resistance. If you encounter resistance, double check you have not cross threaded the bottom bracket into the BB shell.
You can check by taking a line of sight from directly above the working area. Looking straight down you can often see that the BB is at a greater angle to the BB shell than it should be.
Confirm your suspicions from the front or rear—at eye-level. The tell-tale awkward angle signalling a cross-threaded BB can be difficult to spot if you have not done many installations. Leaving installation to your bike professional is often the safest course of action.
All being well, continue to turn the BB into the shell. You’ll probably need a wrench for the last stage.
Socket Tools and Torque Wrench
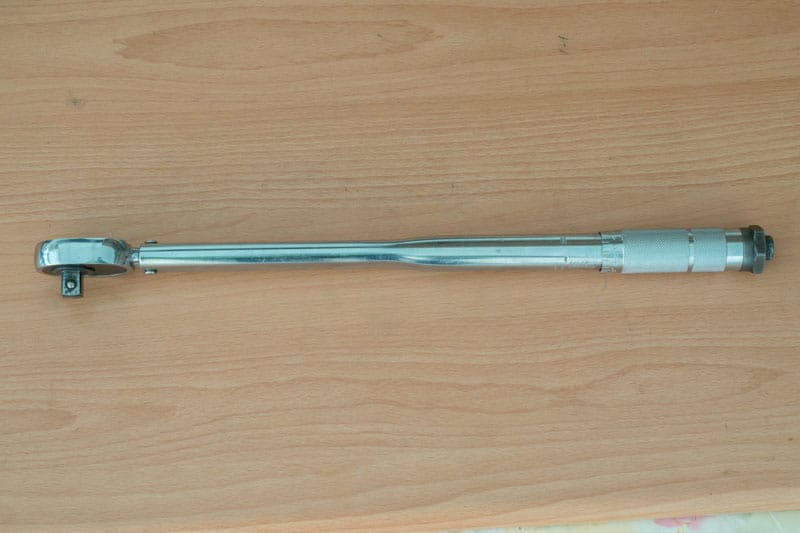
You should use a torque wrench fitted with the correct tool to finish off. The pictured torque wrench is a older, standard one-way torque wrench with a range of 28Nm to 100Nm. “One way” since the torque mechanism only works if tightening to the right (righty tighty), the non-drive side that is, not the left or drive side. Recent models are bi-directional, allowing torque measurement on the drive side.
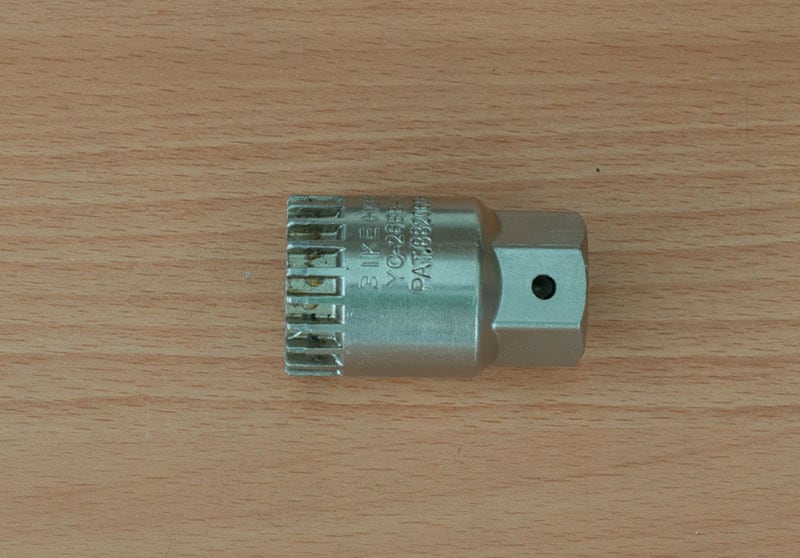
This socket is another type of splined drive that you can use to remove and install a BSA bottom bracket. All the tools mentioned here are available on Amazon, by the way.
Here it is in action with the torque wrench. With a uni-directional torque wrench, you guestimate the drive side by measuring the resistance when you turn it back to the right. If it “gives” before clicking at the set torque level, then you have not yet tightened the BB to tolerance.
The torque for a BSA (cartridge) bottom bracket ranges from 35Nm to 50Nm. Not using a torque wrench usually leads to overtightening, setting up a nightmare removal the next time the BB is serviced.
If you don’t have a torque wrench, then a wrench with a handle minimum 30cm will do. A person of average strength cranking it tight will reach 35-40Nm.
FINAL REMARKS
The main point of this story is not the BSA bottom bracket per se. The real claim here is for the technical superiority of a simple threaded bottom bracket.
Whereas the last decade and half has belonged to press fit bottom brackets, we can question whether the introduction of press-fit designs solved any truly pressing technical problems? The BSA bottom bracket carries out the fundamental task that a bottom bracket should with efficiency and economy.
Cut threads in the shell; screw the BB into the shell. And if you make a cross-threading mistake along the way stripping thread from both BB and BB shell, it’s not a problem. You’ll have to replace the bottom bracket bearing cups or cartridge. But you can recut the threads in your BB shell returning them to a state almost as good as new.
No need for elaborate tool sets to fit and remove the ever increasing number of press fit “solutions” in the market.
Long live the threaded BB! Do you agree? Or disagree?
2 thoughts on “BSA Bottom Bracket – Removal, Installation, Tools”
Interesting article and useful information for bike repairing. Might have to leave the tapping tool bit, but will be using the other advice given. Thanks 🙂
Just a quick suggestion: when thread together dissimilar metals such as a aluminium BB cartridge into a steel shell instead of grease substitute a quality anti seize compound. This is especially necessary in any wet or salty environment.