Welcome to the most complete exploration of narrow wide chainrings on the web.
Part 1 covers general issues and the essential knowledge you need to know.
In Part 2 we show how to swap out a triple (or double) chainring for a narrow wide chainring. Click here to jump directly to that.
And should none of this be at all appealing, then at the very least, you might like the Quick Install Chain technique (part of reassembly after installing the chainring) detailed near the end!
Part 1
NARROW-WIDE CHAINRINGS – ESSENTIAL INFO
Violent bouncing over rough terrain means your chain is like a cowboy riding a bucking bronco . . . and will be be thrown clear on the odd occasion.
With rapid chainring rotation chain drops are sure to happen.
If you ride these conditions, though, you’ll probably have a clutch rear derailleur which will reduce chain drops to a minimum—drops will happen all the same.
That’s where fitting a narrow wide chainring will really help.
What is a Narrow Wide Chainring?
There are two technical aspects to consider in the narrow-wide design:
- inner and outer chain links
- tooth profile
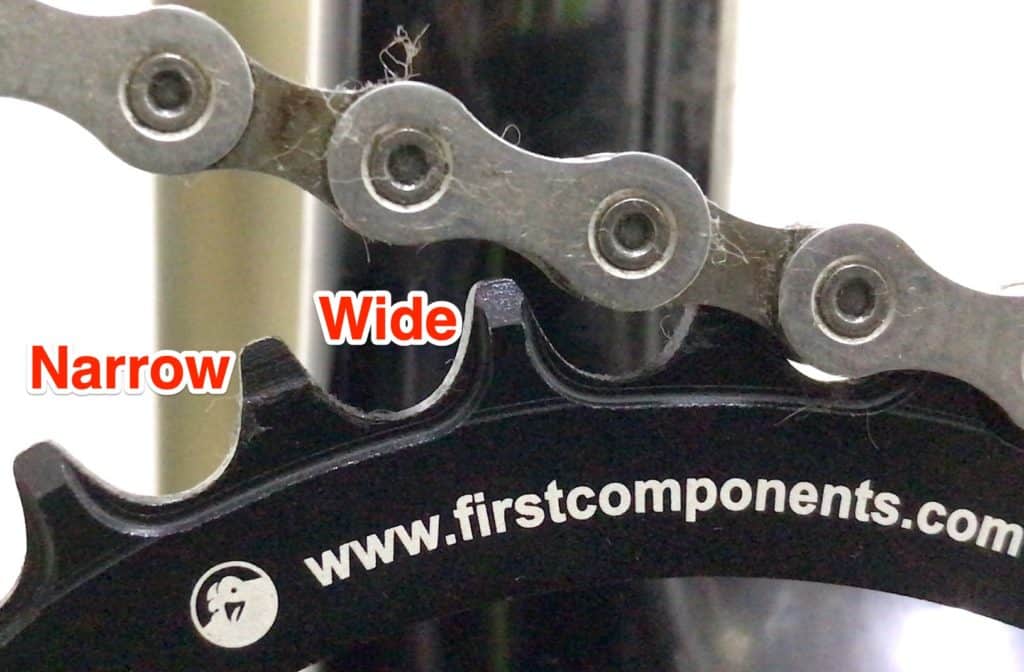
Inner and Outer Chain Links
A chain consists of around one hundred uniformly sized rivets connected to each other through overlapping inner and outer plates.
Every second (outer) plate connects to the rivet over the top of the (inner) plate leading to the next rivet.
The space between the inner plates is smaller than the space separating the outer plates.
A conventional chainring’s tooth profile is narrow in order to fit into the space between the inner plates.
That leaves a good deal of space between the tooth’s outer edge and the inner plate’s inner surface.
That also opens the possibility of a modified tooth profile to fill that space.
Tooth Profile—Narrow-Wide
A conventional chainring’s teeth are generally uniform.
I say generally since some chainrings have two types of tooth profile on the one ring. For example some Shimano designs feature short teeth alternating with longer teeth.
A narrow-wide chainring’s teeth in contrast alternates one narrow and one wide right the way around the circumference. And this alternation corresponds to the different sized gaps between the chain’s
Tooth heights are the same. Tooth widths vary between standard (narrow) and wide.
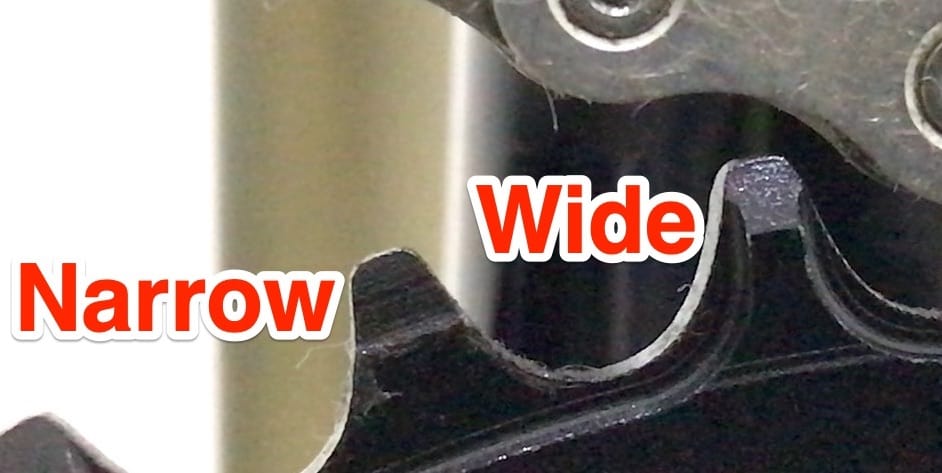
Note the profile of the tooth on the left—a standard tapered tooth machined to a very keen edge.
The following tooth is the same height. The apex is also machined to the same keen edge at the very tip at any rate. The difference is the base.
Or, I should mention that First Components’ narrow-wide chainrings are machined in this way. Other types feature a very broad, flat top only slightly tapering up and away from the wide base.
Referring to the image, note the steep angle leading to the shoulder 1/3 of the way down. From the shoulder the tooth drops at almost 90° to the base.
The increased width means the tooth fits against the link plate, limiting movement for the brief time tooth and plate are in contact during a crank rotation.
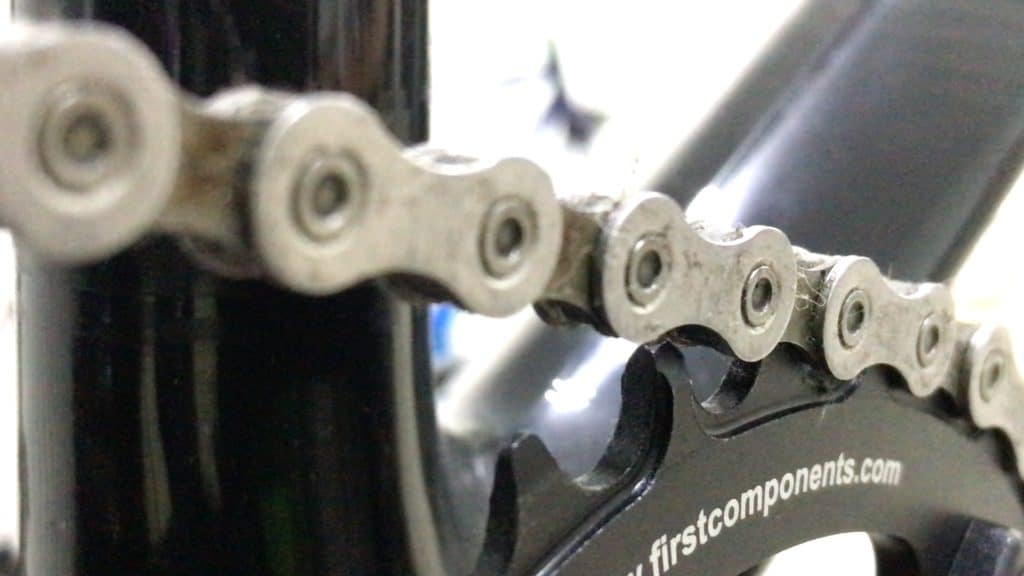
An angled view gives a clearer idea of how they work.
You can see how the wide profile moves into the chain link, holding chain and tooth firmly together.
Multiplying the effect to include the 180° of the chainring the chain contacts as it travels around the drivetrain means the chain holds the chainring much more firmly than with the standard narrow-profile-tooth chainring.
You can’t install a narrow-wide chainring on a double or a triple of course, if in an inspired moment you wanted to see how that worked out.
The whole idea of a derailleur is to “derail” a chain from a chainring (or sprocket).
The whole idea of a narrow-wide is to prevent a chain from derailing from a chainring.
So you would not be able to change gear ratios on a double or triple that included a narrow-wide chainring.
The Chain Guide Alternative
An alternative to a narrow-wide chainring is a chain guide.
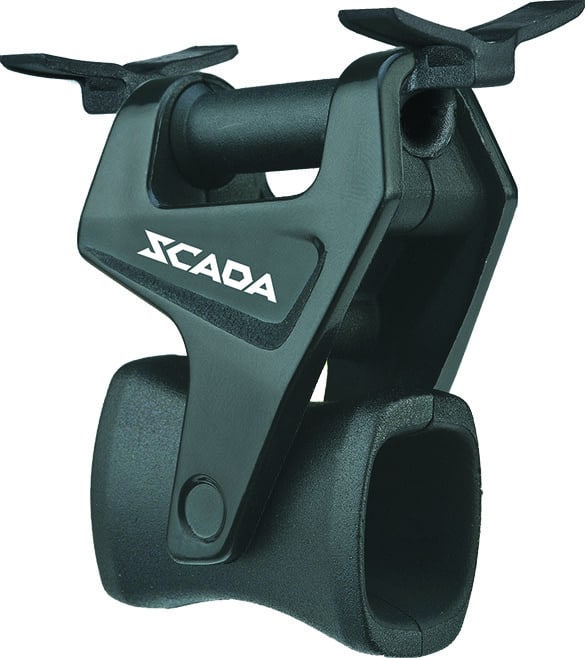
The whole idea of a single chainring is the elimination of the front derailleur.
Fitting a chain guide brings back the derailleur cage without the rest of the derailleur.
In those high-octane moments on the trail, tearing madly over those rough patches with reckless abandon, a chain guide’s contoured walls act to constrain the chain’s wild oscillations, preventing it from taking flight from the chainring in those brief instances of chain slack.
Many observers thought the introduction of narrow-wide chainrings would bring about the end of chain guides. That has not happened.
Chain guides are still a viable alternative, or as an item of kit to be used in conjunction with a narrow-wide chainring. Some interesting discussion on the subject in Chain Guides vs Narrow-Wide Chainrings.
Anyway, if you are now starting to consider making the change to a narrow-wide chainring an essential question is . . .
. . . How to Measure Bolt Circle Diameter on a Chainring?
Knowing the Bolt Circle Diameter—BCD for short—is essential when considering any kind of chainring change.
What is the Bolt Circle Diameter?
Think of an imaginary circle drawn through the center of each bolt on your chainring—there’ll be 4 or 5 of these depending on your spider.
The BCD is the length of that circle’s diameter, measured in millimeters.
When measuring from the bolt, make sure you begin and end at center of the bolt hole. This is one of the many center-to-center measurements in bike frame geometry.
You probably will not have to measure the BCD yourself though, as a chainring’s BCD is included amongst the basic spec printed on most chainrings.
When purchasing a replacement chainring, ensure the BCD is the same as your existing crank.
The Most Common Narrow Wide Chainring Bolt Circle Diameters
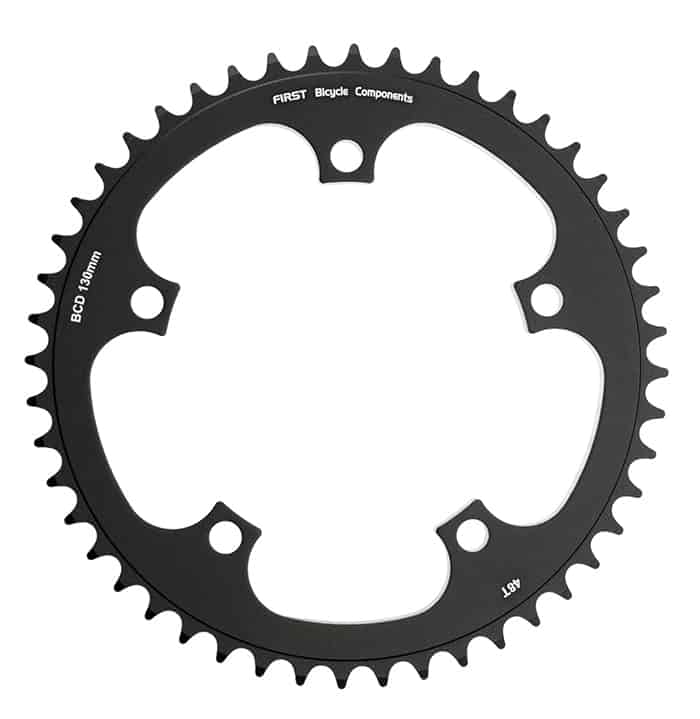
130 BCD Chainring
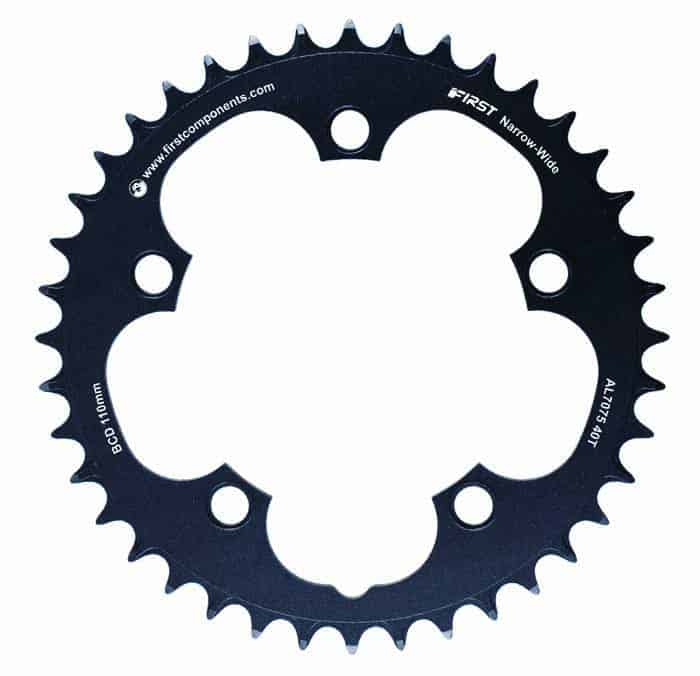
Narrow Wide Chainring 110 BCD

Narrow Wide Chainring 104 BCD

Oval Narrow Wide Chainring 96 BCD
DIREKTE MONTAGE Means No BCD
The narrow-wide chainring design where BCD does not apply is SRAM’s Direct Mount.
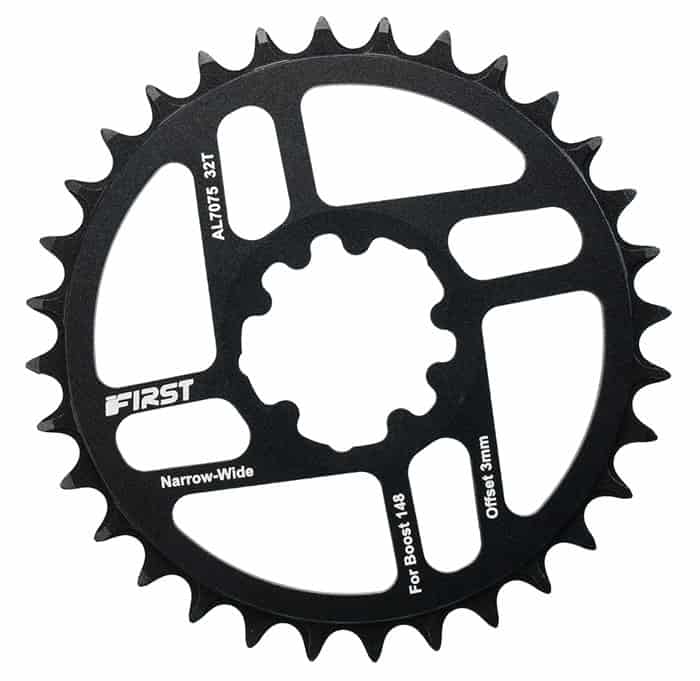
Boost
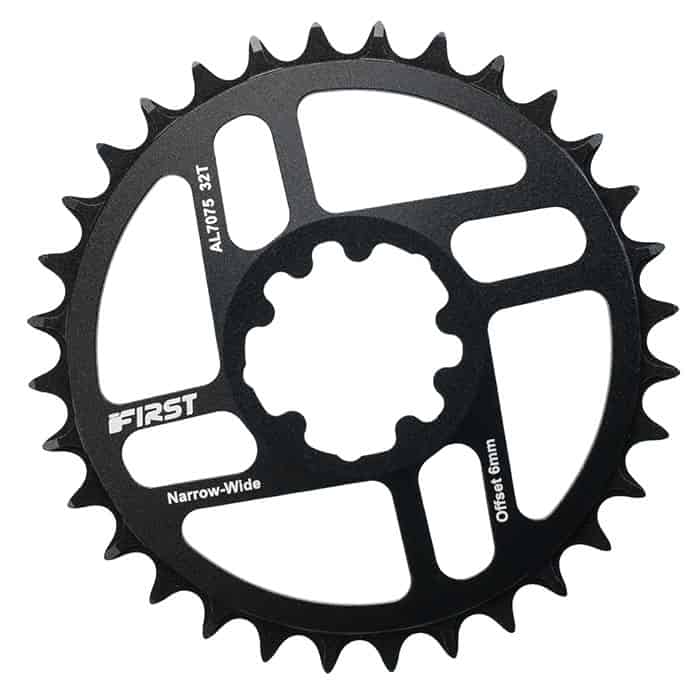
Non-Boost.
HOW TO CHANGE MTB TRIPLE CHAINRING TO SINGLE (NARROW-WIDE) CHAINRING
In Part 2 we’ll convert an MTB triple chainring setup to a single narrow-wide chainring and say goodbye to the front derailleur.
We’ll substitute the triple chainring integrated (spindle) crank with a single chainring (integrated) crank. The narrow-wide chainring is mounted on this.
The technique also works with a double of course.
You might have a double or a triple fitted to a square taper bottom bracket.
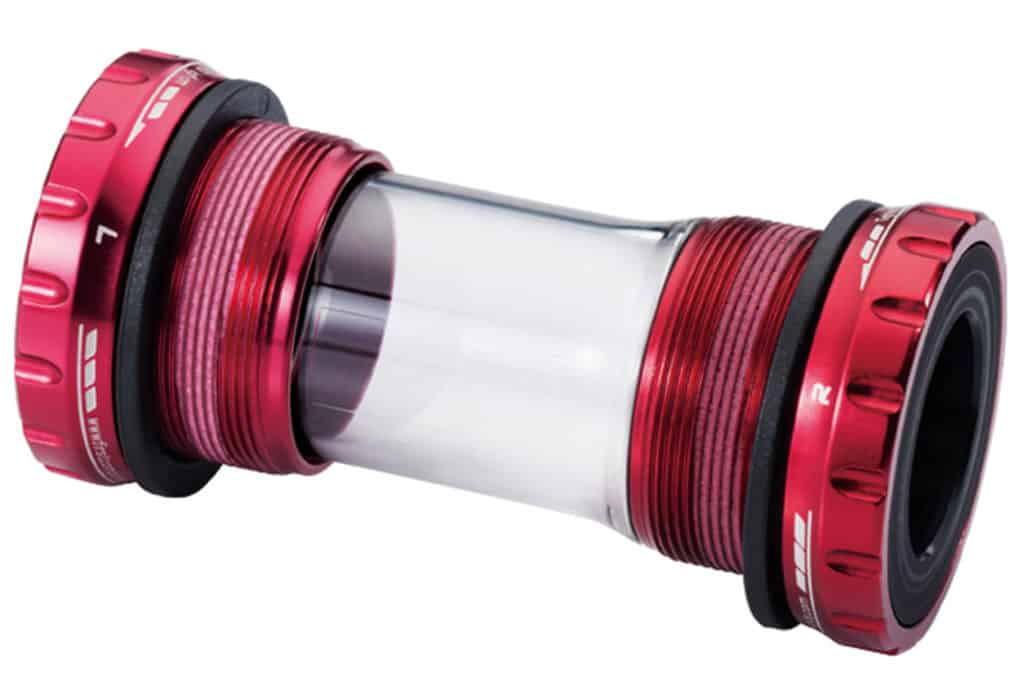
No problem. Remove the square taper BB, then install an external BB.
Our ultimativen Leitfaden für konische Vierkant-Tretlager an. has a section detailing how to remove this type of BB.
Install the narrow-wide chainring to the appropriate crank & spider.
Our Oval Chainring post details how to remove a chainring and install a new one onto a crank spider. This spider will be specifically designed to take a single chainring rather than the nested bracket design of the triple.
The video gives you the whole procedure in full detail if you’d prefer.
Removing the Triple Chainring Crank
The one essential tool for this task is a 10mm allen wrench (or 8mm if you have a crank that differs from our example).
You may also need a mallet to “gently persuade” the crank free of the bottom bracket. A claw or ball-peen hammer is ok—just insulate the end of the spindle from the strike with a thick cloth.
Use an allen wrench with a decent length so you can easily break the bolt free. It should not be tight, but that all depends on who originally assembled your bike.
No need to turn the bolt either, by the way, once you’ve broken it free.
Hold the bolt with the allen key, then spin the crank rather than turn the wrench. The bolt’s loose in your hand quick as a flash.
Next, loosen the pinch bolts with a 5mm allen wrench. You only need a few brief turns; they come loose; slip the crank arm away from the spindle.
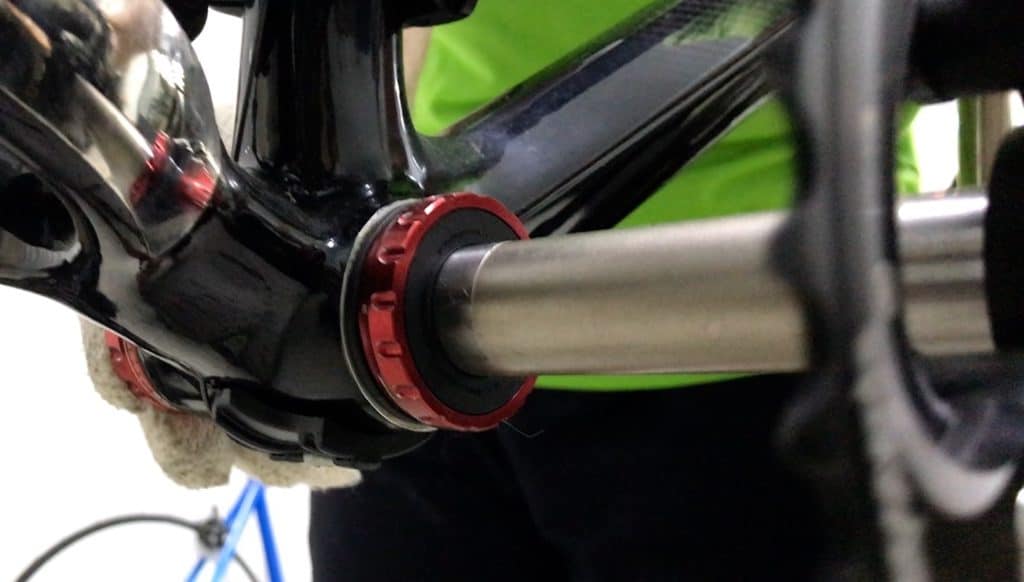
Push the spindle through, or give it a few light taps with a hammer to break it free of the bottom bracket’s grip.
If the spindle was a super snug fit on the initial install and was not greased, you’ll face increased chances of a stubborn removal.
Removing the Front Derailleur
The 3 steps are
- remove cable from derailleur and frame
- remove derailleur and bracket
- remove shifter: re-locate brake lever & any other levers
Derailleur Bolt and Cable
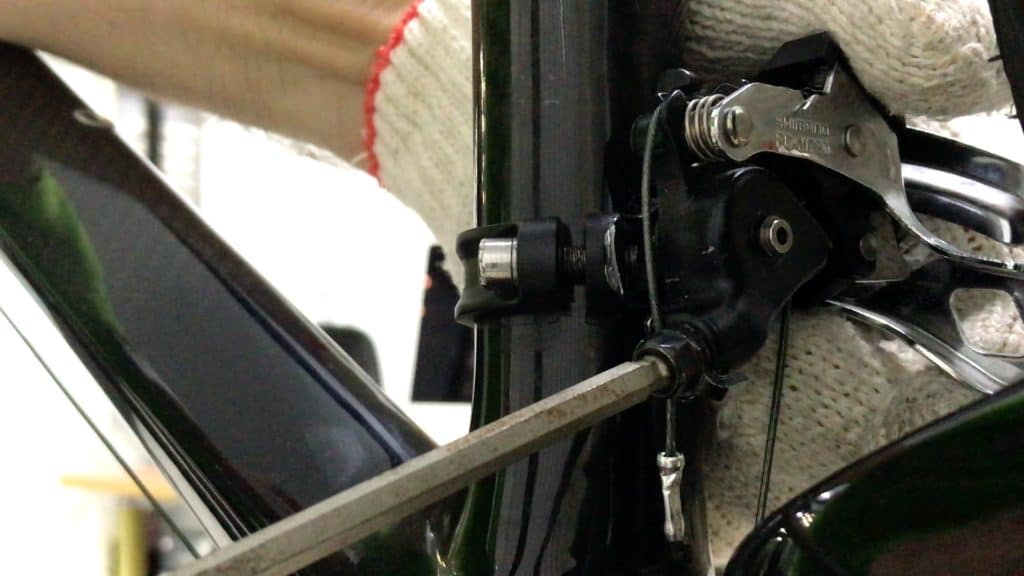
Most cable bolts take a 5mm allen wrench, usually from older derailleur types. Newer models tend to be 4mm.
Loosen the bolt then slip the cable free of the derailleur guides.

To clear the cable completely from the bottom bracket, the cap should be removed. A quick tug with a pair of pliers achieves this.
You need to securely anchor the cable or, better still, remove it before loosening the cable bolt.
Slide the cable clear and remove completely from the frame.
If your derailleur attaches to the seat tube via a clamp, remove the clamp bolt, open the clamp and carefully slide clear of the seat tube.
Otherwise it’s just a matter of removing the derailleur through removing the bolts from the brazed-on bracket.
Shifter & Brake Lever
Removing the grip is the first step.
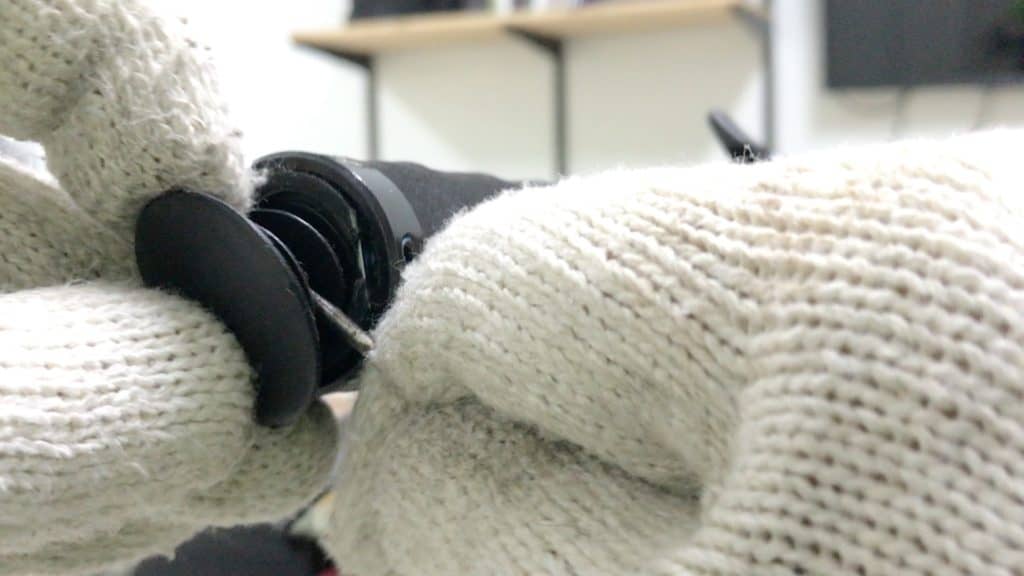
No matter what type of grip from the dozens available you use, you’ll need to remove the end cap.
A grip’s end cap normally slots into the handlebar. The tail holds it there.
An awl gently inserted between the bar end and/or grip end is all you need to lever the plug free.
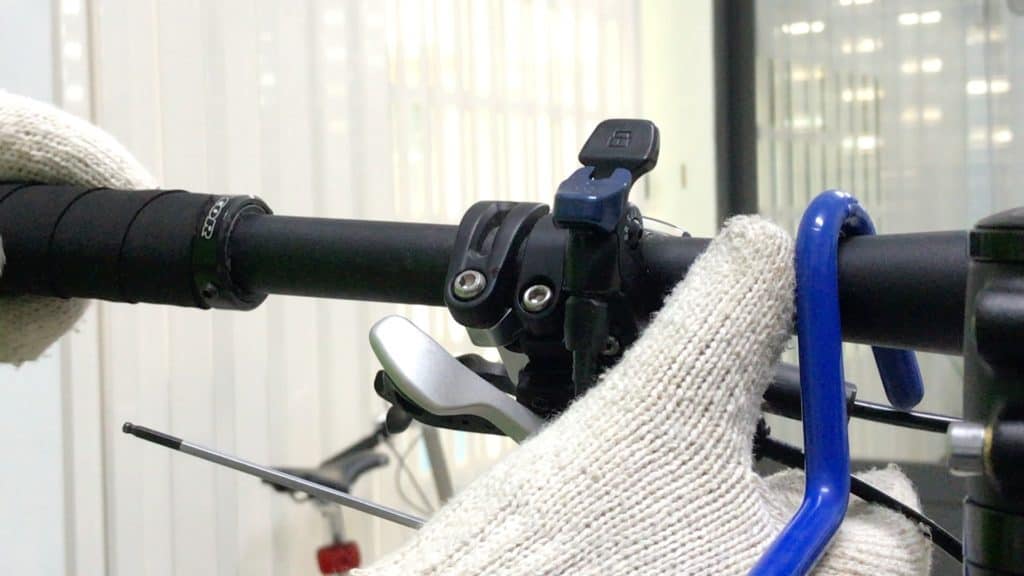
Then loosen the screws or bolts, depending on your particular grip, and remove it.
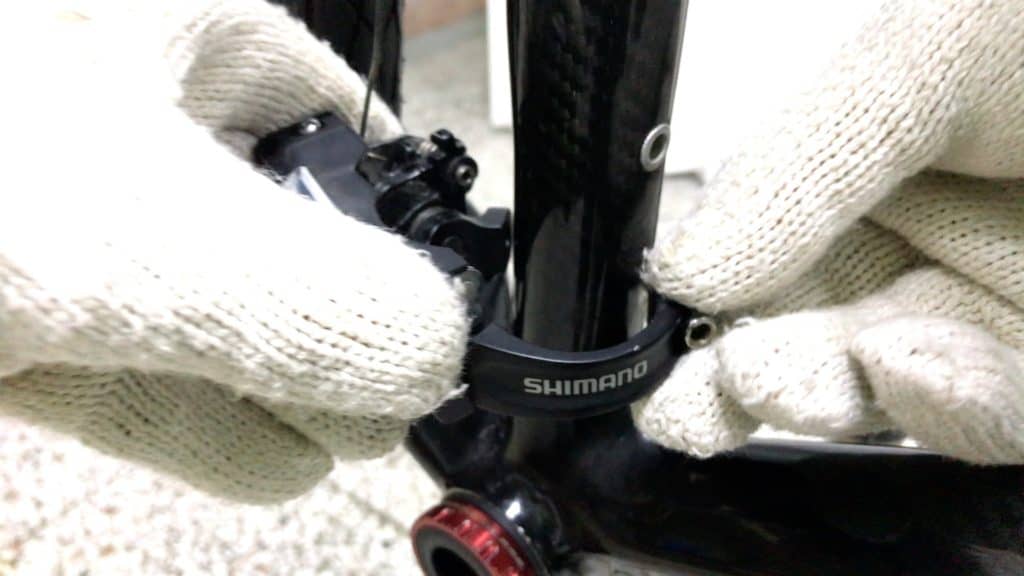
Loosen the brake lever clamp (normally a 5mm allen wrench) followed by the shifter.
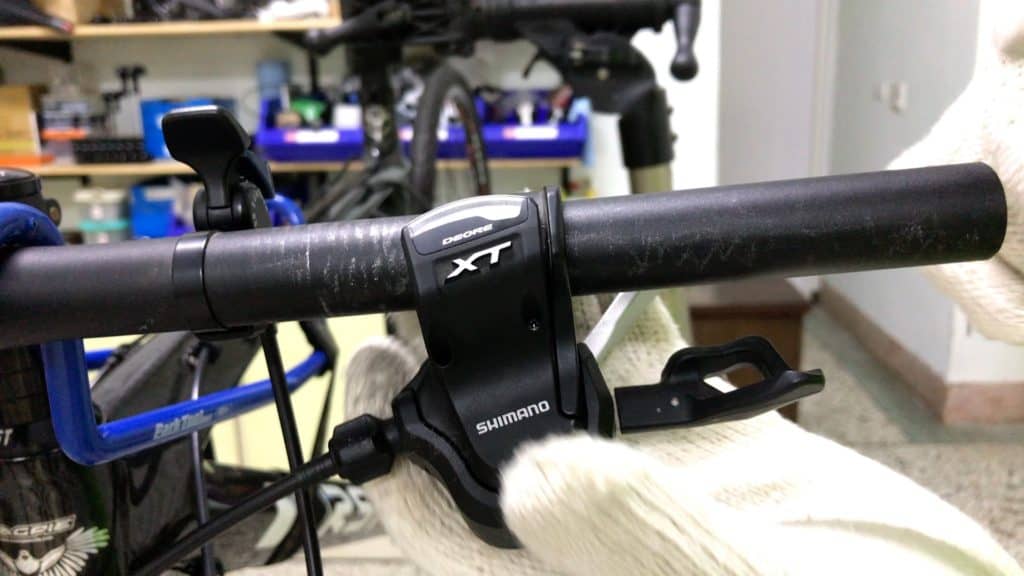
Shifter removal is the target. Slide the brake lever off and out of the way, then slide the shifter free.
Loosen any other clamp bolts—dropper post lever or fork remote release for example—ready to reassemble your “cockpit”.
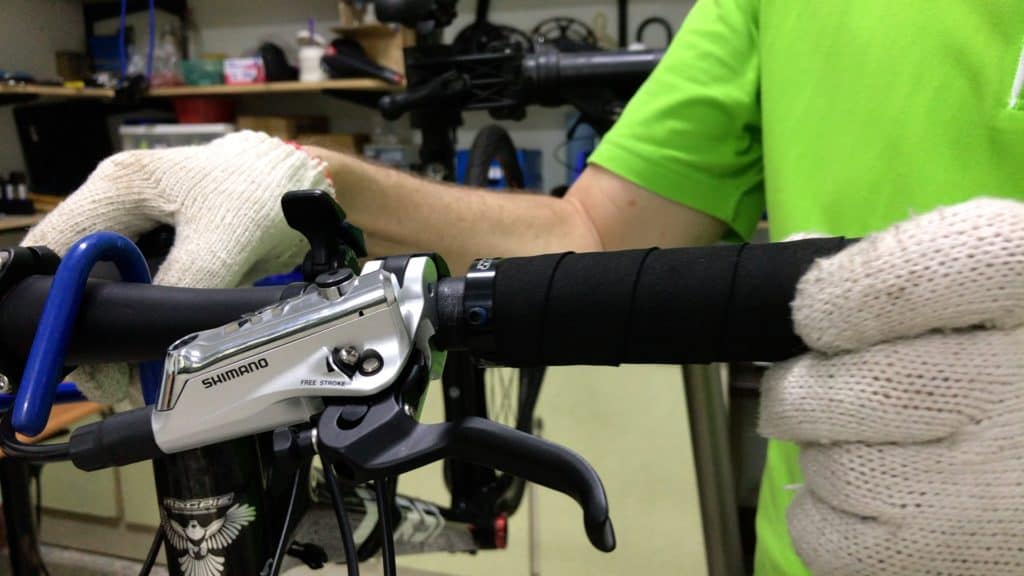
Slide the brake lever back on followed by the grip.
Secure the grip first of all by aligning the grip clamp with the bar end. Tighten the screw or bolt. Re-install the bar end cap.
Now align the brake lever flush with the grip, or in the position you are most comfortable with. Tighten the bolts.
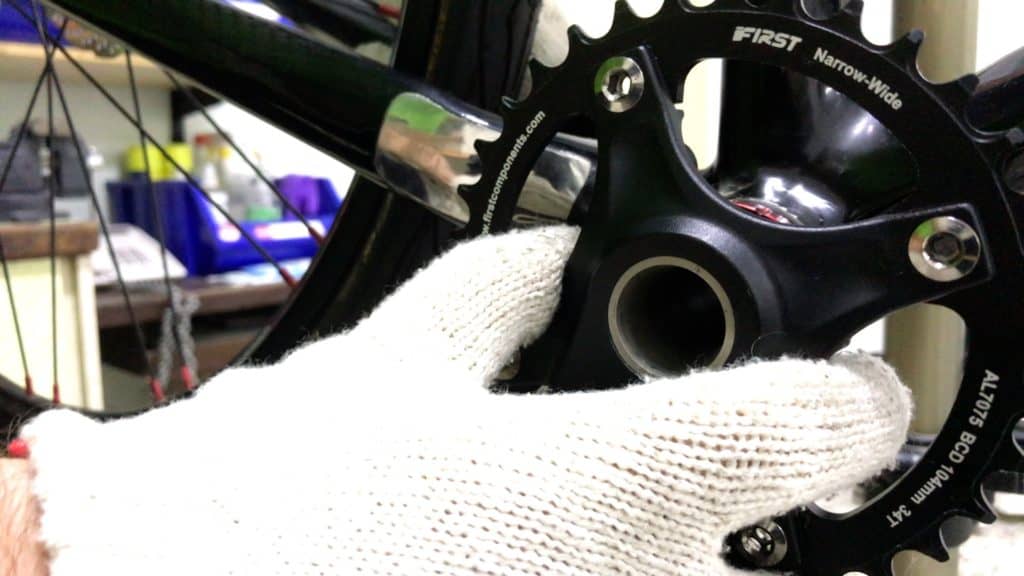
Installing Crank with Narrow Wide Chainring
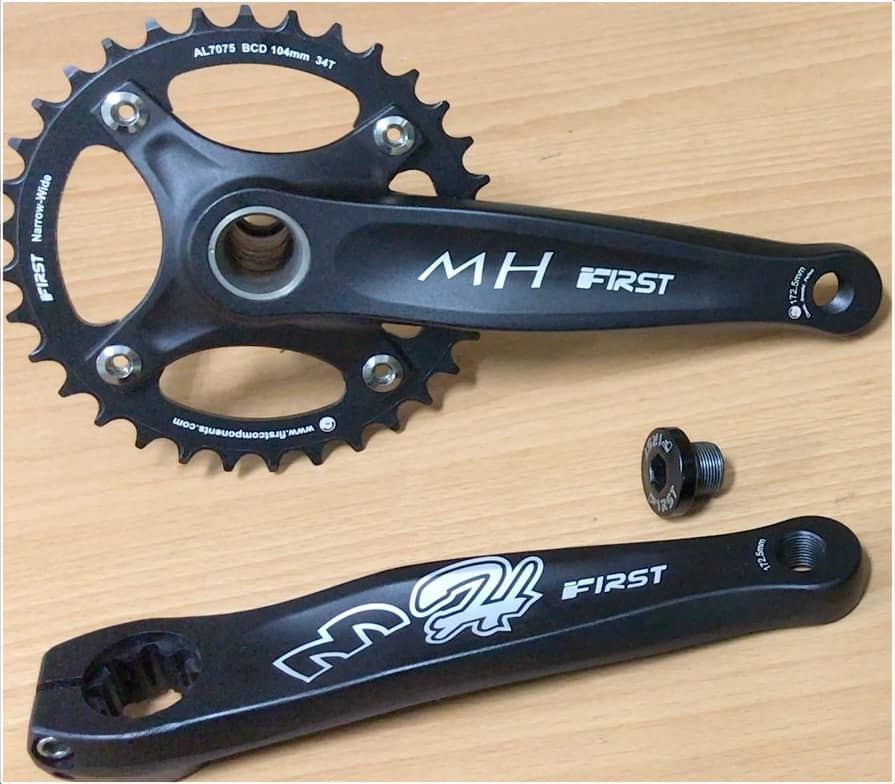
This is the single narrow-wide chainring
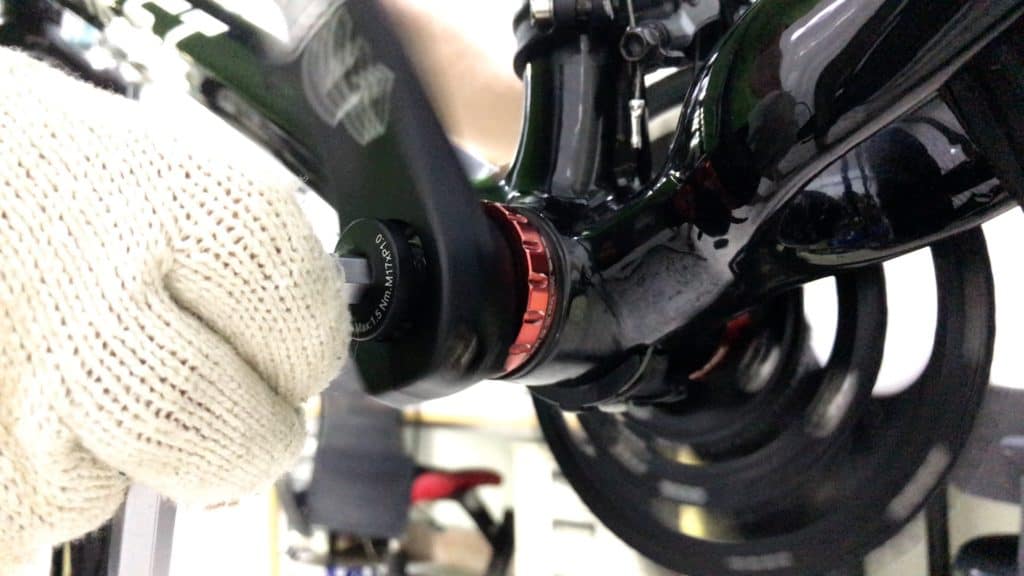
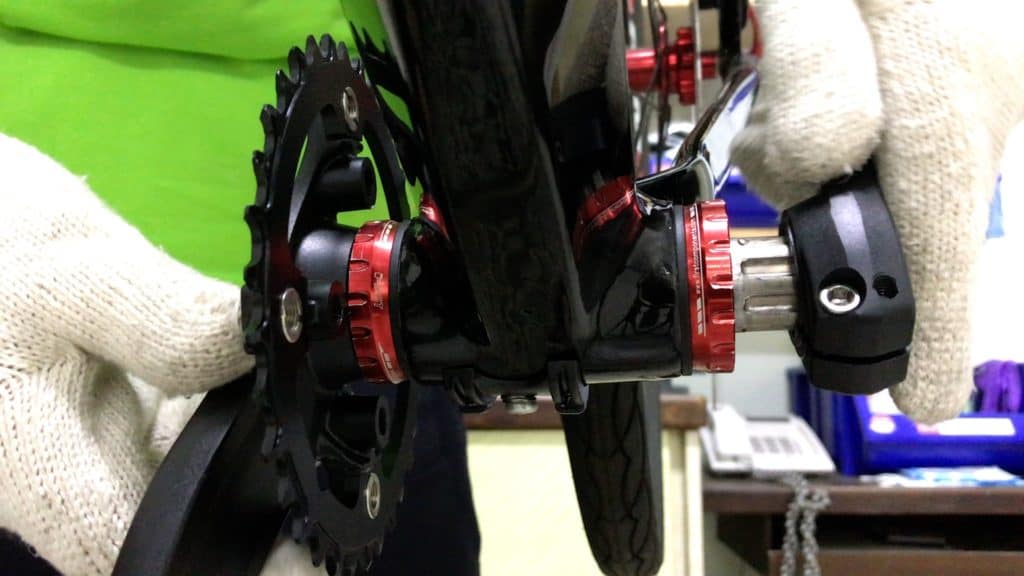
Installing the crank follows the same procedure for any integrated crank.
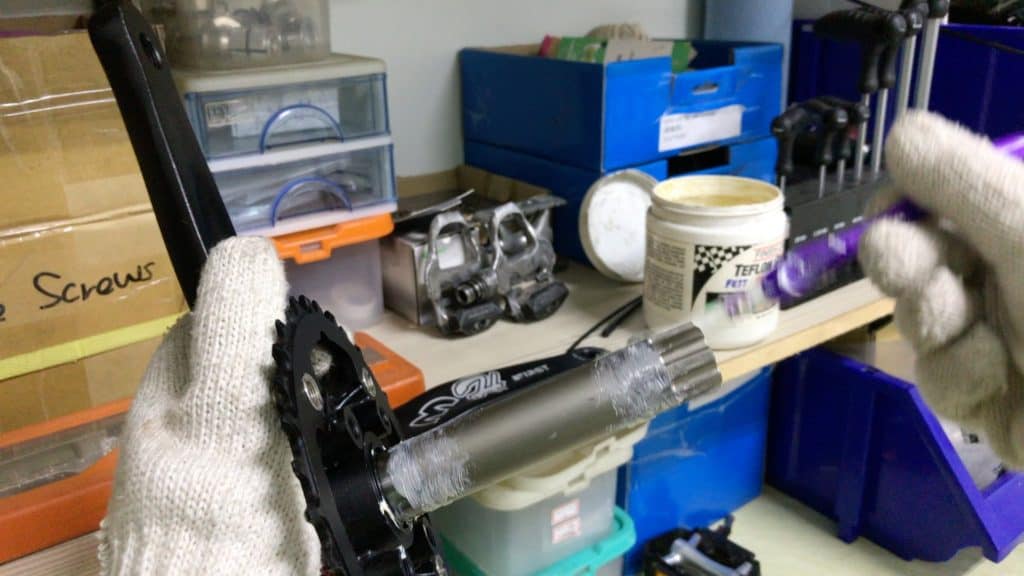
Smear a little grease on the spindle where the shaft contacts the bottom bracket is well advised. The grease assists as you press the crank into the BB cups.
If the fit is ultra-tight, a few taps with a rubber mallet helps. Make sure you protect the crank surface with padding or a thick cloth of some kind. Yes, it’s only a mallet, but even a mallet can dent the surface or at least mark it.
A smear of grease on the non-drive spindle end doesn’t hurt either. Not much. Just a bit.
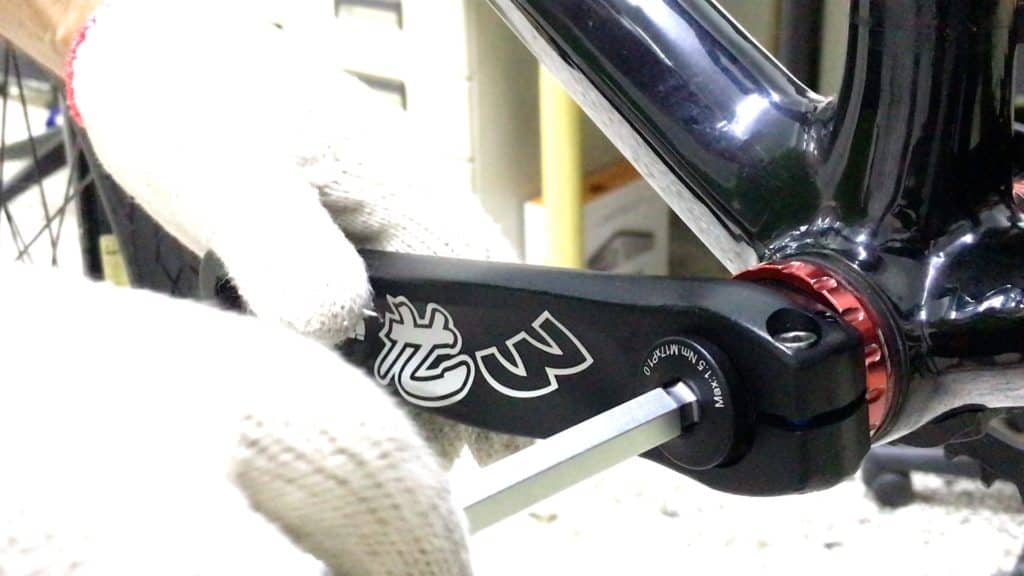
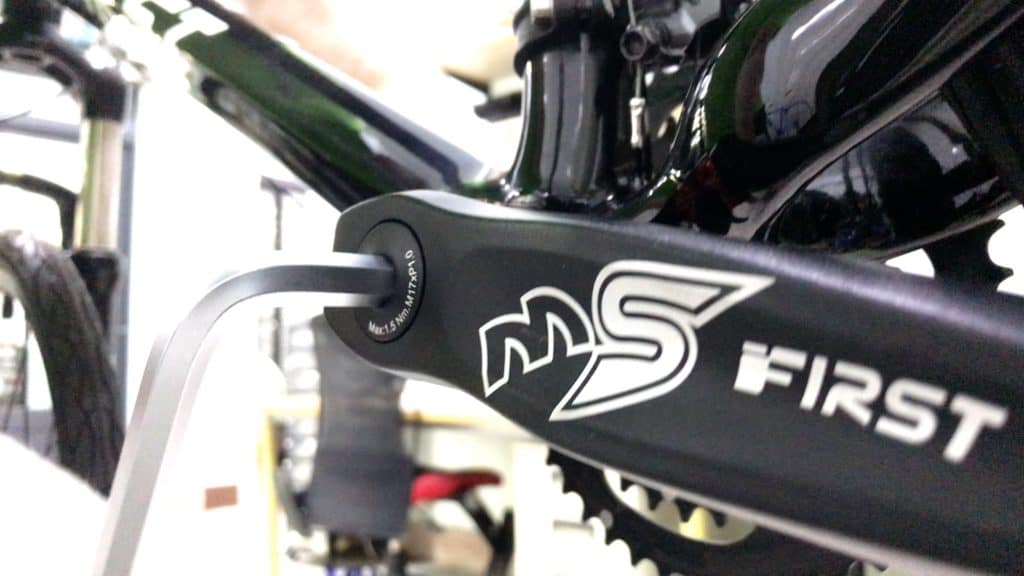
Slip the arm into position. Then, having smeared a little grease on the crank arm bolt, install that bolt.
These bolts never need to be be too tight. First Components cranks have 1.5nM as the limit. Others come in anywhere between 1 and 2nM.
The rule of thumb is finger tight only. The role of this bolt is to correctly snug the arm into place.
If you have a SRAM setup, of course, an 8mm bolt tightened to 48nM (max 54nM) secures the crank arm.
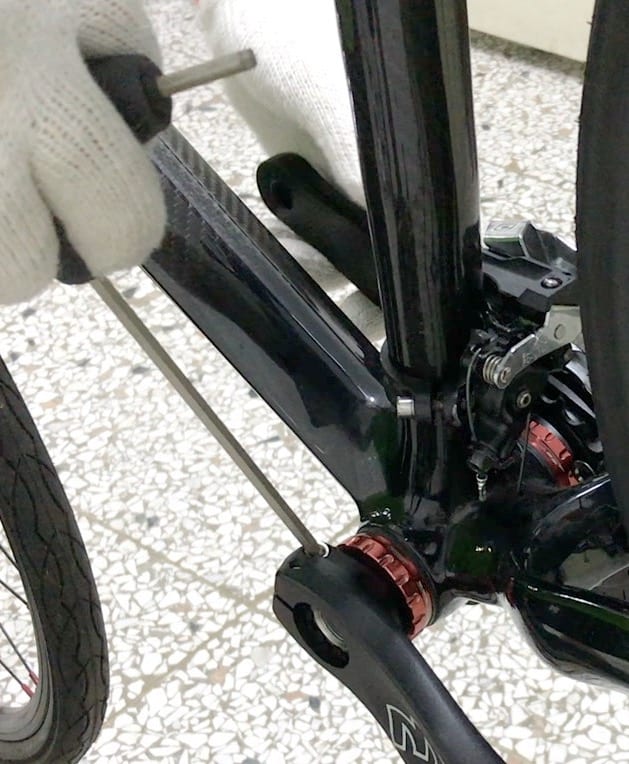
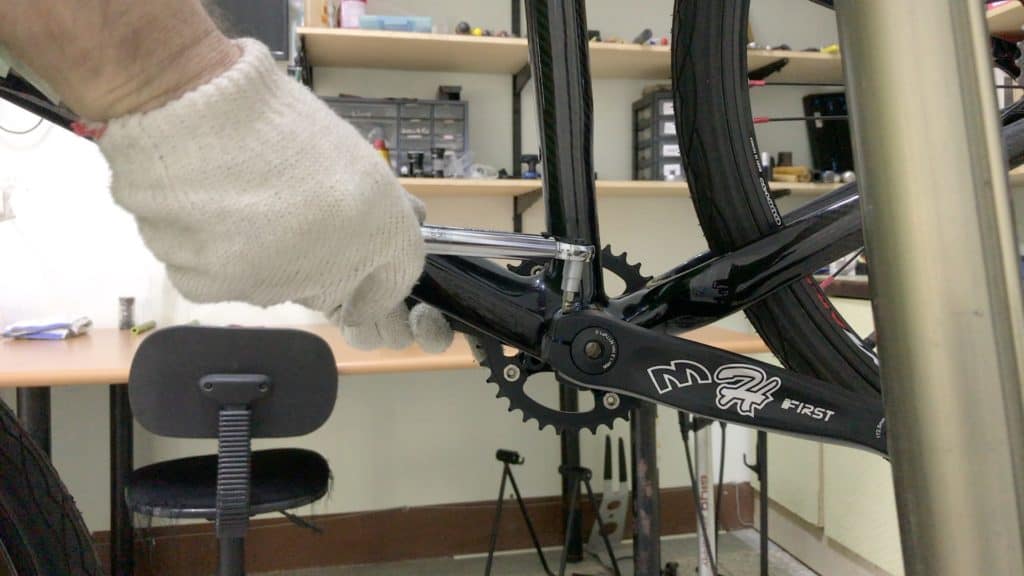
A 5mm allen wrench is the usual tool for the pinch bolts. Tighten each a little in turn until they resist.
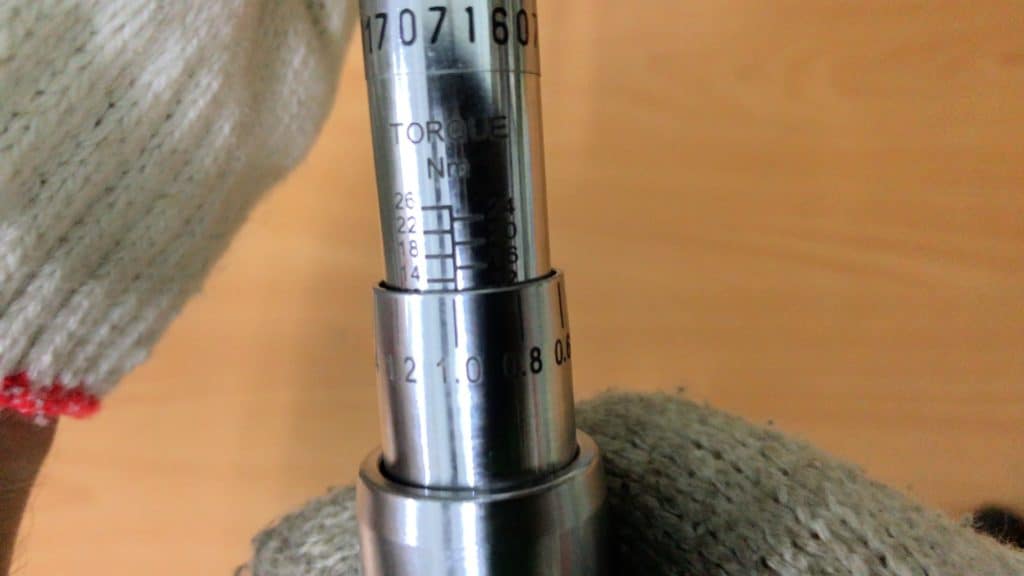
A torque wrench is indispensable for the next stage. Your local bike shop has one if you don’t. You’ll get a good one on Amazon for $20-$30—a worthy investment.
Lock in the setting between 12nM and 14nM.
Applying correct tightening technique is also important. The way to do this properly is by tightening each bolt by 2 half-turns each in succession.
The technique requires frequent oscillation between each bolt. You need to avoid tightening one side too much.
The chain can now be reinstalled onto the new narrow-wide chainring.
Quick Technique for Easy Chain Installation
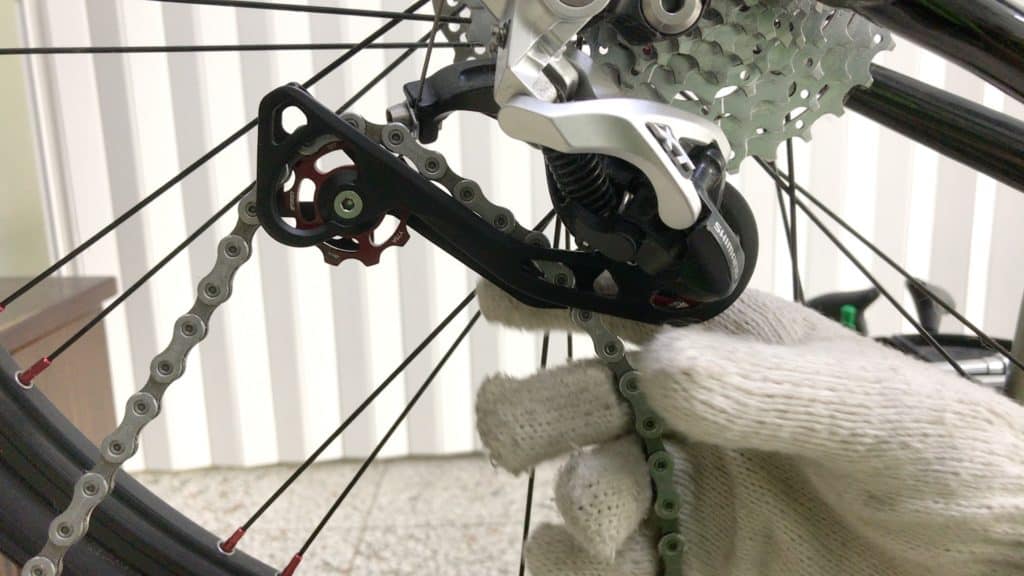
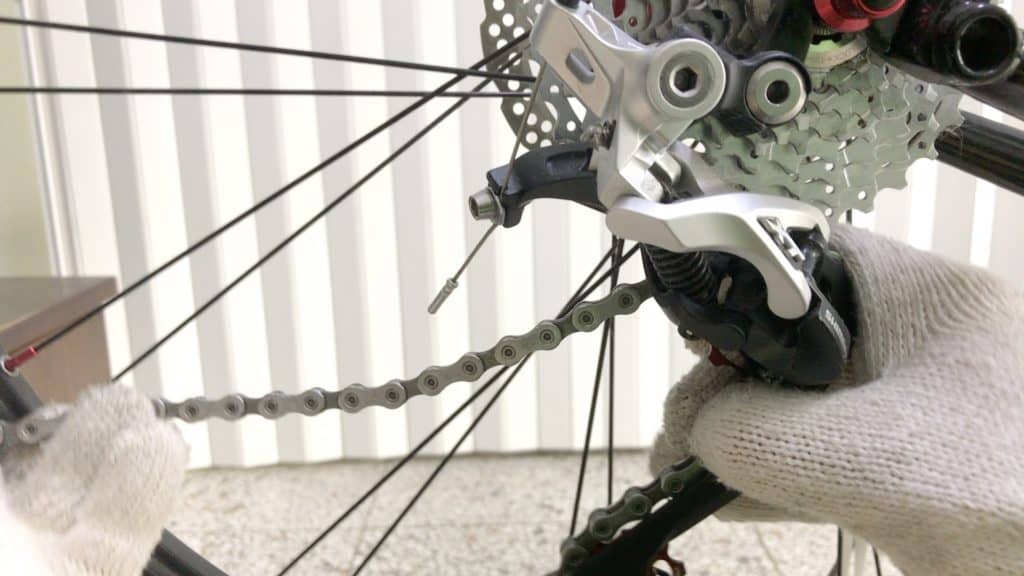
Start by feeding one end of the chain firstly into the derailleur cage under the top pulley wheel.

Make sure you route the end of the chain OVER the bridge. It’s too easy to miss this. You end up feeding it over the top of the lower pulley wheel, under the bridge.
The chain will snag on the bridge once you’ve got it reconnected resulting in a rough and effectively non-functioning drive train.
Next run the chain over the lower pulley wheel and pull it almost all the way through.
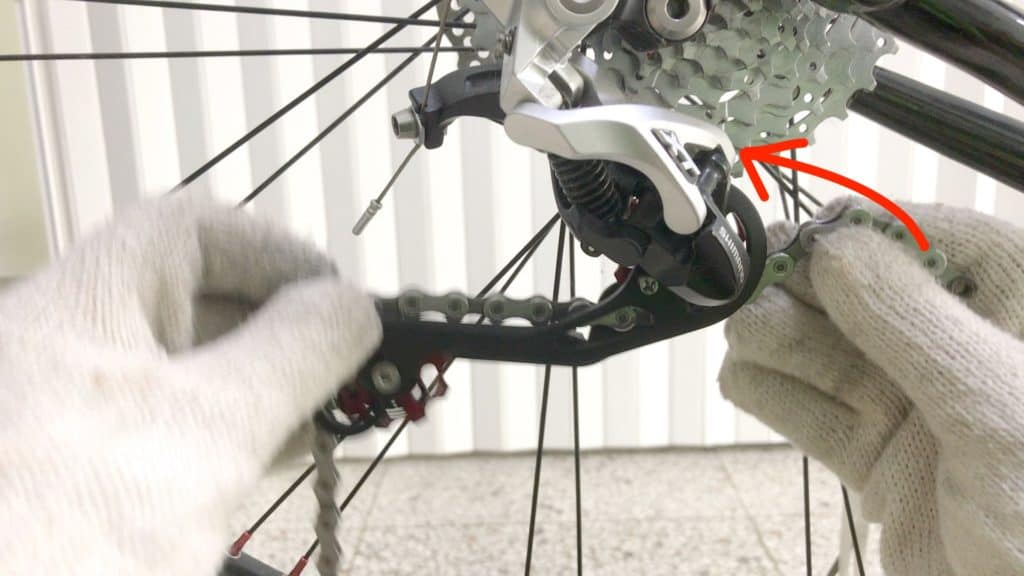
You should end up with 5 or 6cm of chain ready to route around the upper pulley wheel.
Pull the chain through over the top of the pulley wheel until you have around 20cm. Then wrap it onto the cassette. Complete by pulling it to the new chainring, wrap it around and then join the chain.
Narrow-Wide Chainrings.
What do you think? What has been your experience with them?
We’d love to get your feedback on the subject.
1 Kommentar zu „The Complete Guide to Narrow Wide Chainrings“
You covered the narrow wide chainring topic nicely except you didn’t address actual tooth width (in inches or mm) or chain width. There is a large number of chain widths so it would be reasonable to assume that there are different narrow wide chainring tooth widths too.
I’m building a custom bike which uses a narrow wide chainring. The narrow tooth width is 0.073 inch (1.9mm) and the wide tooth is 0.131 inch (3.3mm).
You’re not alone. All the other articles I’ve read don’t address actual tooth width either.