Check out the video which gives you all the details on how to
Install an Integrated Headset or
Replace the Bearings
If you prefer to skim over the details rather than watch the video, then keep going down the page.
All the important points are covered with full illustrations below.
We also cover torque wrenches. A torque wrench is an essential part of a basic bike tool kit. We give you basic advice so you’ll better know what sort of torque wrench is best for your home workshop.
There are quite a few mechanical tips and techniques included along the way. Hopefully you find them a help in extending your knowledge and ability to take care of your bike, and other people’s for that matter, should you have a well-equipped workshop.
Preparation for the Install
The goal is to remove then install a new headset, or just the bearings if that’s all you need to do.
However, the main procedure is
preparing for
then removing
the forks.
10 Step Procedure
The procedure is
loosen the stem bolts
remove the top cap
remove the upper headset components
remove the fork
clear the lower headset components (from headtube and fork)
(re) install crown race and bearing
re-install fork
install bearing, washer(s) and dust cover
replace top cap
align stem and front wheel then tighten stem bolts to correct torque
This rest of this article goes into these steps in detail.
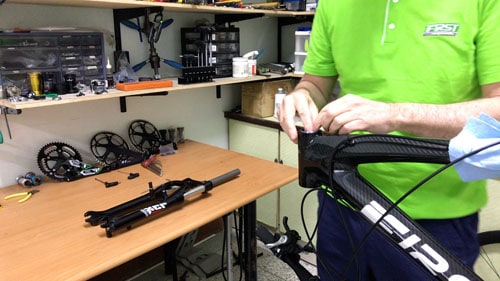
The bike we are using in this example is a standard hard-tail mountain bike with disc brakes.
That also means the calipers must come off.
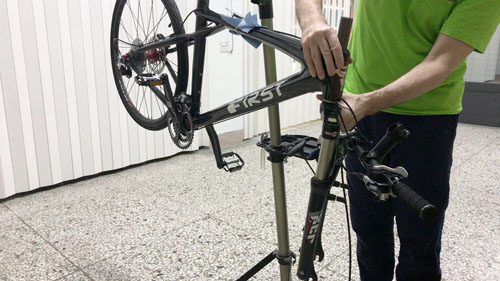
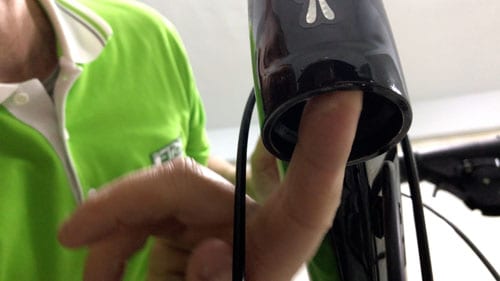
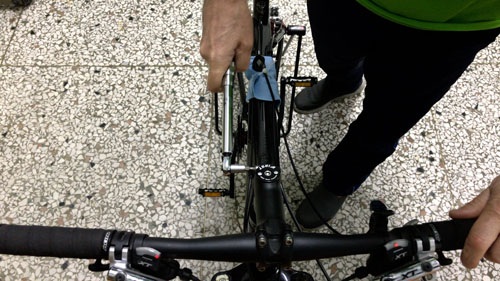
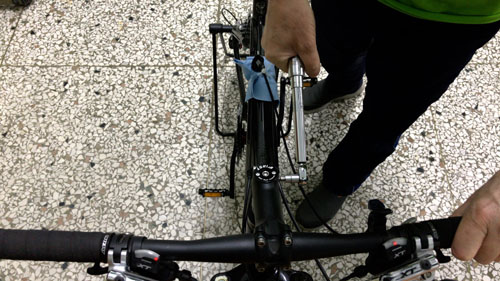
The SR Suntour forks also have a remote speed locking mechanism. This will also need to be disconnected from the top of the fork.
Best to remove the front wheel as well. Dropping the forks out of the headtube is harder to manage should the wheel remain in place.
The cable loops around to the switch on the handle which can remain in place of course. A 2mm allen wrench was all that was needed to loosen it off.
This is a convenient solution since you don’t have to bother with removing the cable.
You can simply temporarily fasten the cable on the frame somewhere, keeping out of the way while you work around the headtube.
Resting the cable on the top tube with some protection between the unit and the frame surface to avoid scratches is the go here.
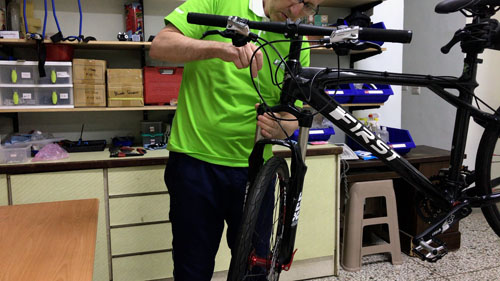
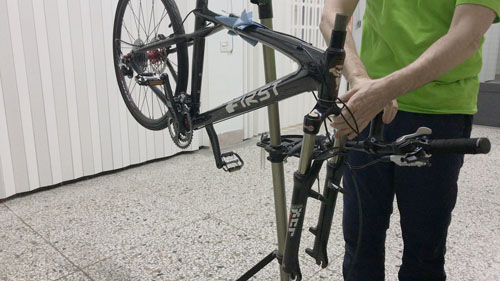
Employing a work stand like this one can make the job a little easier, especially since it’s best to remove the front wheel.
Removing the fork with the wheel on is a cumbersome business. And then you have the issue of supporting the bike while it’s without the front end.
This bike stand is foldable and can be stored away when not in use, so won’t occupy precious space in the meantime.
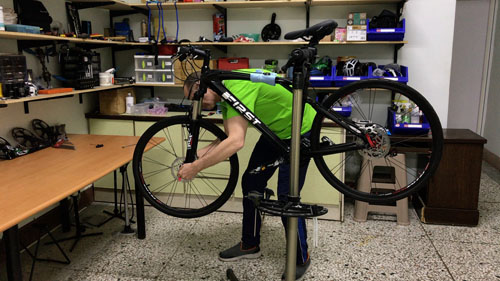
If you have never removed the front wheel before, you will most likely need to screw the quick release nut almost completely off the quick release skewer.
Then the wheel will drop out of the “drop-outs” pretty easily.
Well, it does actually “drop-out”. If you work with the bike on a rear stand, you’ll have to lift the front of the bike.
You are, then, lifting the forks away from the wheel. Nothing wrong with that. Works well.
Still, using a stand gives greater control over most work you will do on your bike in the long run.
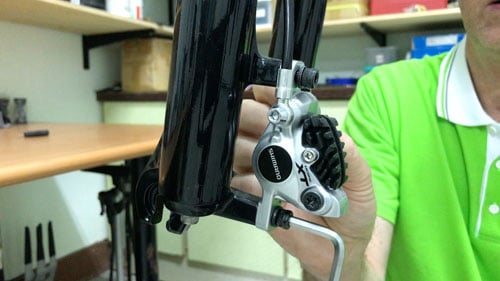
Removing the disc brake calipers generally requires a 5mm allen key.
Loosen the bolts until the are almost completely free of the mount.
A good practice is to remove the bottom bolt completely, stow it away, then remove the top bolt. Allow the caliper to gently hang free then.
If you are not comfortable with the caliper dangling on the end of the cable, then attach it to an out-of-the-way spot on the frame . . . with insulation, of course, so as to avoid scratching the paintwork or the clear-coat.
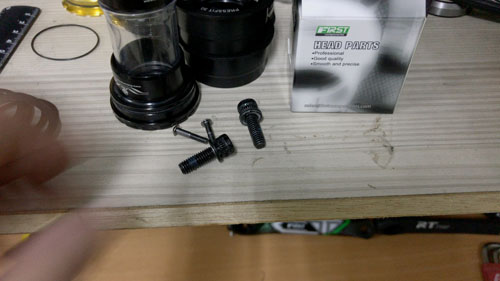
Carefully storing away the removed bolts and any other parts when working on your bike is a good habit to adopt.
This is a shelf dedicated to that purpose. All parts removed are clear of the work space down below. They will be exactly where they are expected to be for the re-installation.
Removing Stem and Handlebars
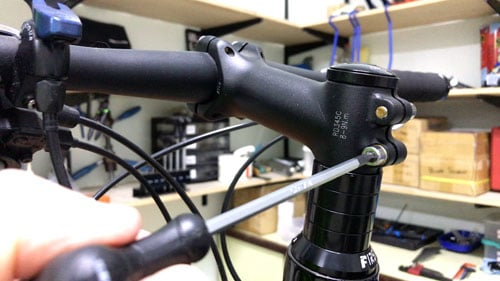
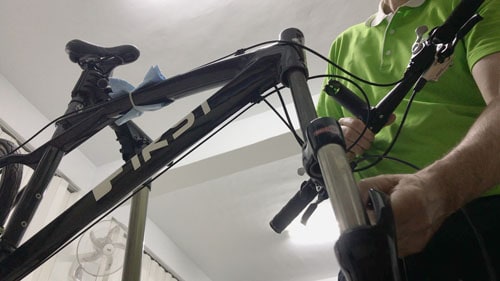
Loosen the stem bolts enough to allow you to freely the stem by sliding it on the fork steerer (you hold the steerer to prevent it moving) from left to right. Loose enough to remove, basically.
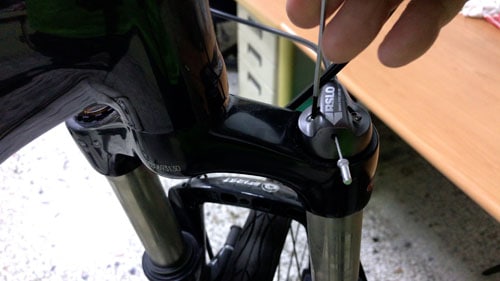
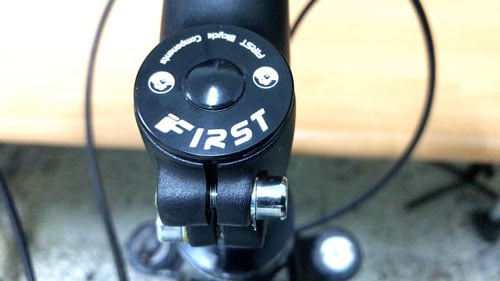
Use a 5mm allen wrench to loosen the top cap tensioner bolt.
Make sure to hold the fork. Loosening this bolt results in the fork slipping towards the floor.
If your existing headset dust cover fits to the steerer snugly, the fork may not move at all, or slip slowly floorwards. Still, most will fall away so grab a hold to prevent potential damage due to impact with the (probably) hard floor.
Whilst supporting the fork with one hand, using the other, slip the stem and handlebars up from the steerer.
You can let the handlebars dangle on the brake and shifting cable/cable housings. Just make sure there is no contact with the fork to avoid damage to handlebars or fork.
If the top cover’s fit to the steerer is snug the following technique to loosen it off and make form removal easier may help.
Removing Fork & Headset
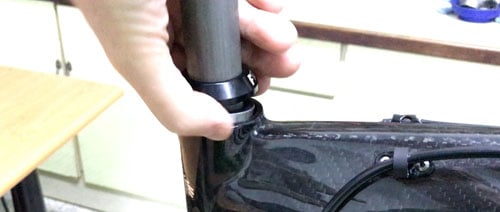
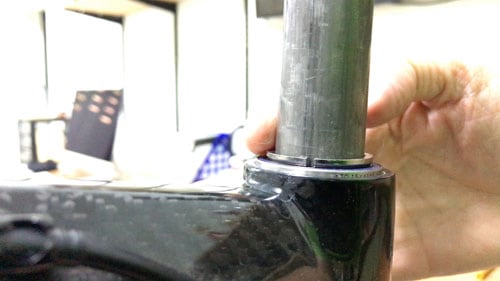
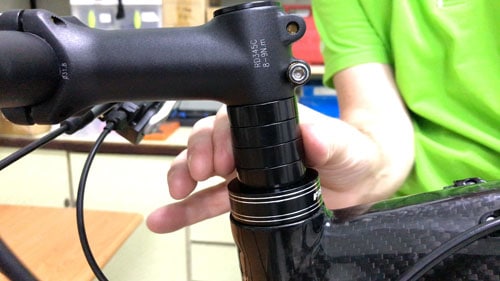
If the dust cap of your existing headset hugs the steerer, here is a way to smoothly loosen it up. The rest of the removal process becomes a lot easier.
With one hand on the fork crown and the other around the dust cap, push the fork down slightly. The effect is to push the dust cover up the steerer.
Now move the fork back up into position.
You will find the dust cover along with the washer(s) and bearing have all separated.
Seize the dust cover tightly and work it up the steerer until you have removed the cover completely.
Continuing to support the fork, gently let it down and out of the head tube. Make sure to support the handlebars, keeping them separate from the fork and the frame.
Note there is a possibility of the handlebars coming up against the frame. Guard against possible damage by wrapping them or just staying vigilant.
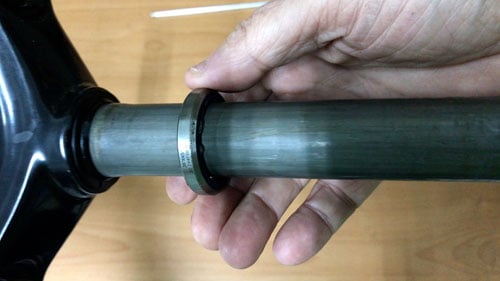
Remove the lower bearing from the steerer. Easily done. Just slide it up and off.
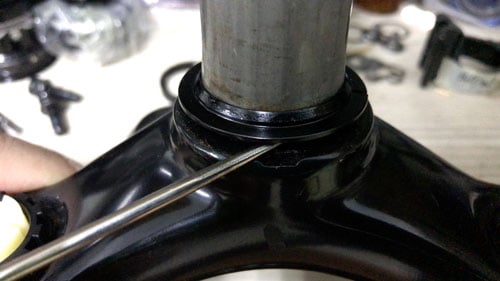
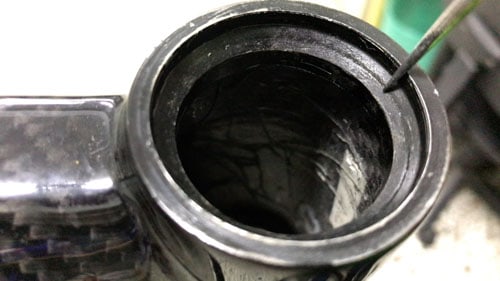
The last part of the headset removal process.
Use an awl or very small screwdriver to pry the crown race up and away from the fork crown. The race is held in position through tension.
The inner diameter is slightly smaller than the steerer’s outer diameter right at the crown. The race expands around the steerer. You’ll see the crown race’s gap allowing for this expansion.
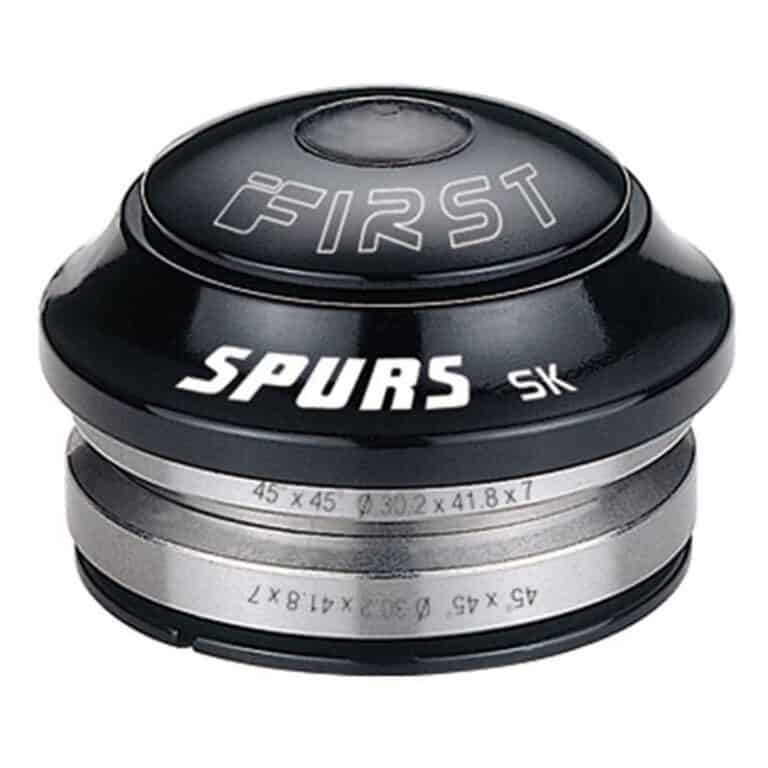
Integrated Headset Parts
Let’s turn now to a detailed look at the integrated headset itself.
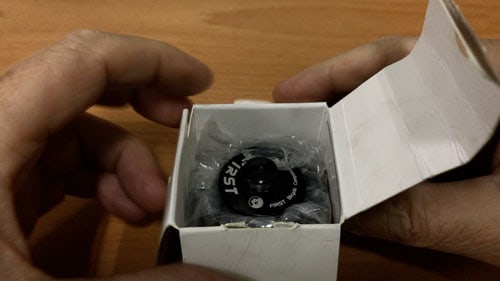
All headset parts are wrapped in plastic with the top cap and star nut pressed down into the unit.
Packing the unit this way means no loose parts rattling around—just remove the parts as one piece from the box.
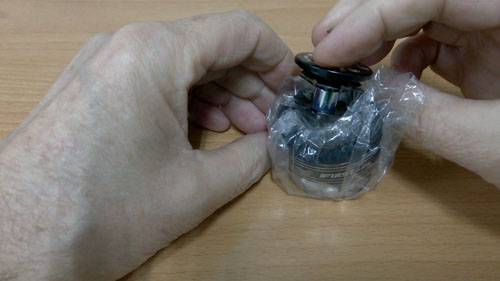
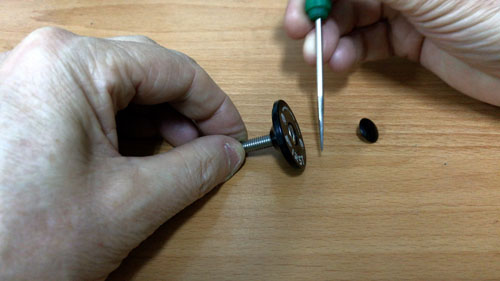
Having removed the headset from the box simply pull the top cap and star nut from the top.
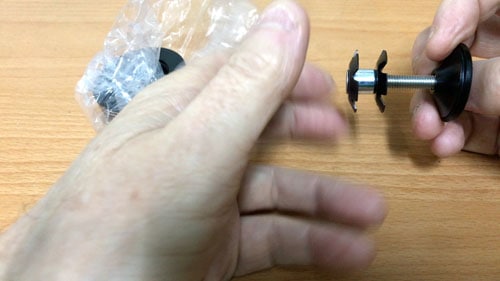
Unscrew the star nut from the top cap. You will only need the star nut if you are installing a new forkas well. If you are replacing the bearings or the whole unit into your existing forks, you can store the star nut away.
The plug is inserted into the top of the top cap bolt. Just pop it out ready for installation later. Placing the plug is the very last thing to do.
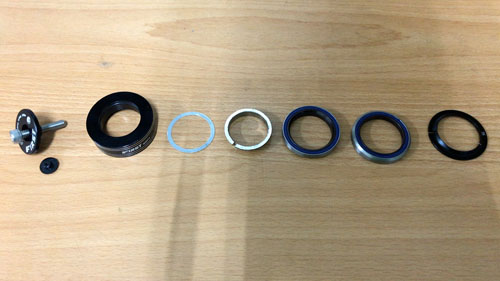
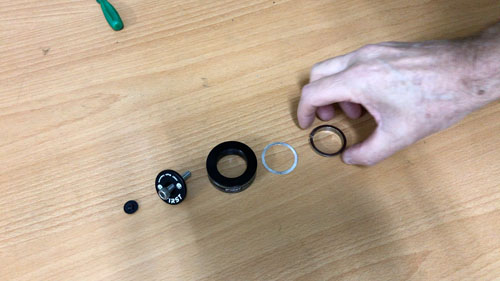
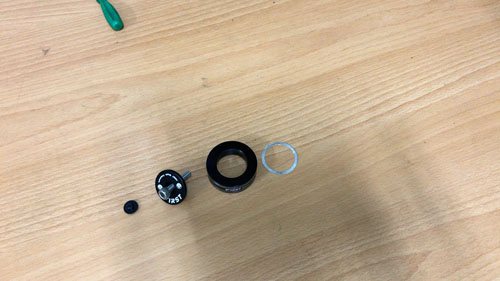
All the headset parts laid out. 7 parts in all. From the left, and in reverse order of installation:
The top cap and plug
The dust cover/top cover
Micro-adjust
Pre-load or “wedge” washer
Top Bearing
Crown Race Bearing
Crown Race
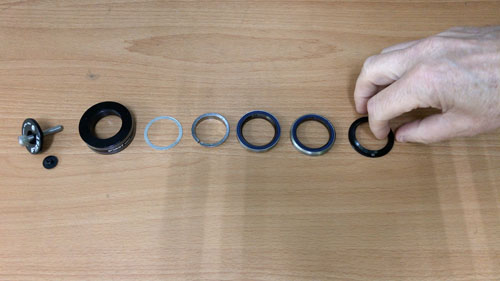
Laying out the parts in this way makes it easy to smoothly carry out the install.
Make sure they are all within reach of course. You will likely have to have one hand free to manage the handlebars or the fork.
Installing Integrated Headset
We’ll firstly prepare the fork for installation into the headtube starting with the crown race.
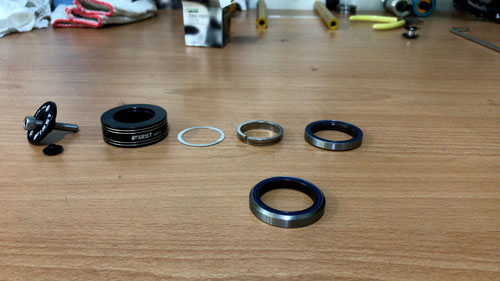
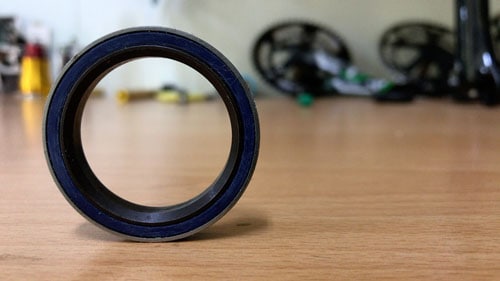
The crown race bearing is the next component.
In the image the bearing is sitting as it would on the crown race. The 45° upper edge is designed to fit exactly into the integrated seat inside the bottom of the headtube. More on that in a moment.
The crown race’s bearing’s inner race is designed to fit exactly into the crown race angled surface.
The bearing’s inner race sits snugly right on this angled surface.
The bearing’s outer race, which fits snugly into the headtube and is firmly seated on the crown race, rotates cleanly around the inner race.
The fork is now ready to be re-installed—we’ll get to that shortly.
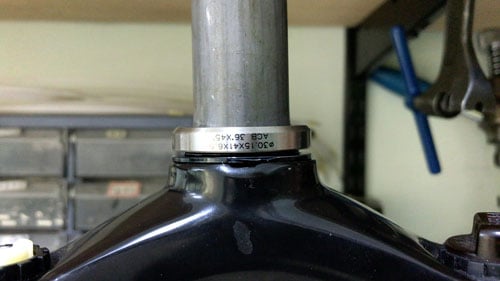
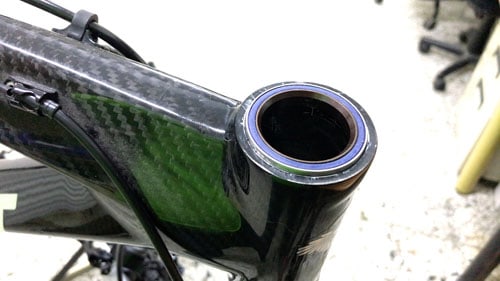
The bearing fits exactly into the lip recessed into the headtube’s top (and bottom). This is the key to integrated headset design.
Apply a little grease then place your headset bearing directly in this cup. In this case, the lower bearing.
Apply a little grease to the upper bearing cup.
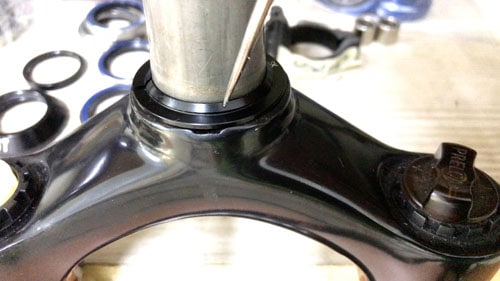
Install the bearing as so. In this case it sits a little shy of the top of the headtube.
The next part to go on is the pre-load washer. This requires you to slip the fork into position in the headtube.
The crown race bearing should be snug in its cup inside the headtube.
The washer wedges in between the steerer and the bearing’s inner race. It keeps the steerer rigid and equidistant from the steerer.
Wedged tight against the inner race, the washer rotates with the steerer and the race.
The micro-adjust washer is next. Slip it down on top of the pre-load washer.
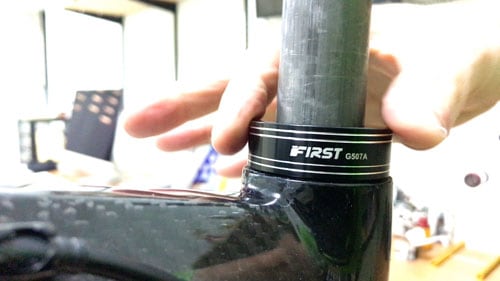
The dust cap slides down the steerer, pushing down on the two washers and bearing.
Because the cover fits very snugly to the steerer on this particular model, the fork will not fall out when the fork is released.
It will merely slide away slowly under the weight of the fork.
Depending on specifics of the headset you are installing, you may need to immediately secure the stem and handlebars on the steerer and secure the forks in position.
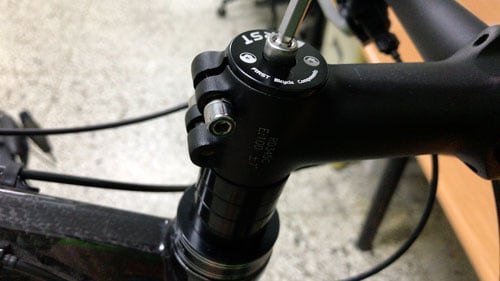
With the stem back in position, and still supporting the forks with one hand, you are ready to install the top cap.
We are now near the end of the procedure and coming up to one of the most important parts of the installation.
Getting the correct torque on the top cap tension bolt and the stem bolts.
Let’s look carefully at this now.
Finishing Installation—Torque Settings
Fit the top cap bolt into the star nut inside the steerer and tighten it.
You don’t want more than 2nM of torque on this. The bolt’s job is to pull the headset parts together and it doesn’t take much tension to do that.
What you want is the crown race bearing snugly in position down below with the headset turning smoothly with no slop or movement.
One way to ensure the torque is right without using a tool is to test with the spacers.
Gently increase the tension on the bolt. Firmly grip the spacer(s) and twist. If you can still turn them, the top cap is not tight enough.
As soon as you are unable to twist the spacers, the top cap is tight enough.
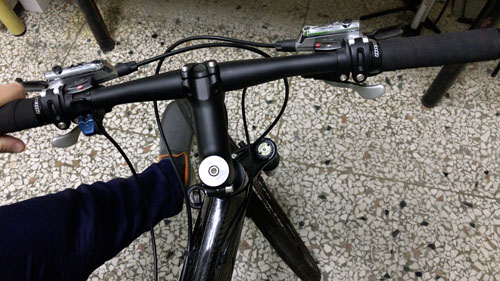
With the top cap secured you need to align the stem with the front wheel. There’s quite an art to this.
When you think you’ve got it straight, out riding you will often find that stem and wheel are still not aligned perfectly.
A few degrees out to the left or right does not matter too much. It is more of an annoyance than a safety issue.
The alignment complete, tighten the stem bolt(s) moderately. Tight enough to hold the position firm.
Keeping the stem and front wheel aligned ready for the torque wrench is all that’s required of the bolts right now.
tight enough to resist shaking loose due to vibration
loose enough not to damage the underlying component
You’ll find a good selection on Amazon. Two must-have features are
a gauge that is easy to read
a long handle
The long handle helps in obtaining an exact torque setting. So does the gauge.
There are some good quality torque wrenches on the market that are let down by the quality of the gauge.
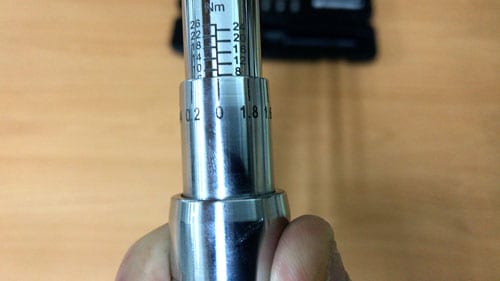
The model used here has a locking handle and allows increments of 0.2 nM, which is more than enough accuracy.
By pulling the lock ring down you can select your torque setting. Releasing the lock ring secures the setting—the handle won’t turn and change the setting as you are using the tool.
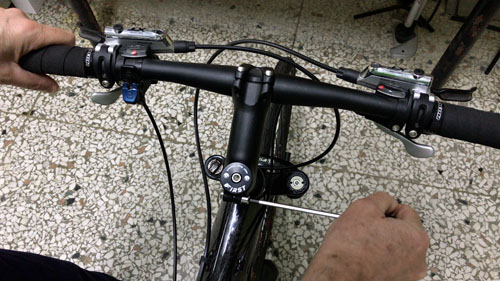
Correct technique is also important.
These bolts are on opposite sides so you best do one at a time. A few turns on the left followed by a few turns on the right and so on.
This gently increases the torque evenly on both sides. Once the tool “gives” or clicks, then you need to double check each side for the correct torque.
This is exactly the technique that you need if tightening the pinch bolts on Shimano-style cranks by the way.
A good practice is to check the torque settings for the bolts every few rides or so.
The very last part to install is the tension bolt plug.
At the very least the plug can keep the water out and, anyhow, it just looks better.
All that remains is to re-attach any cables, calipers and what not—you are good to go.