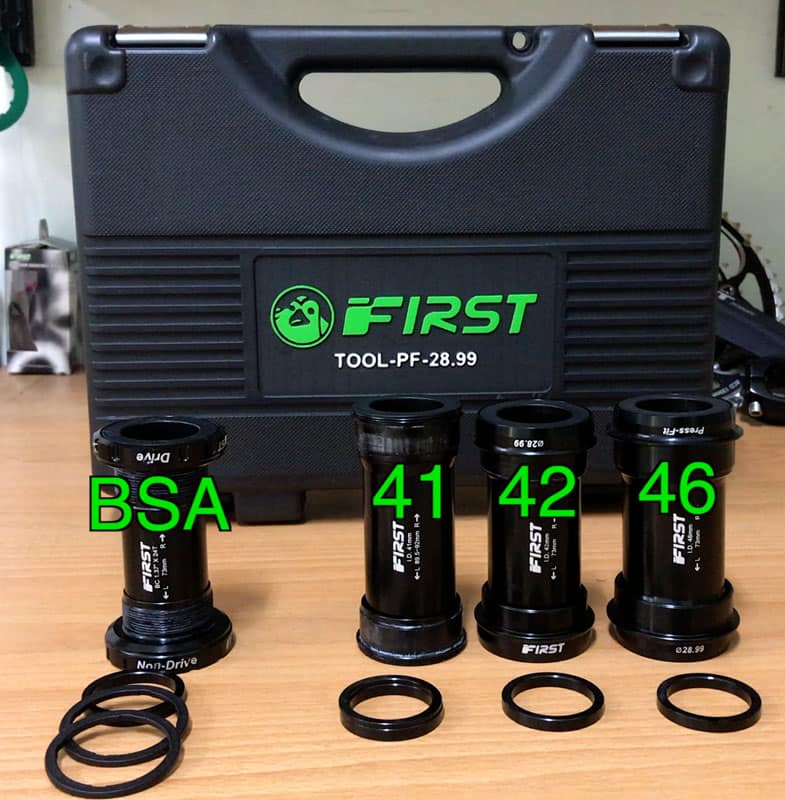
FIRST’s new range of bottom brackets accept 28.99mm diameter crank spindles.
This toolset, the only one of its kind on the market, is designed for installing and removing 41mm, 42mm, and 46mm press fit bottom brackets with an Internal Diameter of 28.99mm.
We also have a BSA threaded bottom bracket available with its own wrench, enabling quick and easy installation and removal of the BSA version of this new 28.99mm standard.
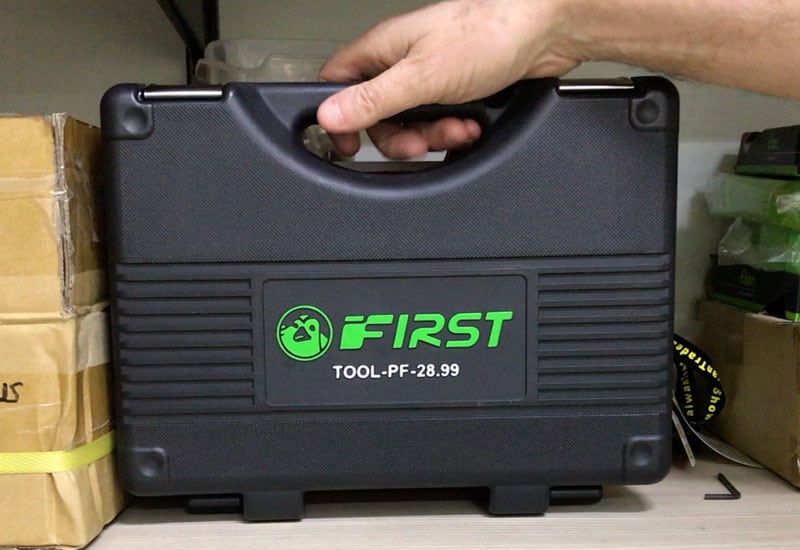
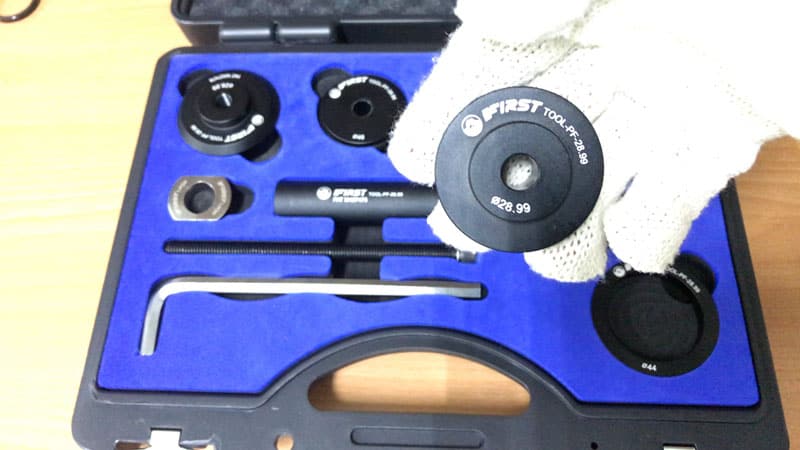
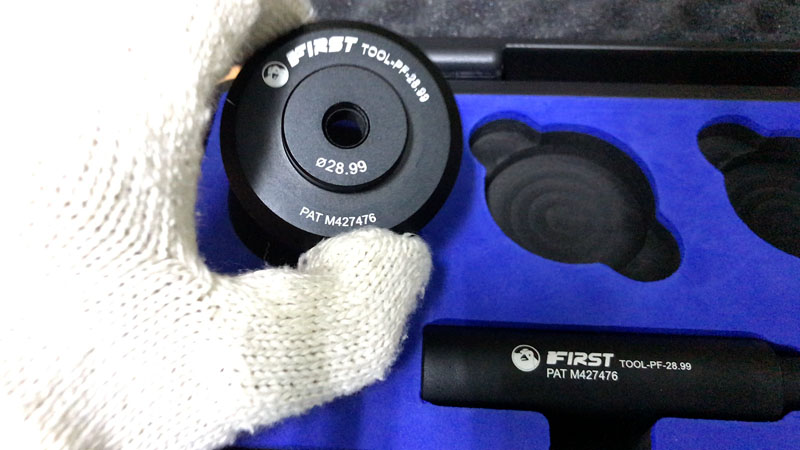
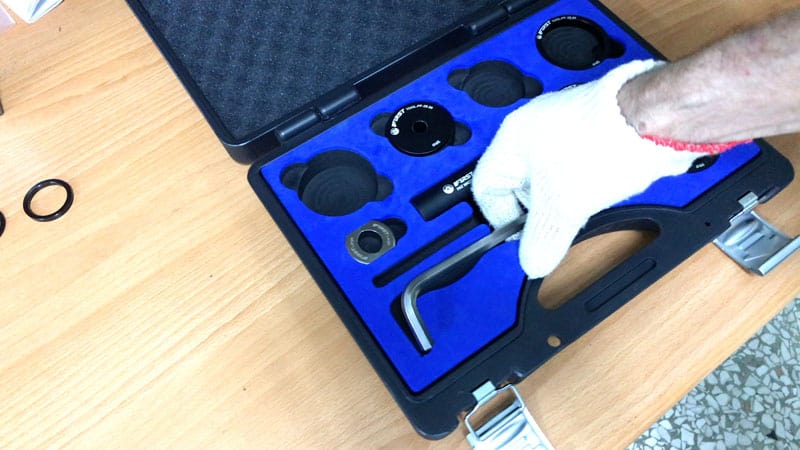
The first point to note is that all tool components fit snugly into this carry case. Light and easy to carry, it also stores away neatly on a shelf or in a cupboard. (Just like our other toolsets).
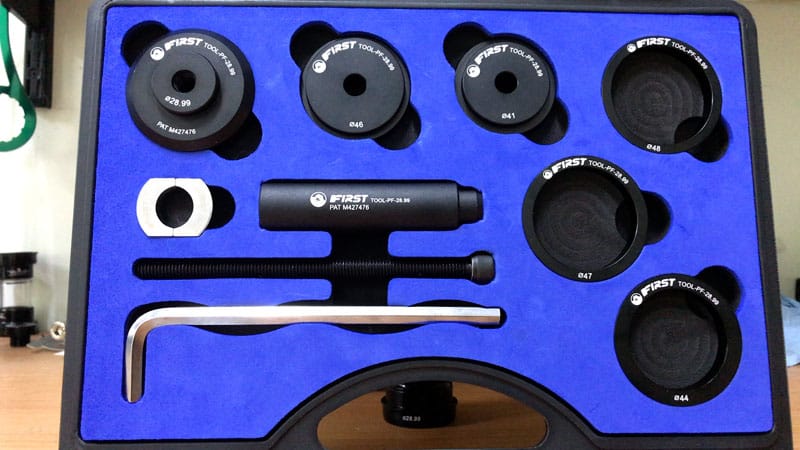
In the rest of this article we go into complete detail on each of the toolset’s components and how to use them taking the FIRST 41mm OD/28.99 ID bottom bracket as an example.
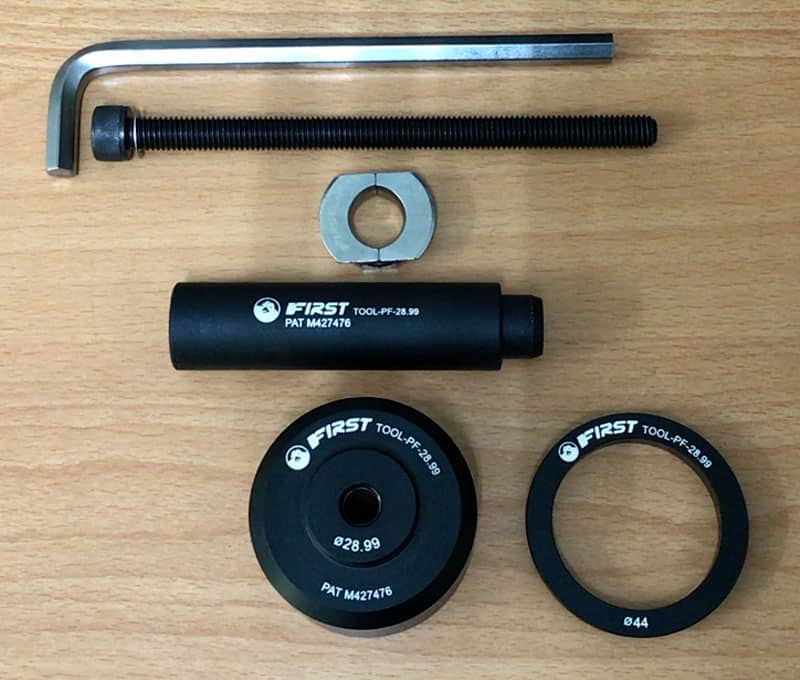
We’ll just give you an initial brief overview of each component before getting into the nitty gritty of how to use them.
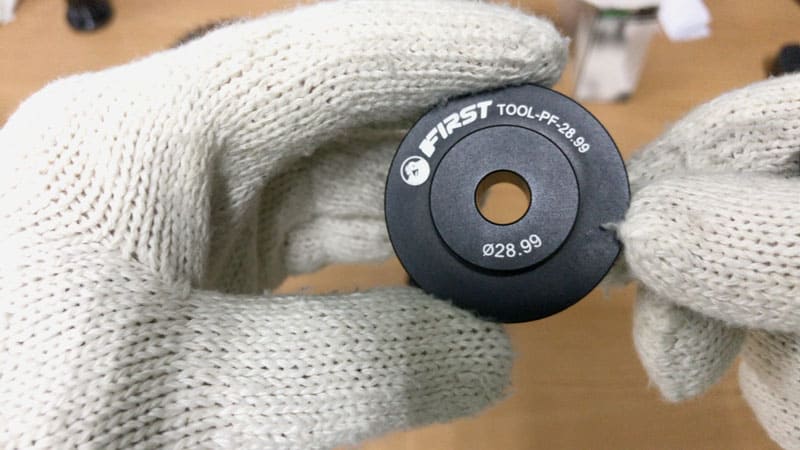
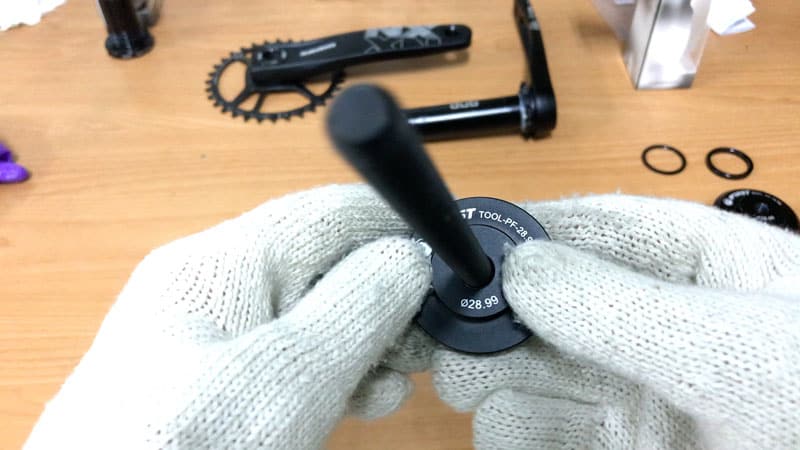
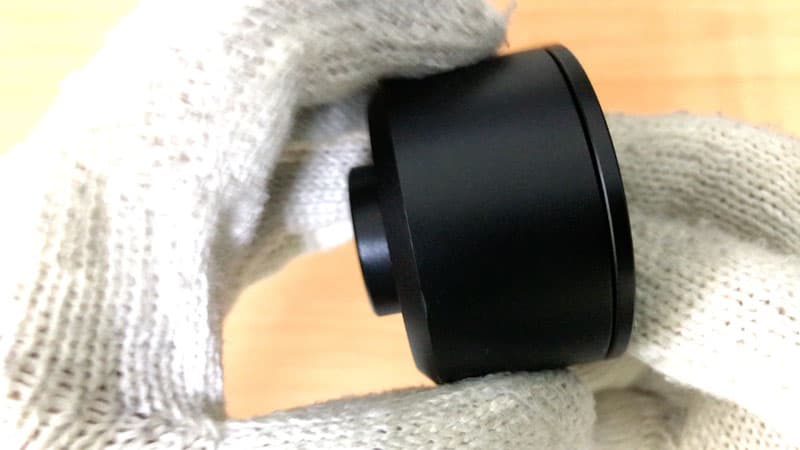
The top row 1st piece is internally threaded. It is used to press the bottom bracket cup into position on either side, one side at a time. The 28.99mm raised circumference fits into the 28.99mm Internal Diameter of the BB you are pressing into the BB shell.
This piece, when reversed, so the 28.99 raised circumference is facing outwards, becomes the receptacle for holding a BB cup that has been removed (pressed out of) from the BB shell on one side.
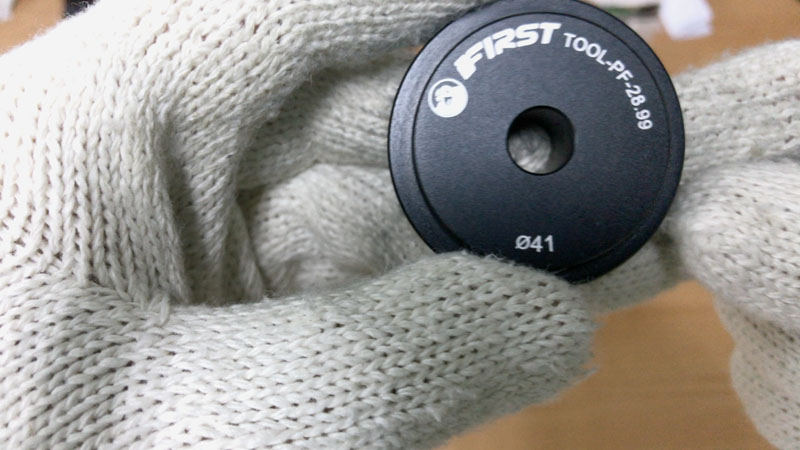
The two pieces to the left fit into the BB shell (be it 41mm, 42mm, or 46mm) on the opposite side to that on which a BB cup is pressed into the shell.
The pieces down the right hand side fit into the 1st piece when it is being used for BB cup removal. They fit exactly against the BB shell. There is one each for 41, 42, and 46mm BB shells.
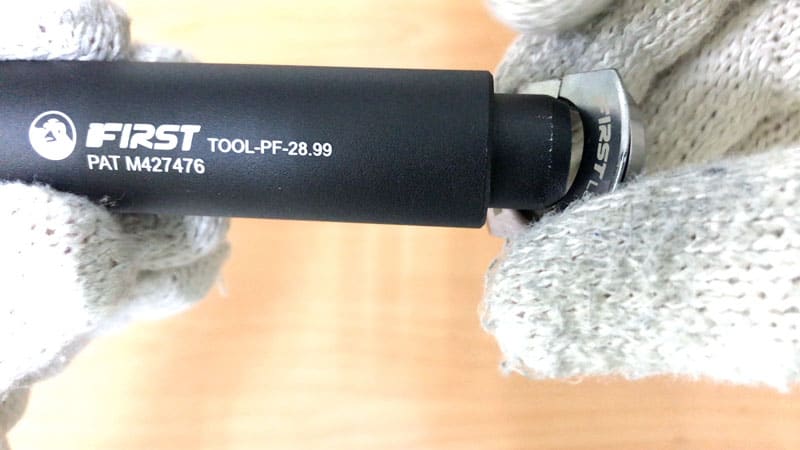
The remaining components in order are the “split steel hitch” which fits over the narrow end of the cylindrical driver (next to it).
The bolt (just below them), which takes the 8mm Allen Wrench right below, connects all components and provides the tension necessary to either press-in a bottom bracket cup or press one out.
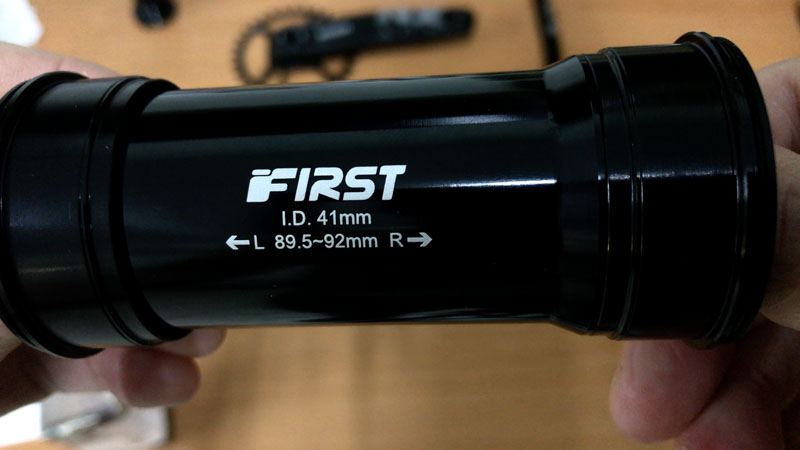
Installing a SRAM DUB (or SRAM DUB Compatible) Bottom Bracket
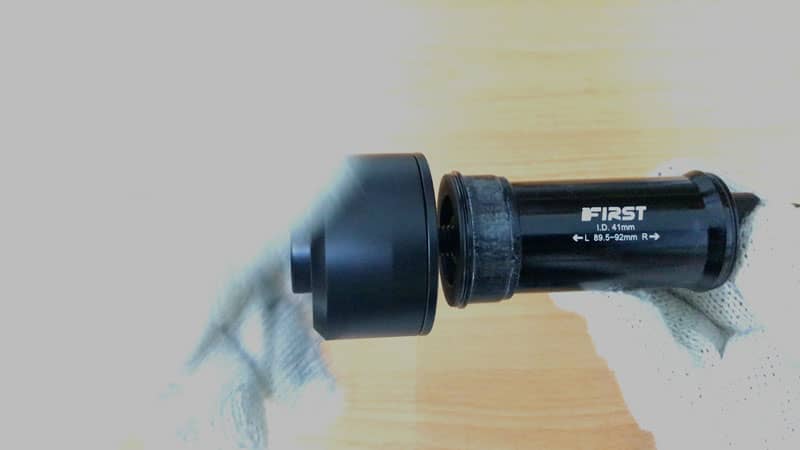
FIRST’s 41mm press-fit bottom bracket which will accept SRAM’s DUB 28.99mm crank along with any other 28.99mm cranks when they become available.
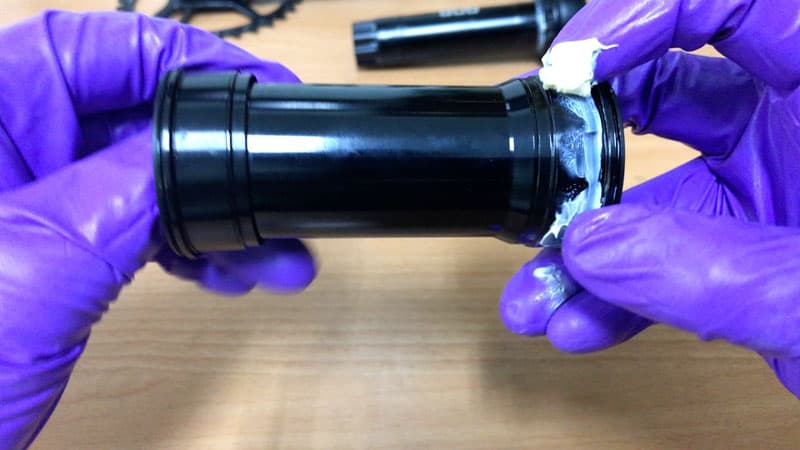
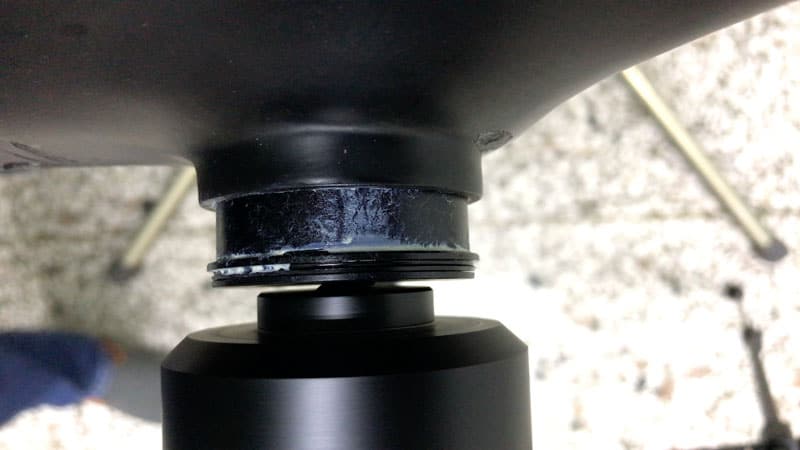
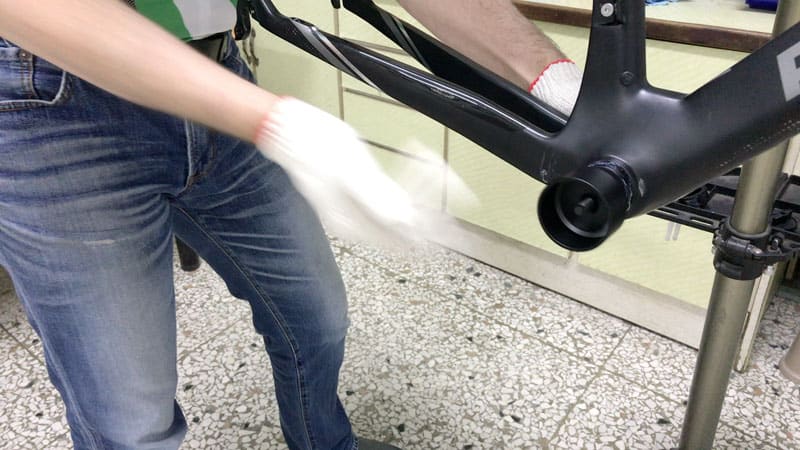
Applying a thin coating of grease to the bottom bracket cup assists installing and removal.
There is some debate about how necessary this is. We would advise that if you do apply grease, no need to slap very much on.
A smear of grease on the non-drive side.
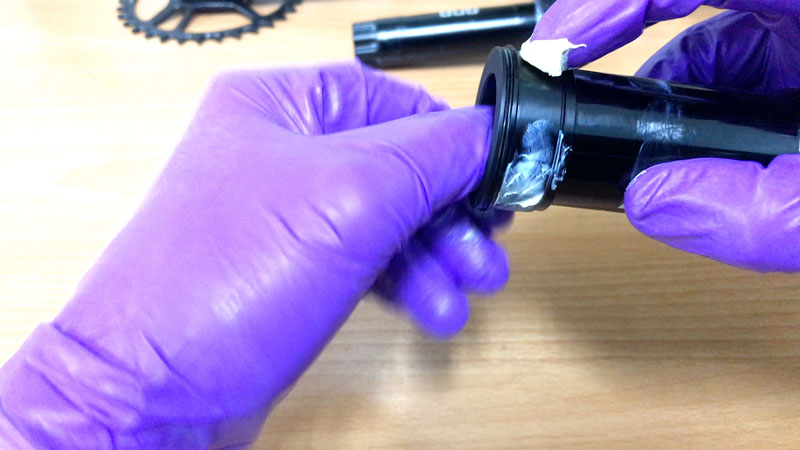
A light smear of grease on the BB shell surfaces which will accept the BB cup you are about to install is also a good idea.
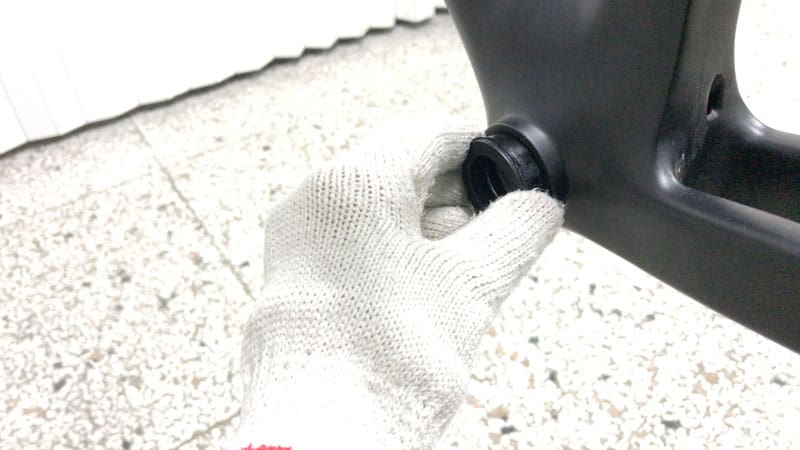
With the surfaces greased we fit the drive side BB cup into the BB shell. The cup just needs to sit snugly just inside the BB shell lip, enough so that it does not slip out and fall to the floor.
The bearing cup is alloy. However not subjecting any part of it to unnecessary stress is the right way to go.
On this point we would note that the Sram Dub Bottom Bracket Tool is designed to both install and remove press-fit bottom brackets that accept 28.99mm spindles without stressing any components.
There is certainly no need for a hammer anywhere. The bottom brackets that you install and remove with this tool are done so with consistent, gentle pressure.
We firstly take the 3rd piece from the pieces on the top row.
This is the “drive” side, the side opposite to the side in which we install the first bearing cup.
Note that by this we don’t mean the drive side of the BB shell. We use the term here to mean the tool component that directly supports the bolt head that accepts the 8mm allen wrench (see below).
The press-in/BB cup retainer piece threads onto the bolt. When the bolt is turned with the 8mm allen wrench it presses the BB bearing cup into the BB shell.
This piece also functions to catch a bottom bracket bearing pressed out of the BB shell.
Upon flipping over the BB shell interface piece (the 3rd piece on the top), you see the surface that slots into the BB shell.
When the bolt is secured into place, this piece fits snugly in the shell providing stability for the whole assemblage.
Since we will be removing a 41mm OD bottom bracket that fits a 41mm ID BB shell, we require this piece to fit directly into the BB shell.
There are pieces for 42mm and 46mmm for bottom bracket shells with these inner diameter specifications.
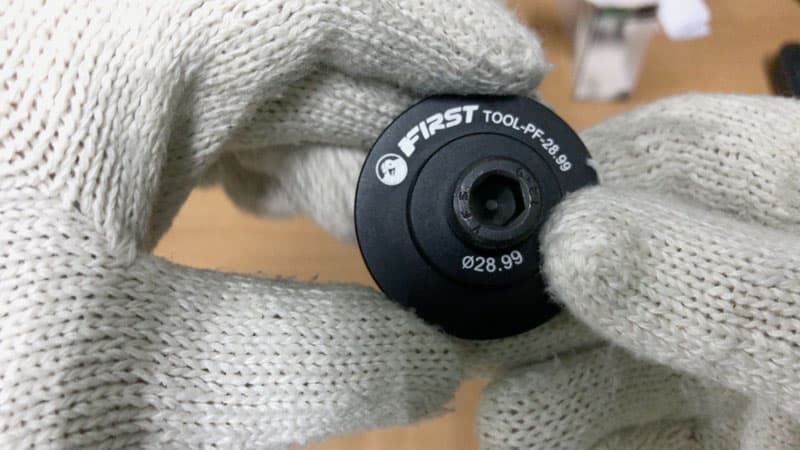
This is the flip side through which we slot the bolt.
The head of the bolt is snugly in position.
We need now to place it in the BB shell, then screw the press-in piece onto it ready to install the bottom bracket.
With the bolt installed into the drive piece, it will fit exactly into the BB shell’s 41mm ID.
The press-in bracket/piece and retaining cup (when removing a BB bearing cup) screws onto the bolt in this position.
That is, the concave surface faces outwards.
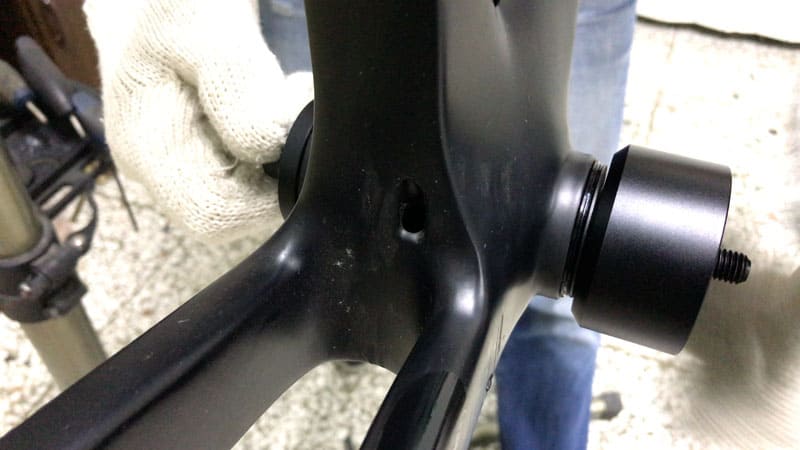
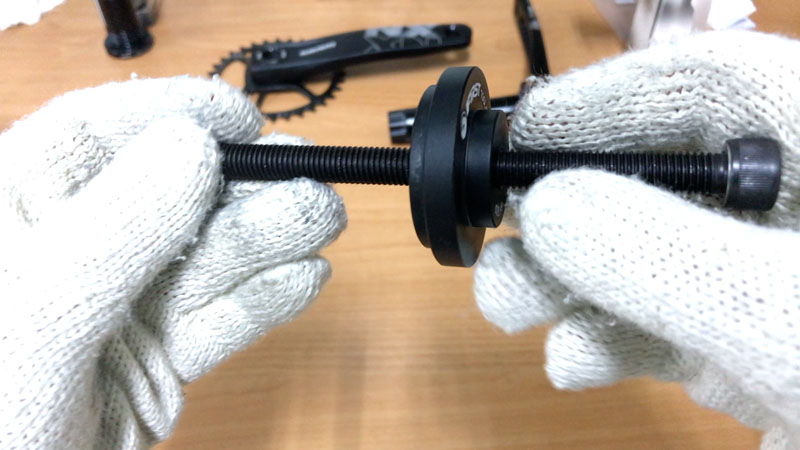
The press-in piece is screwed onto the end of the bolt which is held square to the bottom bracket cup due to the exact fit into the BB shell.
Here the press-in bracket is close to being screwed all the way onto the bolt. It is about to slot into the BB cup’s internal diameter.
The goal is to get the press-in bracket screwed all the way onto the bolt to the point where it fits snugly inside the bottom bracket bearing cup.
You don’t need to screw it tight here just yet. Tightening is the next step.
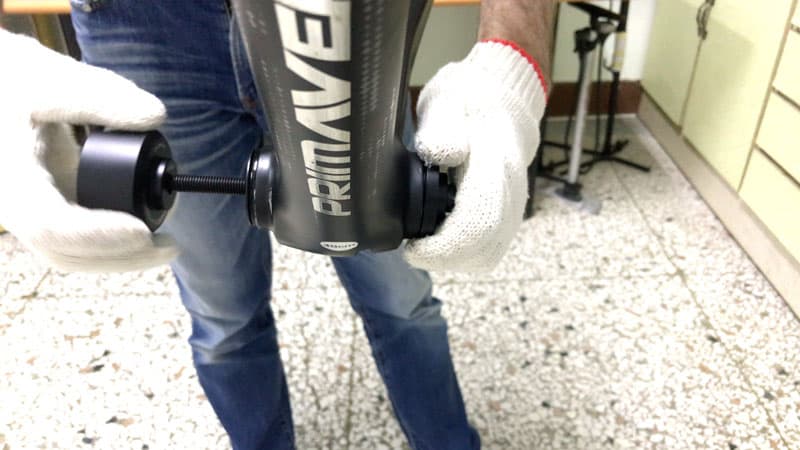
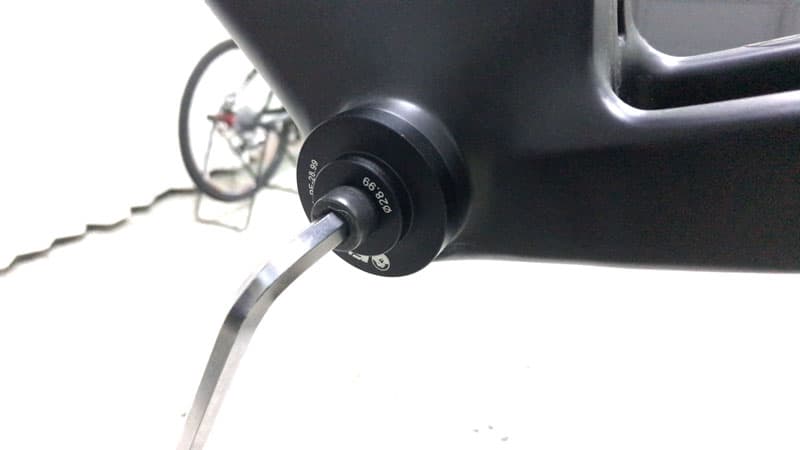
Take the 8mm allen wrench from the toolkit.
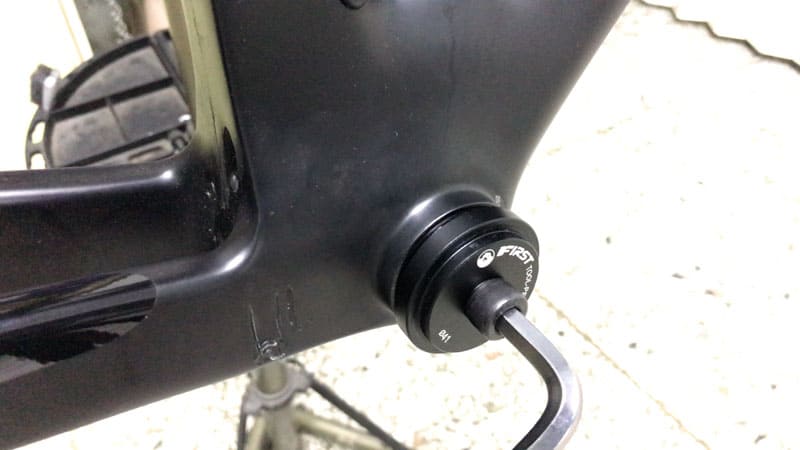
The wrench slots into the bolt head on the opposite side to the bottom bracket cup to be pressed in. Here that’s the left or non-drive side.
All it takes is 5 or 6 turns of the bolt. You will find a slight resistance only as the BB bearing cup on the other side is pressed into position.
The BB is now fully pressed into position.
You now unscrew the press-in piece, remove the bolt and the drive-piece ready to do the other side.
However, an important point to note is that this procedure is not an exact mirror image of installing the initial bottom bracket bearing cup.
Begin the bottom bracket bearing cup installation on the left side by placing the BB into position.
Firstly remove the bolt from the drive bracket. You need to reverse this so the 41mm face now faces outwards. The 28.99mm diameter will now nestle inside, and brace against, the already installed drive side bottom bracket cup.
This side will now face outwards. Insert the bolt down into it.
The idea here is that the 28.99mm side interfaces with the BB cup that was just installed.
The bolt is completely pushed through the drive piece and then inserted through the bottom bracket.
Screw the press-in piece right up and into the BB cup.
Take the allen wrench, then with a few turns, the bottom bracket cup will be snugly installed.
Turn the wrench in the opposite direction to loosen and then remove all the tool components.
We’ll next look at removing SRAM DUB Bottom Brackets.
SRAM DUB Bottom Bracket Removal
These are the tool components you will need to quickly and easily remove a SRAM DUB original bottom bracket, or compatible bottom bracket.
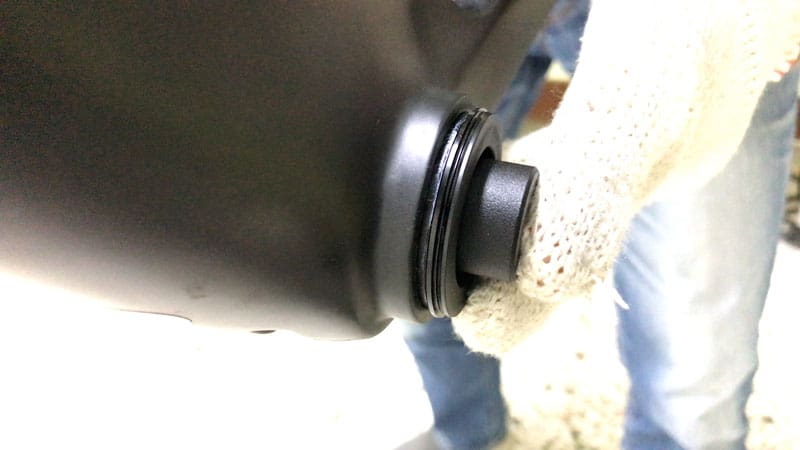
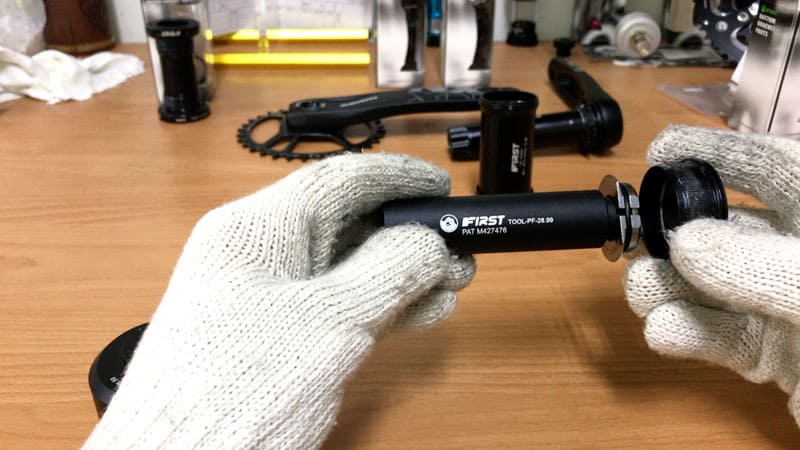
Firstly mount the split steel-hitch on the end of the driver.
This device is formed from two symmetrical pieces of steel.
Each half is kept together by a rubber ring or grommet that expands around the end of the driver when pressure is exerted.
We are just showing you here for illustrative purposes, since the split steel-hitch needs to be mounted to the driver when it’s inside the bottom bracket.
Achieving this is not as difficult as it may appear. We will shortly demonstrate how to do it.
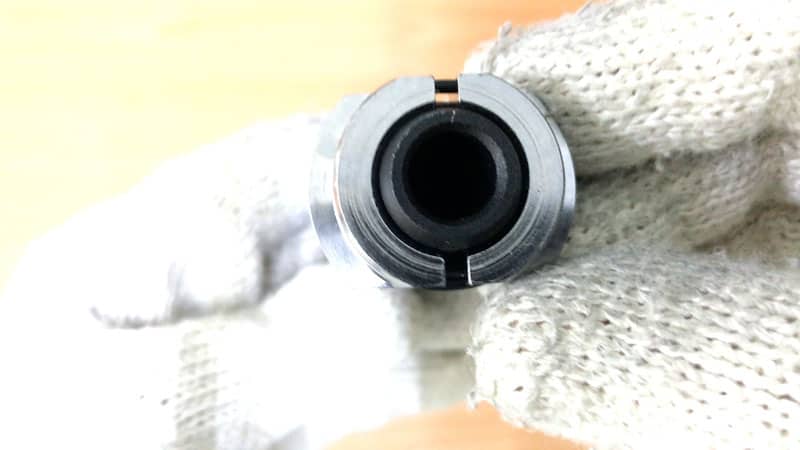
This end will expand up against the inside of the bottom bracket cup. The slight pressure holds the driver firmly in position during the process of pressing the BB bearing cup out of the BB shell.
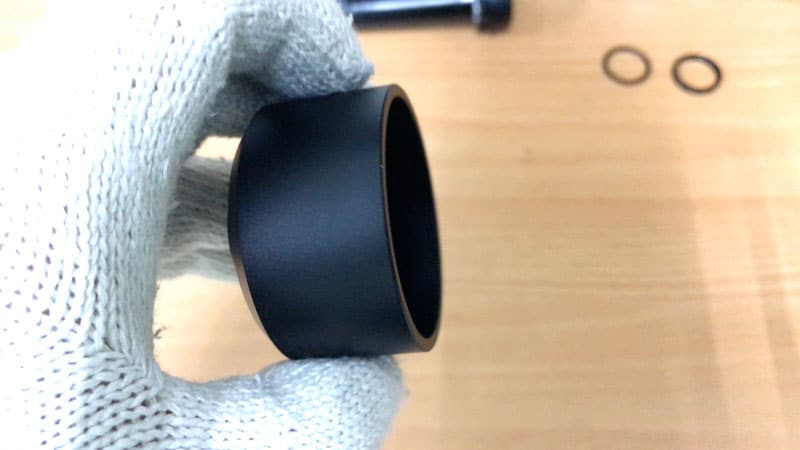
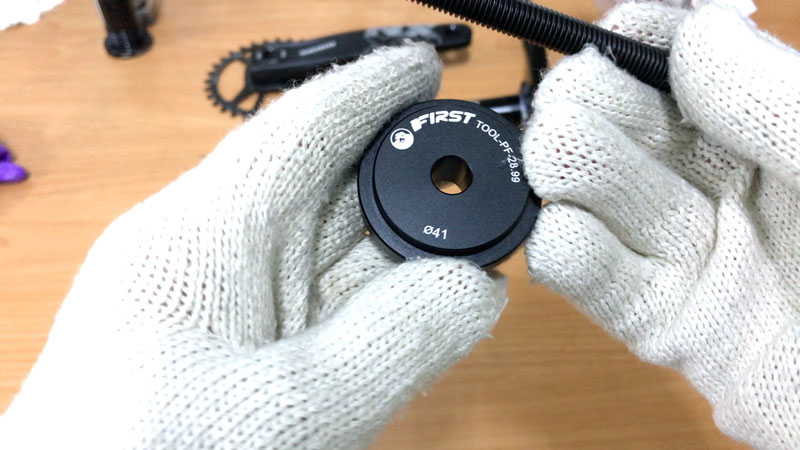
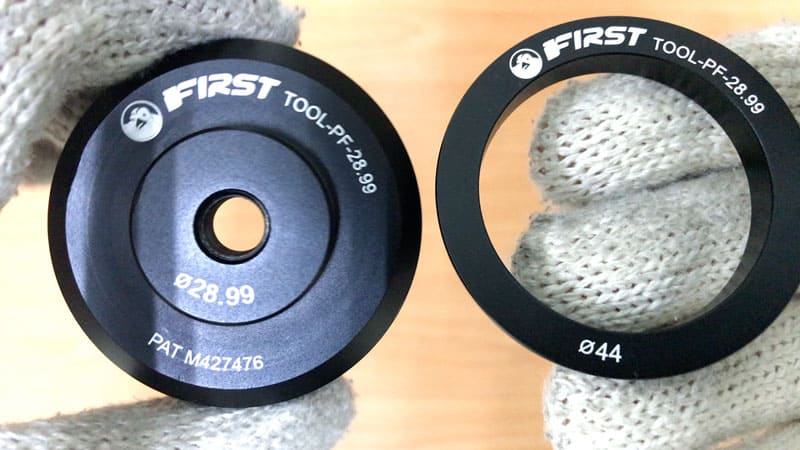
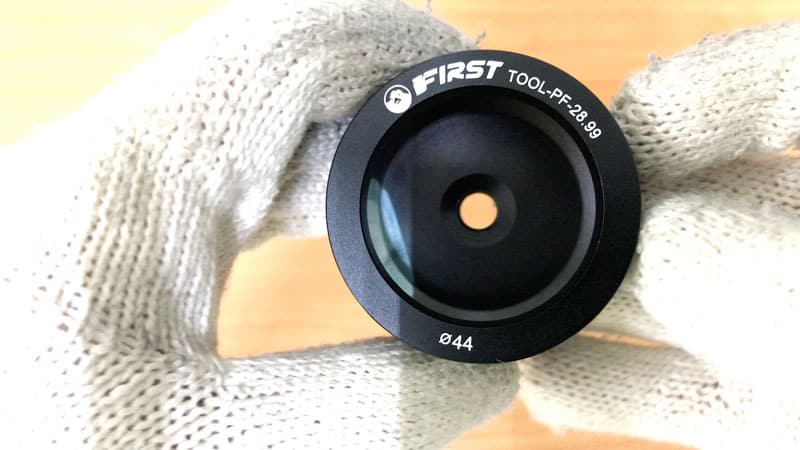
Now the retaining cup, which holds the bottom bracket cups once they are pressed out of the BB shell, must be fitted with the adpater.
For the retainer to be able to fit against each bottom bracket shell size (41, 42, 46), it requires the correctly sized adapting ring.
We are removing the SRAM DUB Compatible Bottom Bracket from a 41mm ID bottom bracket shell. That means we need to use the ∅44 adapter. (All the info you need to know which adapter belongs with which BB ID is included in the toolset).
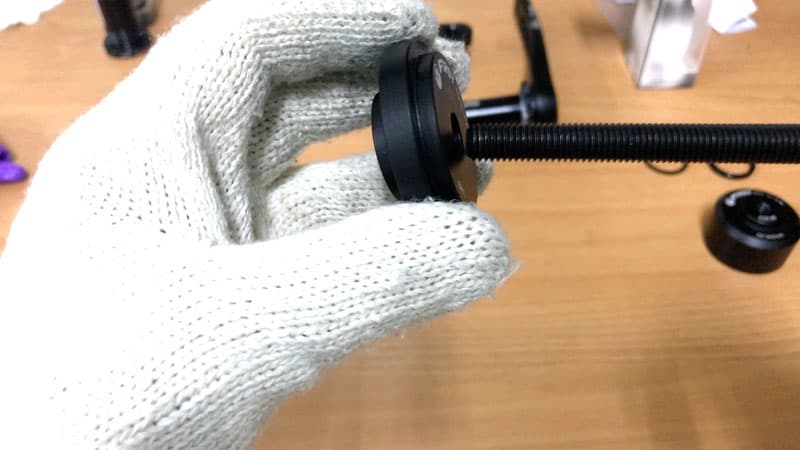
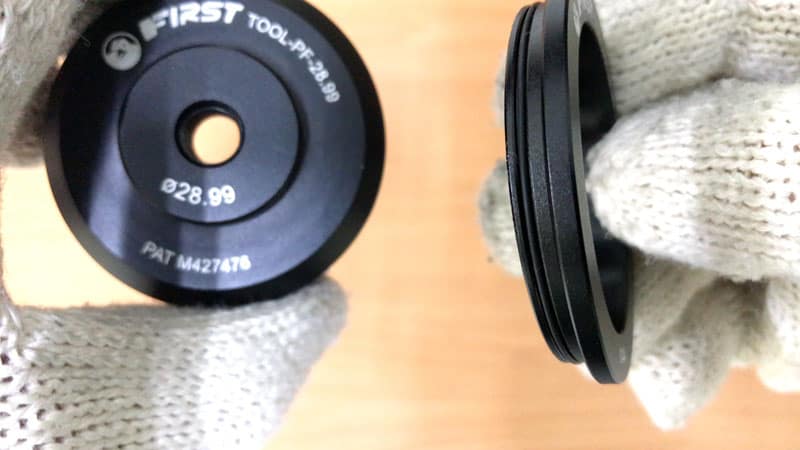
The adapting ring has a rubber seal right the way around ensuring a snug fit to the inside of the retaining cup.
The adapter should fit exactly to the rim of the retaining cup like so.
Ready to go. Now to fit the split steel-hitch to the driver inside the bottom bracket.
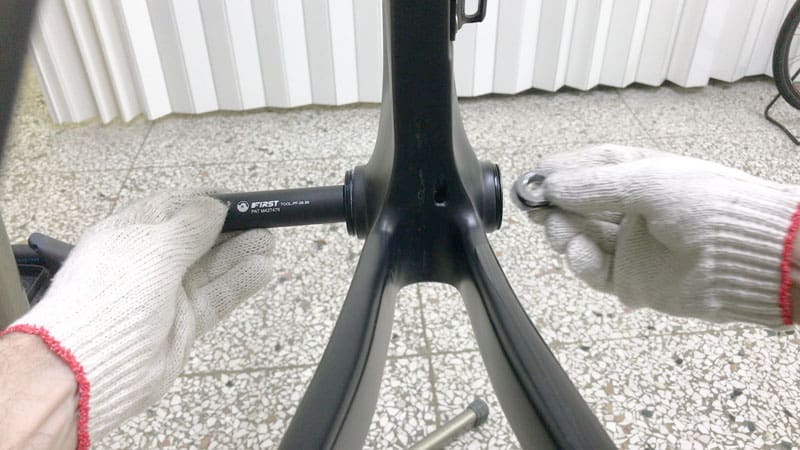
We are removing the drive side first. So insert the bottom bracket removal driver into the left side.
Insert the split steel-hitch sideways from the right, then turn it vertically as you bring the driver up behind it.
The split steel-hitch will fit over the end.
Push the driver in as far as it will go.
The driver is fully inside the split steel-hitch which is, in turn, fitted snugly against the inside of the bottom bracket cup to be removed.
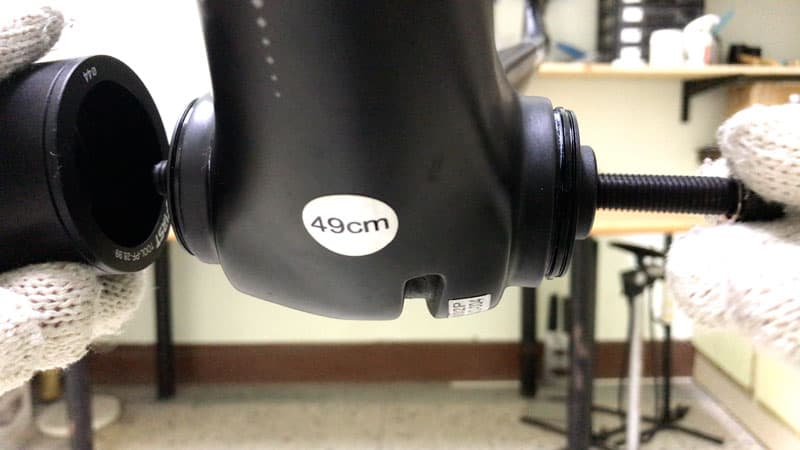
Next the bolt is inserted into the driver. The (bearing) retaining cup is screwed onto the end and tightened against the bottom bracket shell.
This action holds the driver square to the bearings.
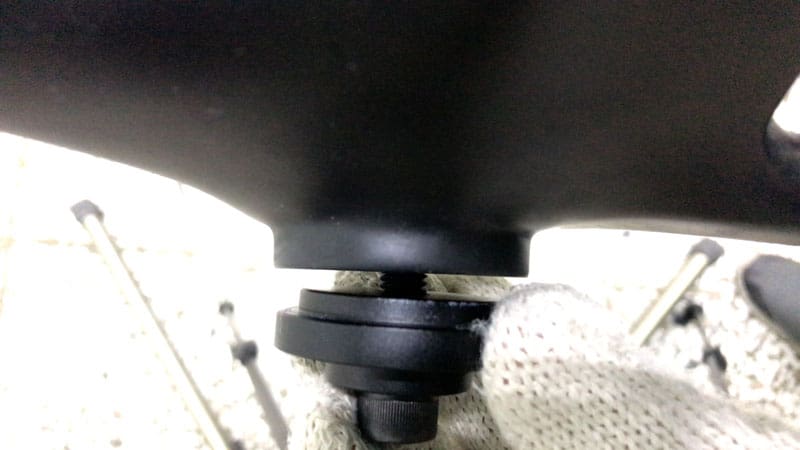
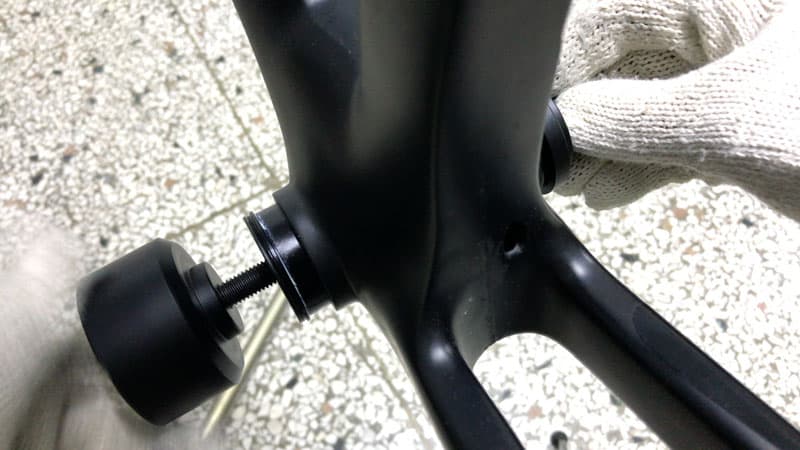
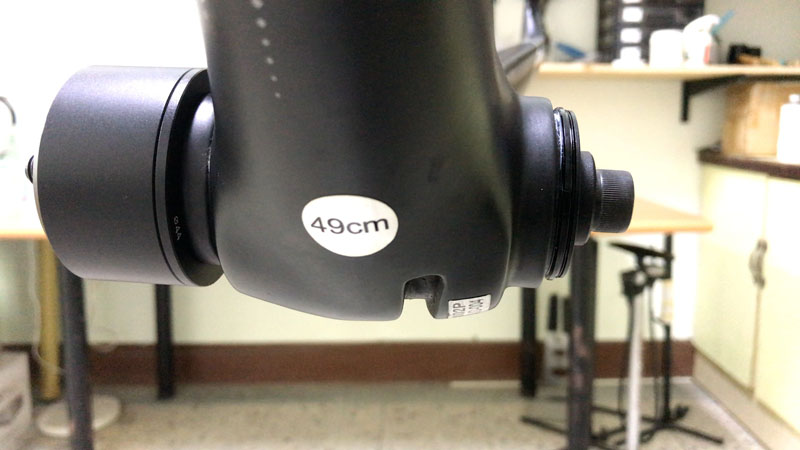
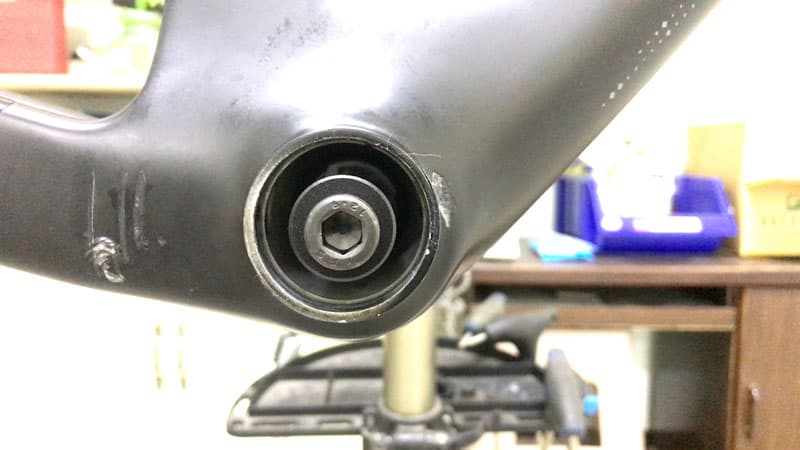
Here the bolt is snug inside the driver. The retaining cup is also snug against the bottom bracket shell.
As you turn the bolt, the driver with the split steel-hitch attached pushes against the bearing cup.
The force required to turn the bolt and press the bearing cup out into the retaining cup is similar to the force required to install the bottom bracket in the first place.
The bearing cup will release into the retaining cup. Then the whole assemblage will come out.
Holding onto the retaining cup is important to minimize the chance of the assemblage falling to the floor.
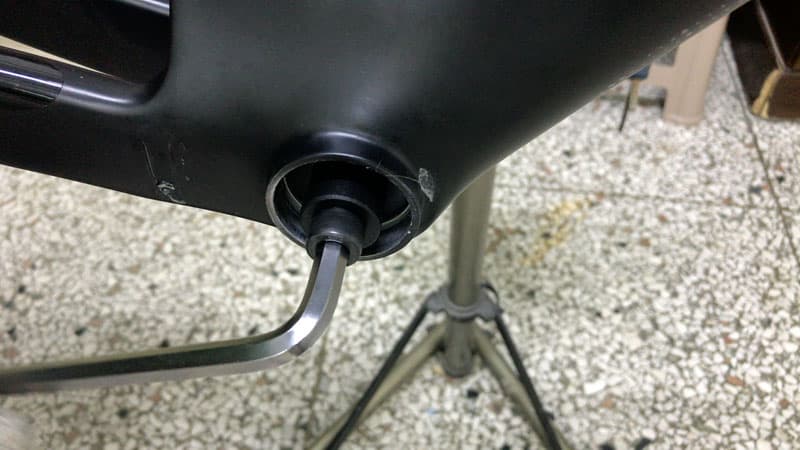
Turning the bolt with the 8mm allen wrench on one side whilst supporting the tool components and bearing cup on the other side is the best practice.
Once the bearing cup is free of the BB shell, you can remove the lot in one movement.
Having removed the bearing cup along with the bottom bracket sleeve, remove the retaining cup completely.
Just screw it off the bolt.
You may find that the split steel-hitch has come away from the driver. It will be sitting inside the bottom bracket sleeve.
Shake the sleeve slightly to retrieve this important part.
Once you’ve done this, you are ready to remove the remaining bottom bracket bearing cup.
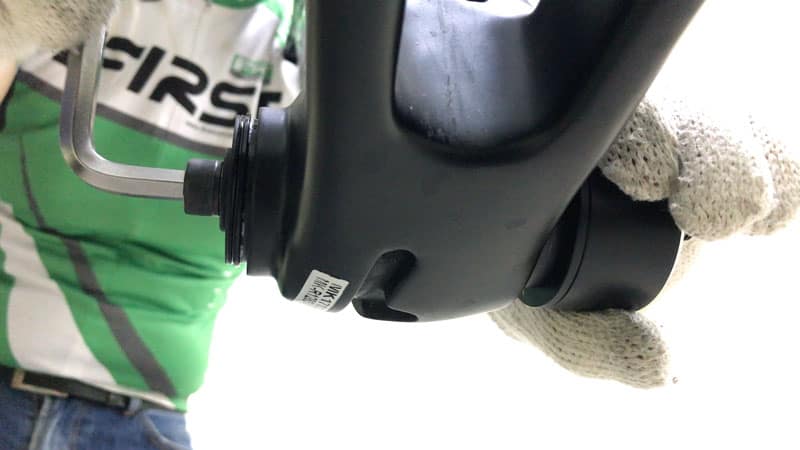
The right or drive-side bearing cup along with the bottom bracket sleeve has been removed.
Simply re-install the split steel-hitch on the driver. Because one side has been removed, there is no need to install the split steel-hitch onto the driver when it is inside the BB shell.
The driver with the split steel-hitch already mounted can be moved directly into position since there is no bottom bracket cup preventing this.
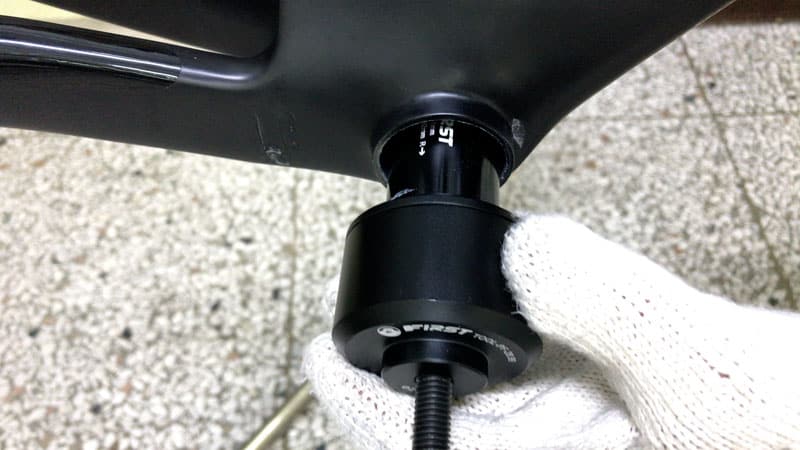
Install the bolt into the driver. Then insert the lot into the bottom bracket shell. Screw the retainer cup finger tight over the side to be removed.
The right or drive-side bearing cup along with the bottom bracket sleeve has been removed so the driver and split steel-hitch can go straight in.
Tightening the retaining cup on the opposite side will pull the driver square to the split steel-hitch which sits exactly against the bottom bracket bearing cup on the inside.
The same removal technique applies here as with the first bearing cup. A few turns and the whole assemblage will come loose.
Remove the bolt, then ease the bearing cup away from the split steel-hitch and the driver.
This does not involve any pressure at all. The split steel-hitch’s flanges only very slightly touch the bearing cup’s inner surface.
The driver end and split steel-hitch are designed to precisely fit into the bearing cup’s inner diameter providing stability whilst the bottom bracket is pressed out.